 Photo: Aurélia Boulenger
Wedding Invitations are one of the first expenses to come out of your budget, and while they may look simple, those pretty piles of paper can have you spending some serious paper. Pinterest is practically overflowing with adorable stationery ideas, but those stunning custom suites have the average couple spending thousands on invitations alone, not to mention all of the add-ons. Don’t get us wrong, custom invitations are works of art and are well worth the investment if you’ve got it to spend, but for many couples that simply isn’t in the cards (pun intended). Thankfully the printable options are getting way cuter with most of them taking inspiration from those dreamy hand-crafted stunners. But, if none of the easy-order printed invites are quite what you envisioned, we’ve got some easy and affordable DIY hacks for giving your printed invites that bespoke feel.
Did you know that we have a huge collection of printable invitation suites right here on Wedding Chicks? AND THEY’RE FREE! So check it out and put that extra money in your pocket for those designer shoes you’ve been dreaming of. You’re welcome 😉
Envelopes and Liners
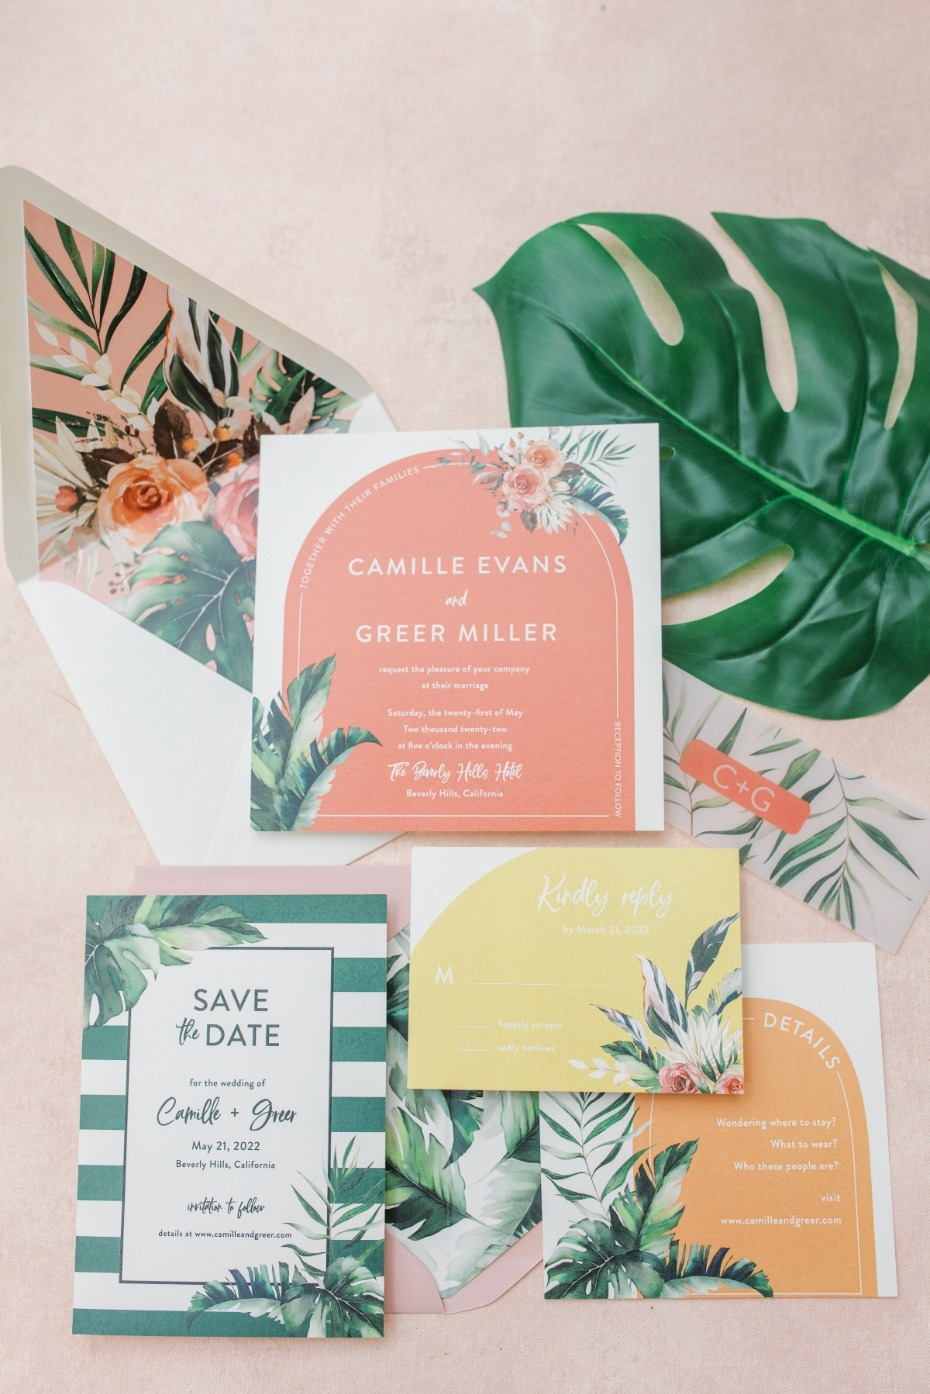 Photo: Angela King Photography
Most websites and companies offering printable invitations, like Minted, have the option to include matching envelopes and some offer custom liners as well. This is a quick and affordable way to give your invites an added pop. If the company you’re ordering from does not have an envelope or liner option, there are plenty of great places to buy these babies online (and in bulk!) like Envelopes.com. If you’re really crafty, you can design your own envelope liner with Zazzle.
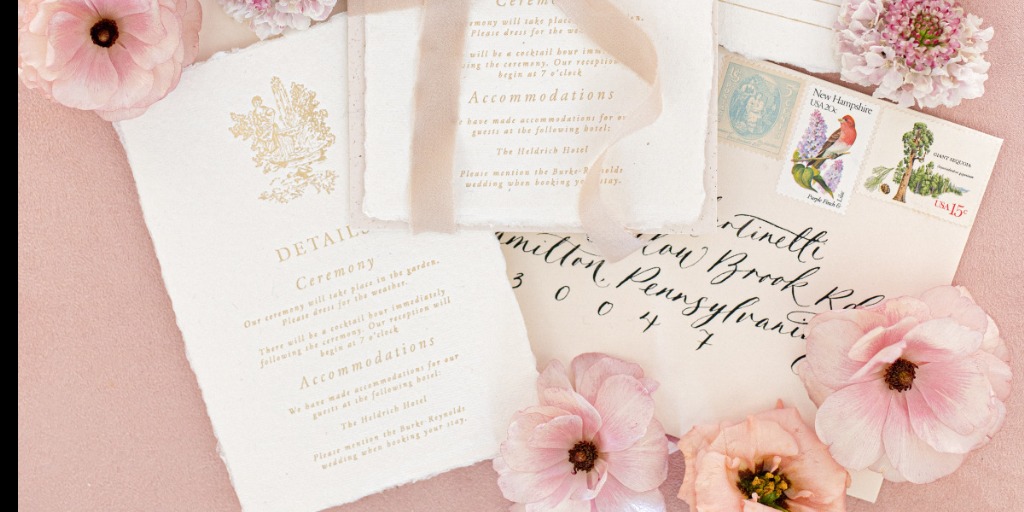
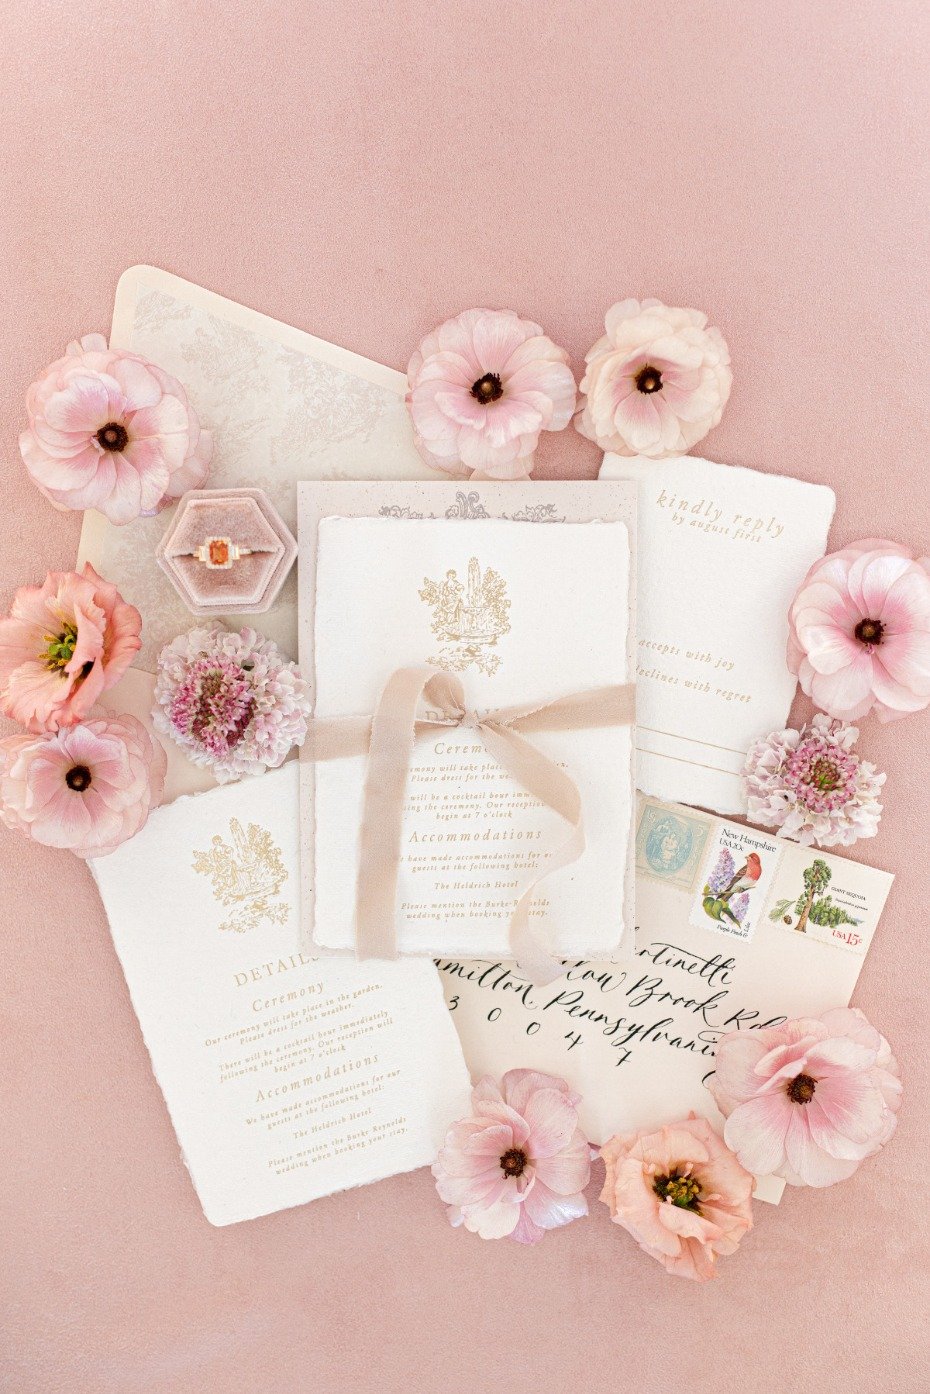
Calligraphy
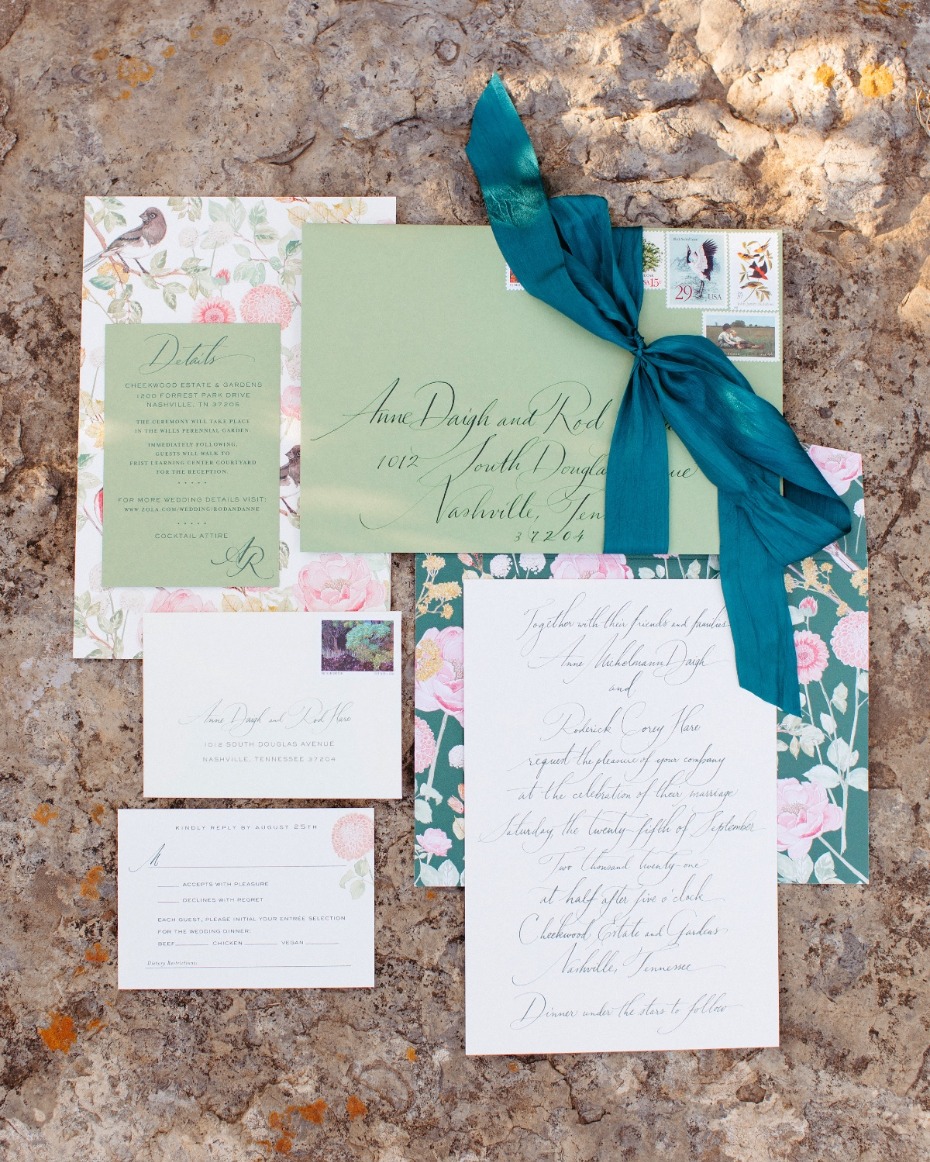 Photo: Gipe Photography
Hands down, calligraphy is the best way to elevate your wedding invitation suite. There’s something about calligraphy that makes everything look more expensive (because it usually is!). But, there are a few ways to cheat the system. The first option is to select a calligraphy font on whatever website you are ordering from. The key to getting that hand-done look is to select a font that’s not too perfect, so before you check out their calligraphy font suggestions, take a peek at the handwriting category if they have one. If it’s an option, go ahead and pay the additional to have your envelopes addressed and printed by the company that is printing your invitations and use the same calligraphy font for the addresses as well. Another way to get the look is to actually do it yourself. Not already a calligraphy master? Don’t sweat it! There are a ton of great tutorials out there like this one by Amanda Lee and beginner calligraphy kits to get you started. We also came across this tutorial that shows how to use a Cricut machine (if you have one) to get perfect printed lettering that looks like you did it all by hand!
Custom Stamps
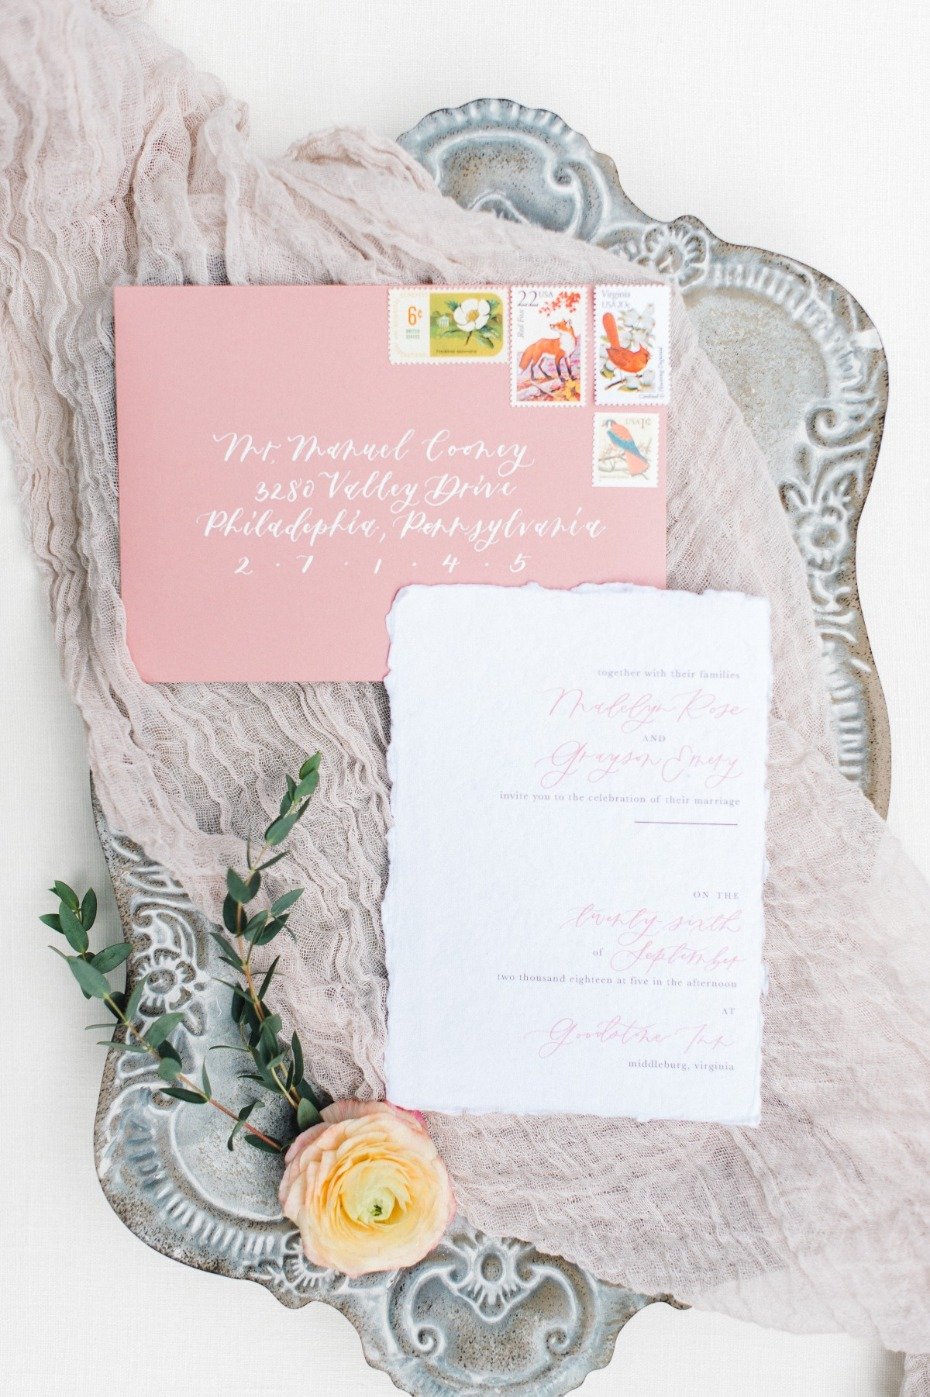 Photo: Jenny B Photography
Stamps often go overlooked when it comes to wedding invitations, but a good stamp can add a ton to the overall presentation. Similarly, if you just go with whatever they’ve got at the post office, it can take even the prettiest invites down a few pegs. Don’t know where to look? Check out The Little Postage House, a company that collects and sells vintage postage sets. Choose from one of their curated sets that are sorted by theme and color or request a consultation for a custom set that captures your wedding design and personality. You can also shop for themed stamps on the USPS website where they have a much larger selection than your local post office.
Wax Seals
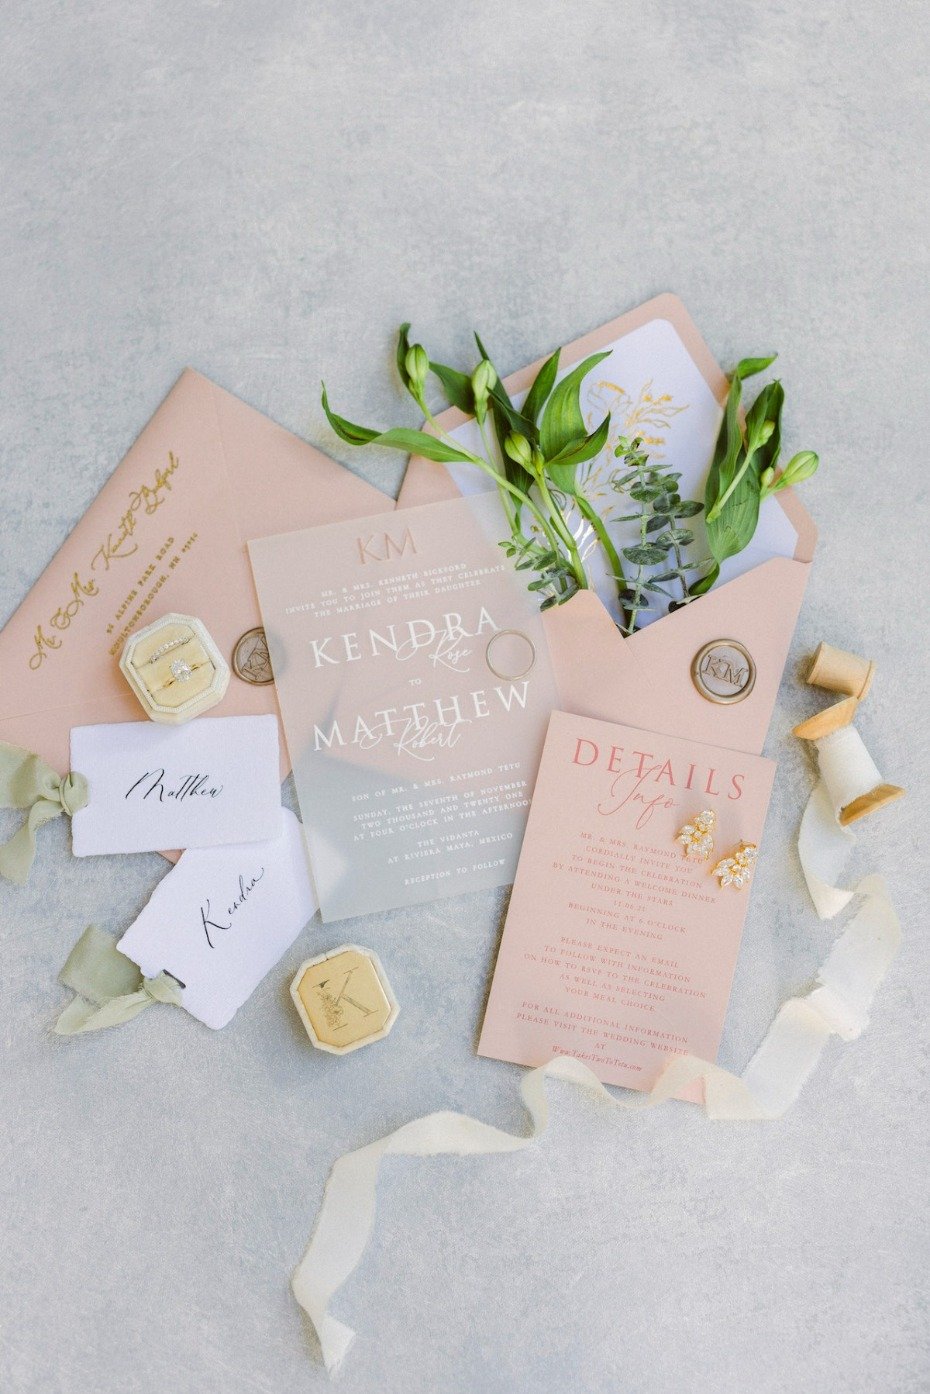 Photo: Moni & Adri Weddings
You knew this was coming. Who doesn’t love a good old-fashioned wax seal? And, they’re super easy to DIY! There are a ton of pre-made seal options and customizable templates on Etsy. Go with something classic like a floral pattern or make it super custom with a monogram. Now that you’ve got the seal, let’s talk wax. You can do it like they did back in the day by melting a wax stick and dripping it onto your sealed envelope, or you can use the modern method where you put wax sticks into a glue gun and add the wax to the envelope that way. We recommend the latter, though the old-fashioned way does come out looking slightly more organic. If that all sounds like too much work, there are companies that create the wax seal for you and add an adhesive to the back, so all that’s left to do is stick it on. Keep in mind that letters with wax seals cannot be put through the sorting machine at the post office and will need to be hand-canceled. For some added drama add some dried flowers to your wax seal, because, why not?