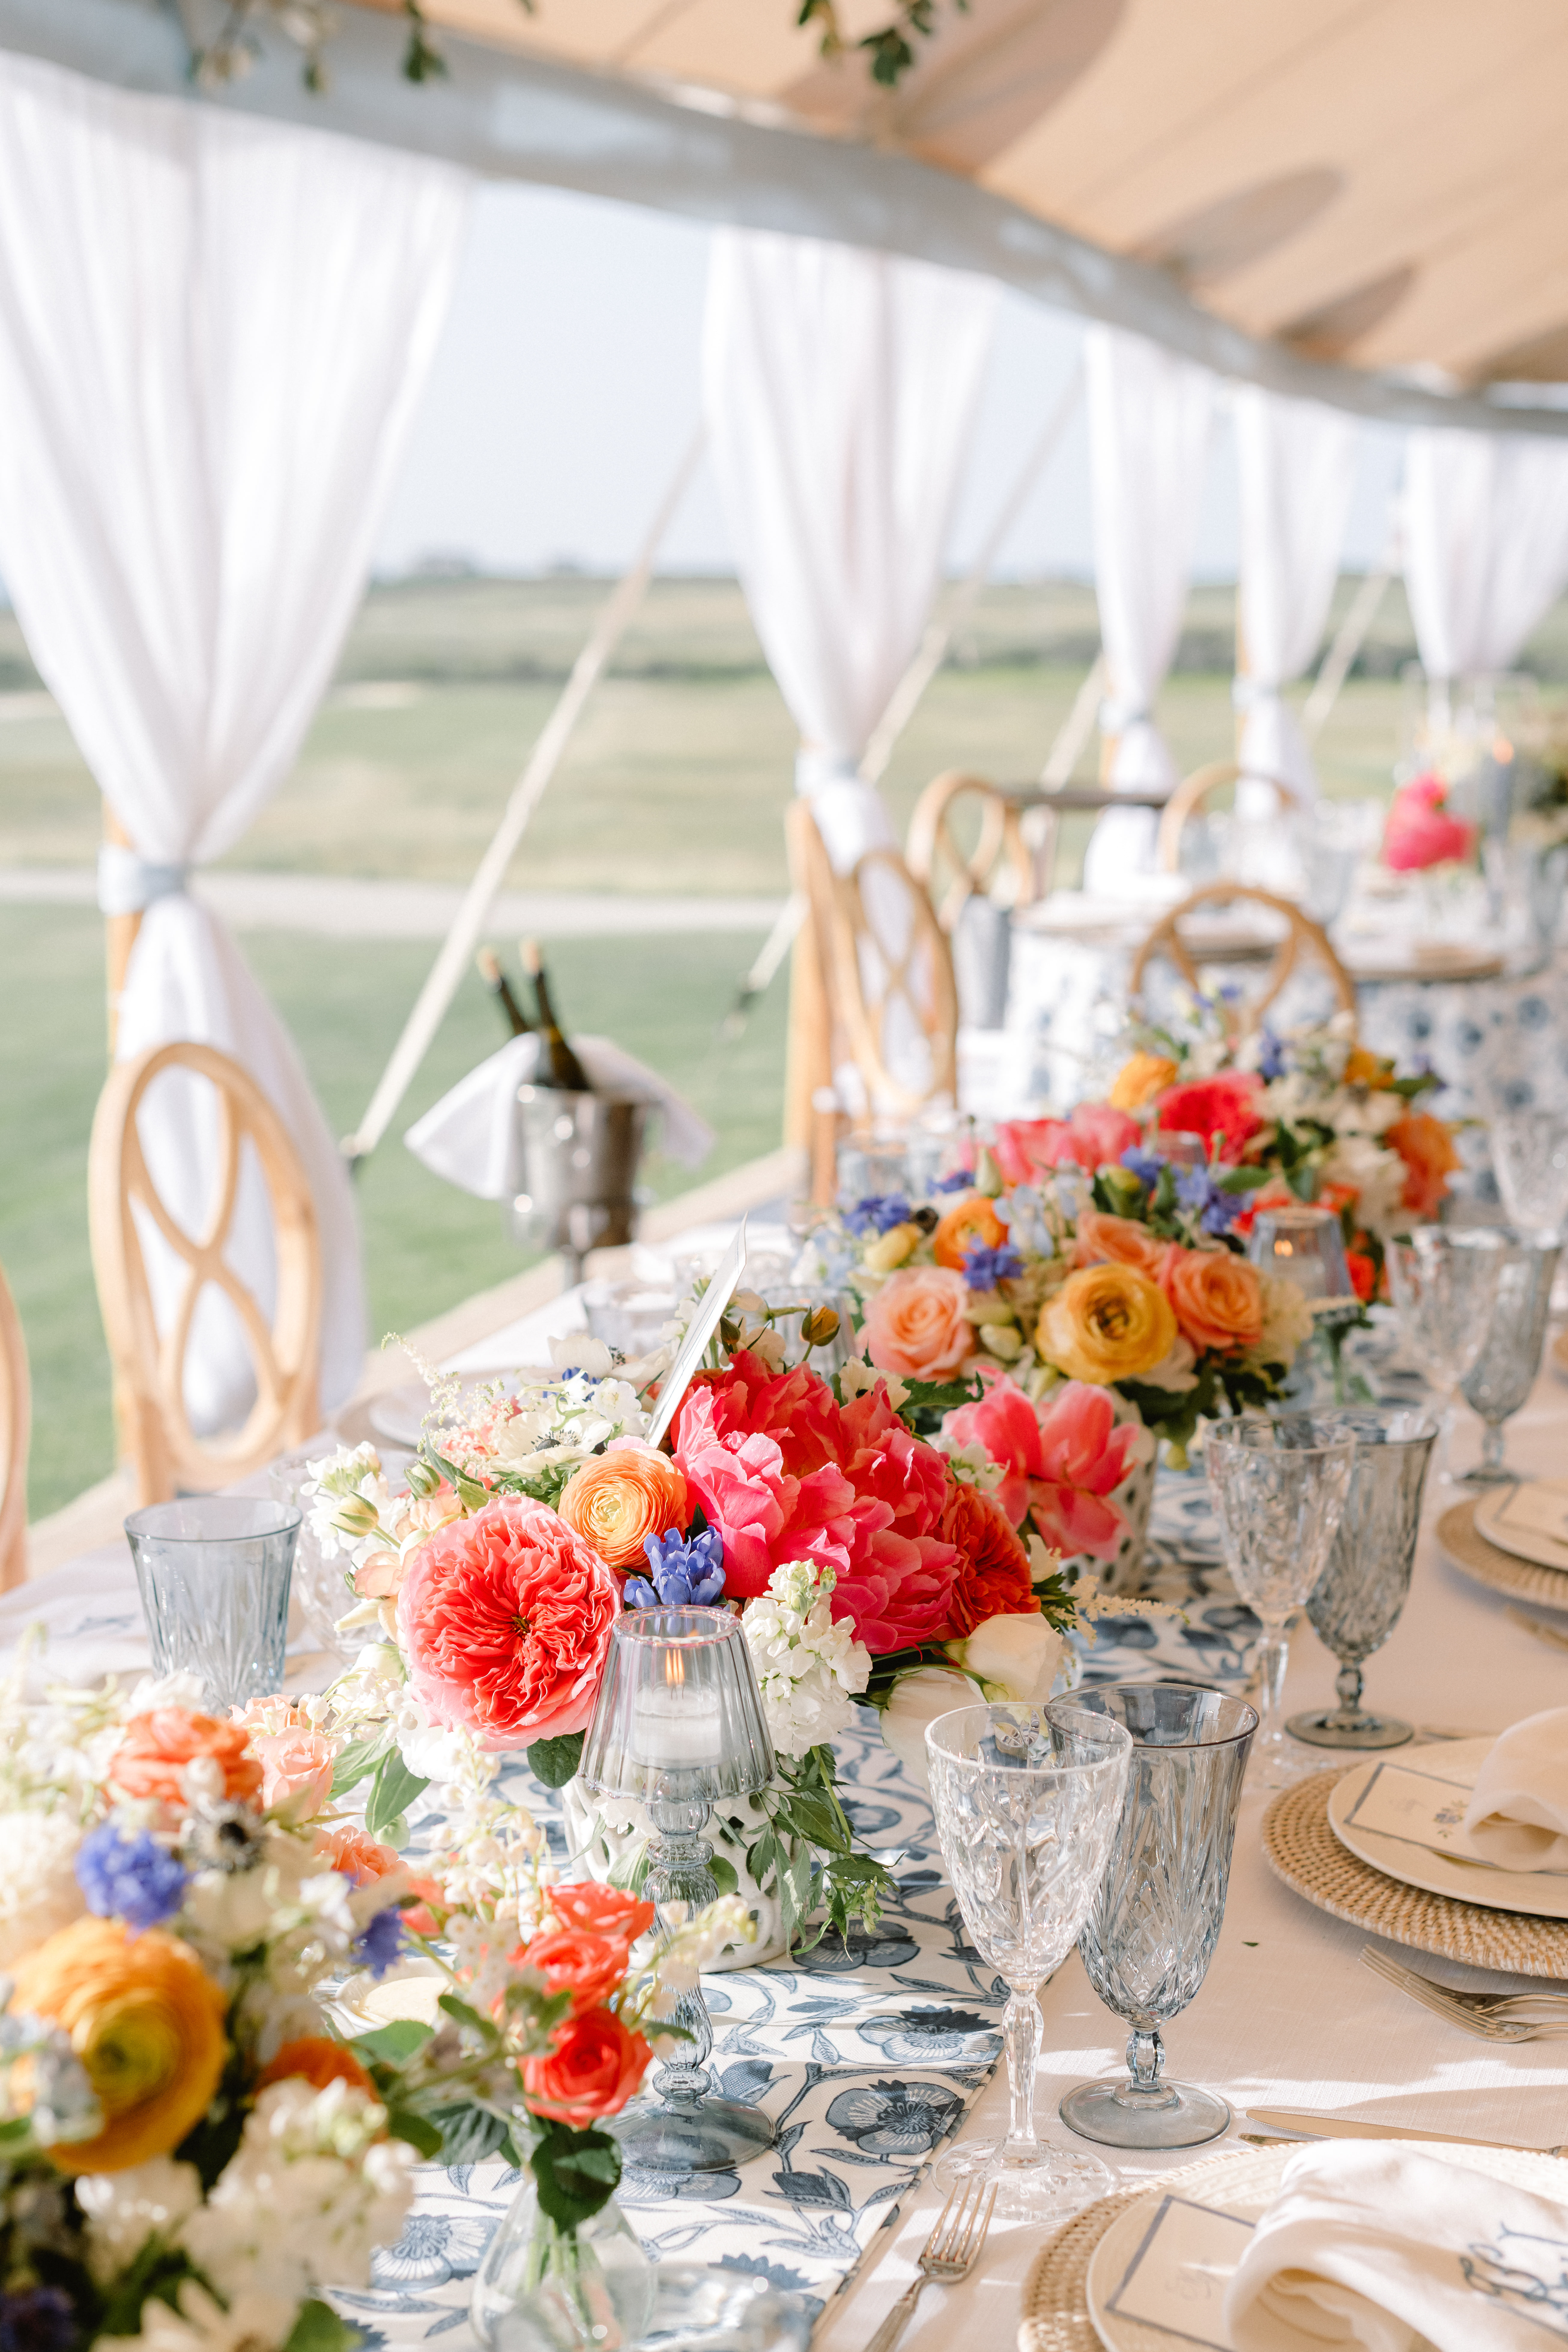
 Original Photo Credit: The Glitter Guide
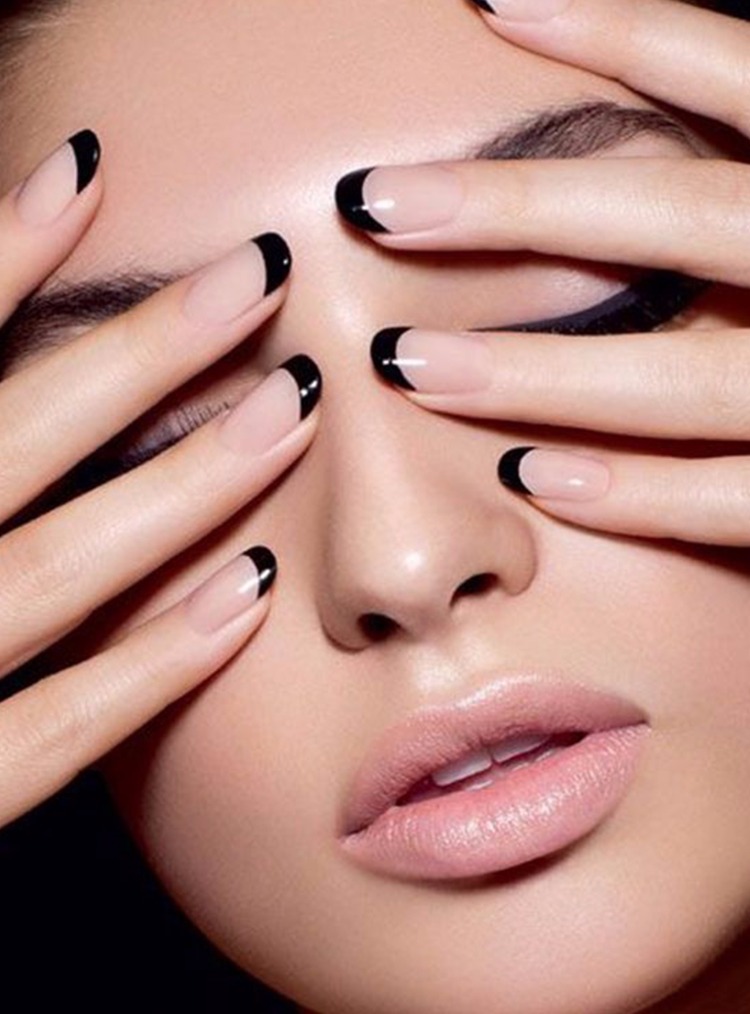
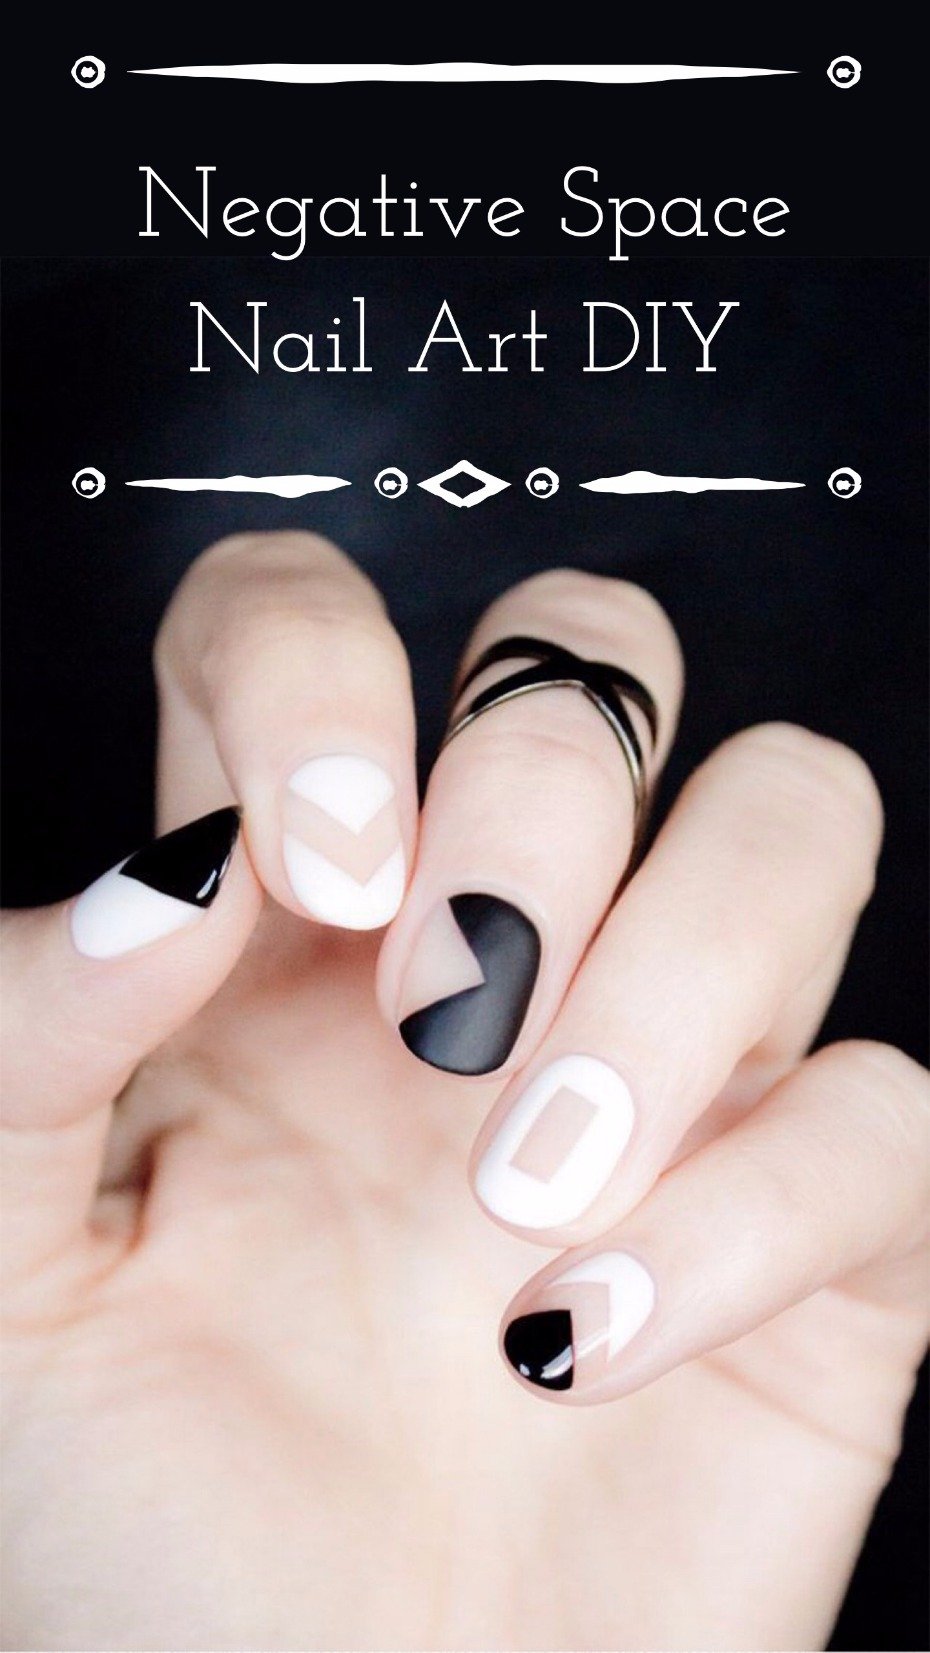
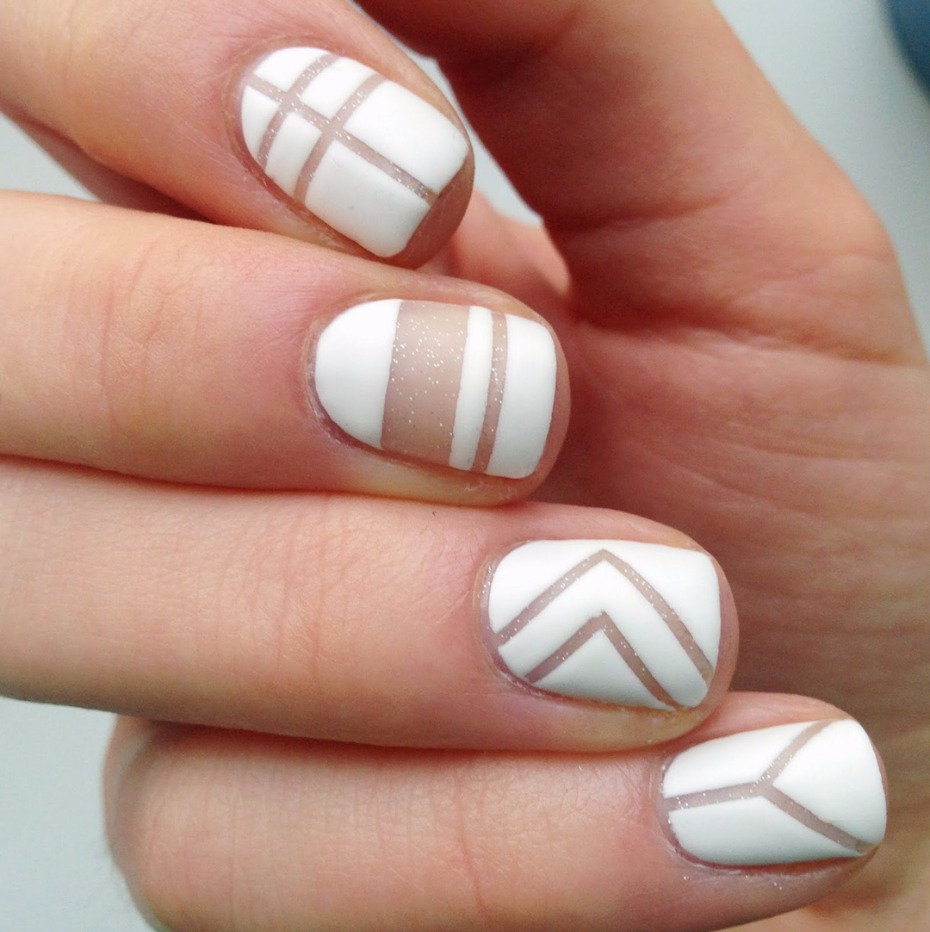
Get ready to start obsessing. You know we love nails. The negative space nail trend is one you’re going to fall head over heels for! Instead of having every inch of your nail covered, with negative space, you actually have part of your nail where the polish is clear and you can see your natural nail.
This trend is incredibly rave-worthy and one you can do at home with more simple designs. Keep scrolling to see this easy nail DIY.
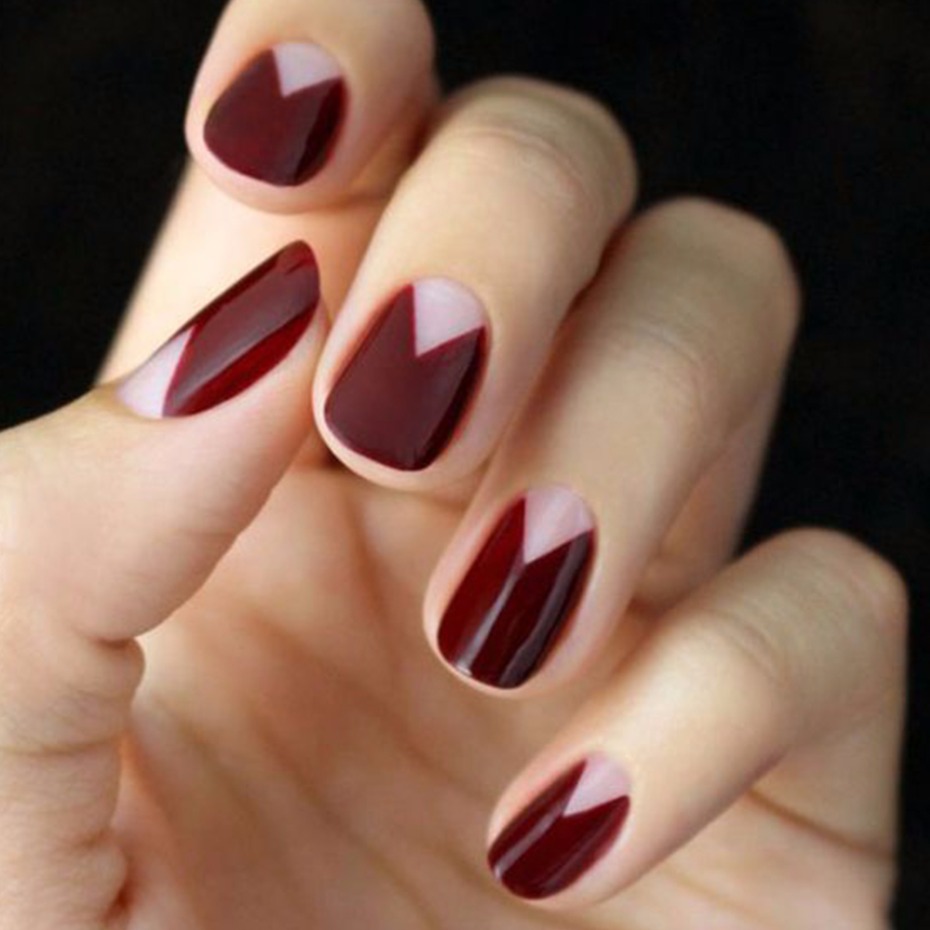 Photo Source: Sofeminine
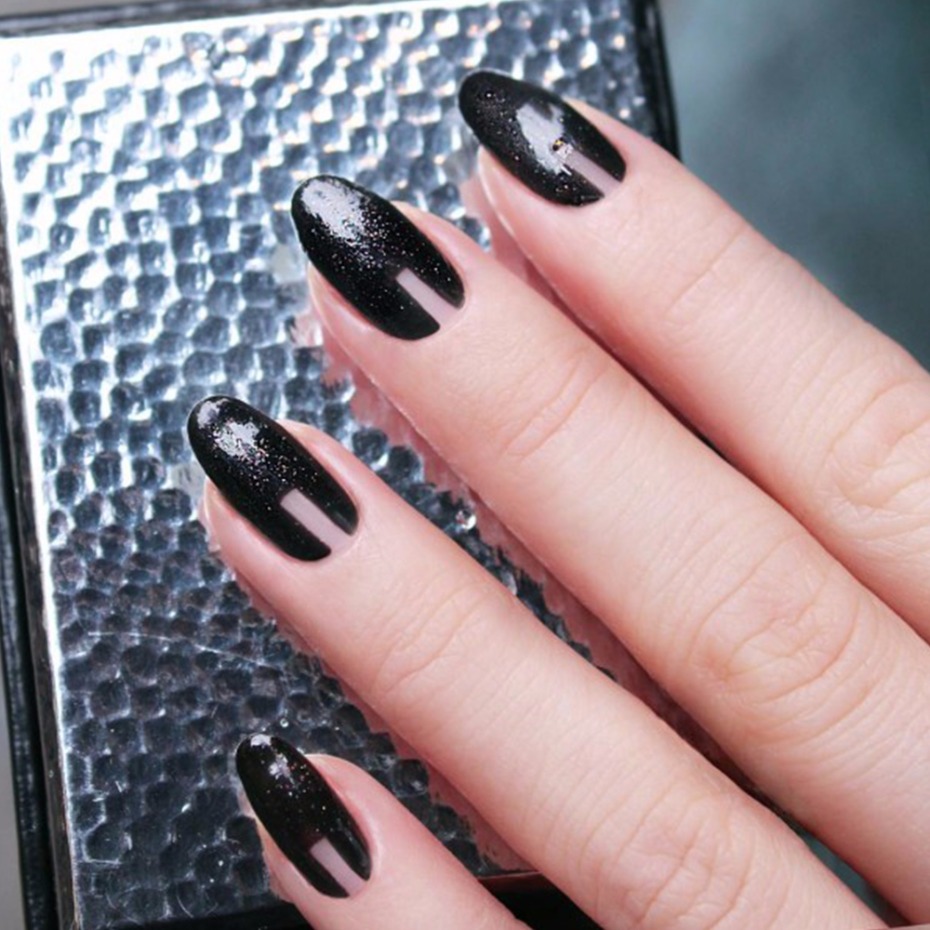 Photo Source: Fresh Design Pedia
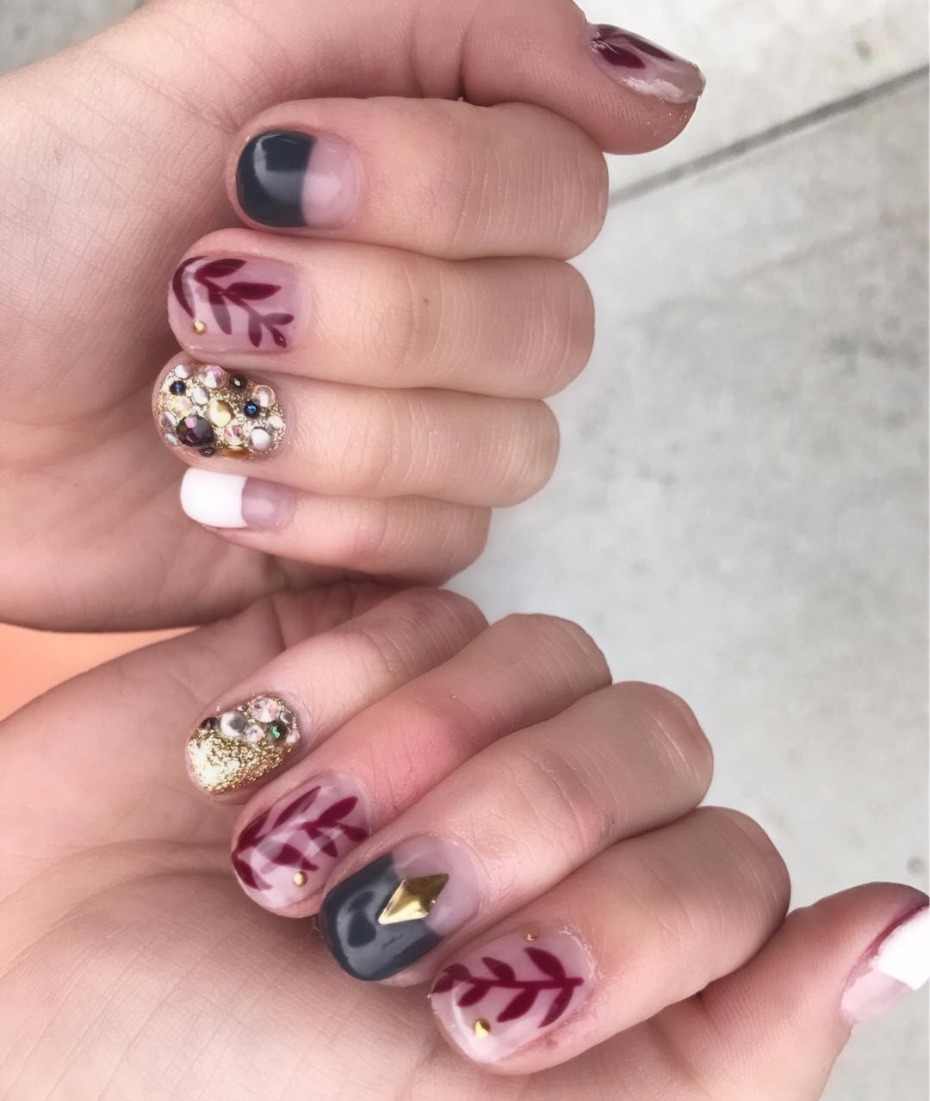 Nails by: Nails By Liz
 Photo from: Atelier Doré
 Nails By: Nails By Mander
 Nails By: Nail That Design
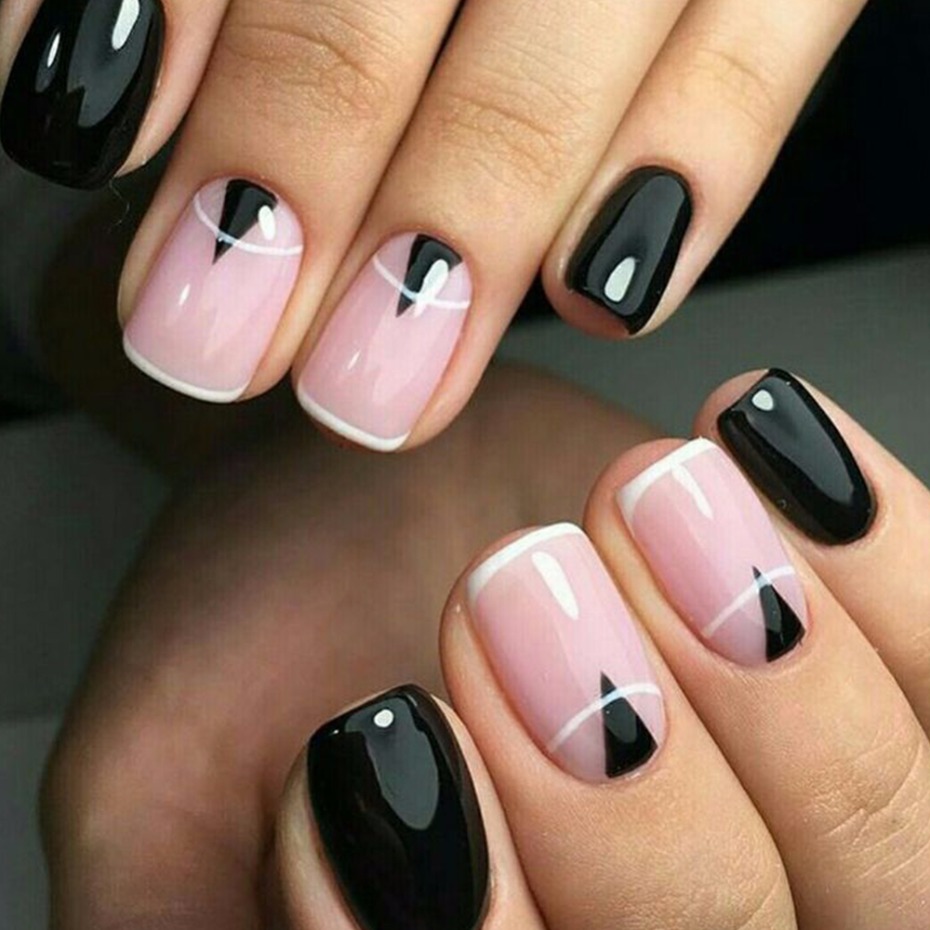 Photo Source: Pinterest
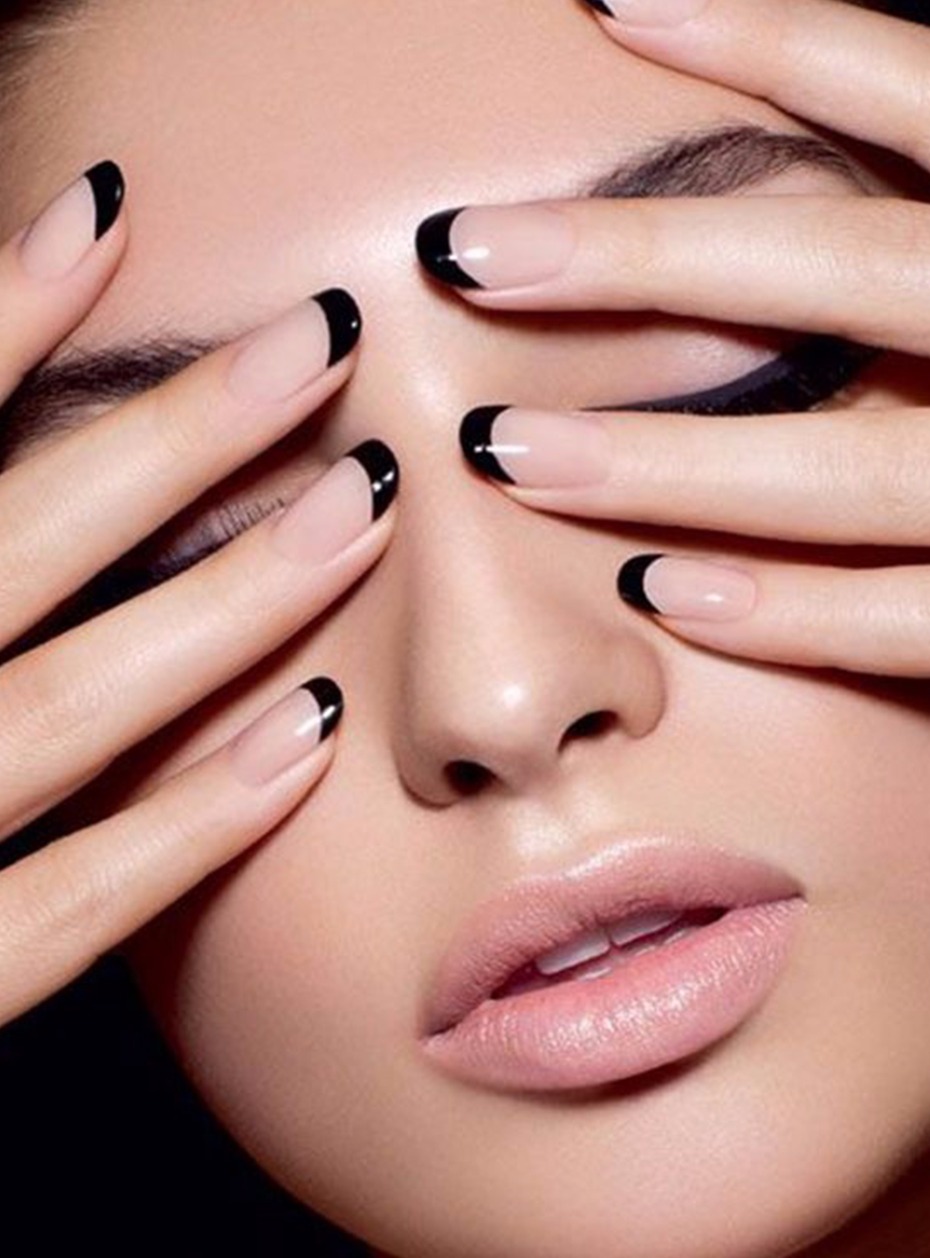 Photo Source: Fashion Enzyme
Whether you have real nails, fake nails, gel polish, or regular this nail trend looks STUNNING on everyone. I have been so obsessed with this trend lately that I decided to find a negative space nail DIY!
I’ve tested this DIY out and it actually works! Keep scrolling to find out how to achieve this nail trend at home. Before you start be sure to follow our 4 Tips To Keep Your Nails Looking Flawless.
Negative Space Nail DIY
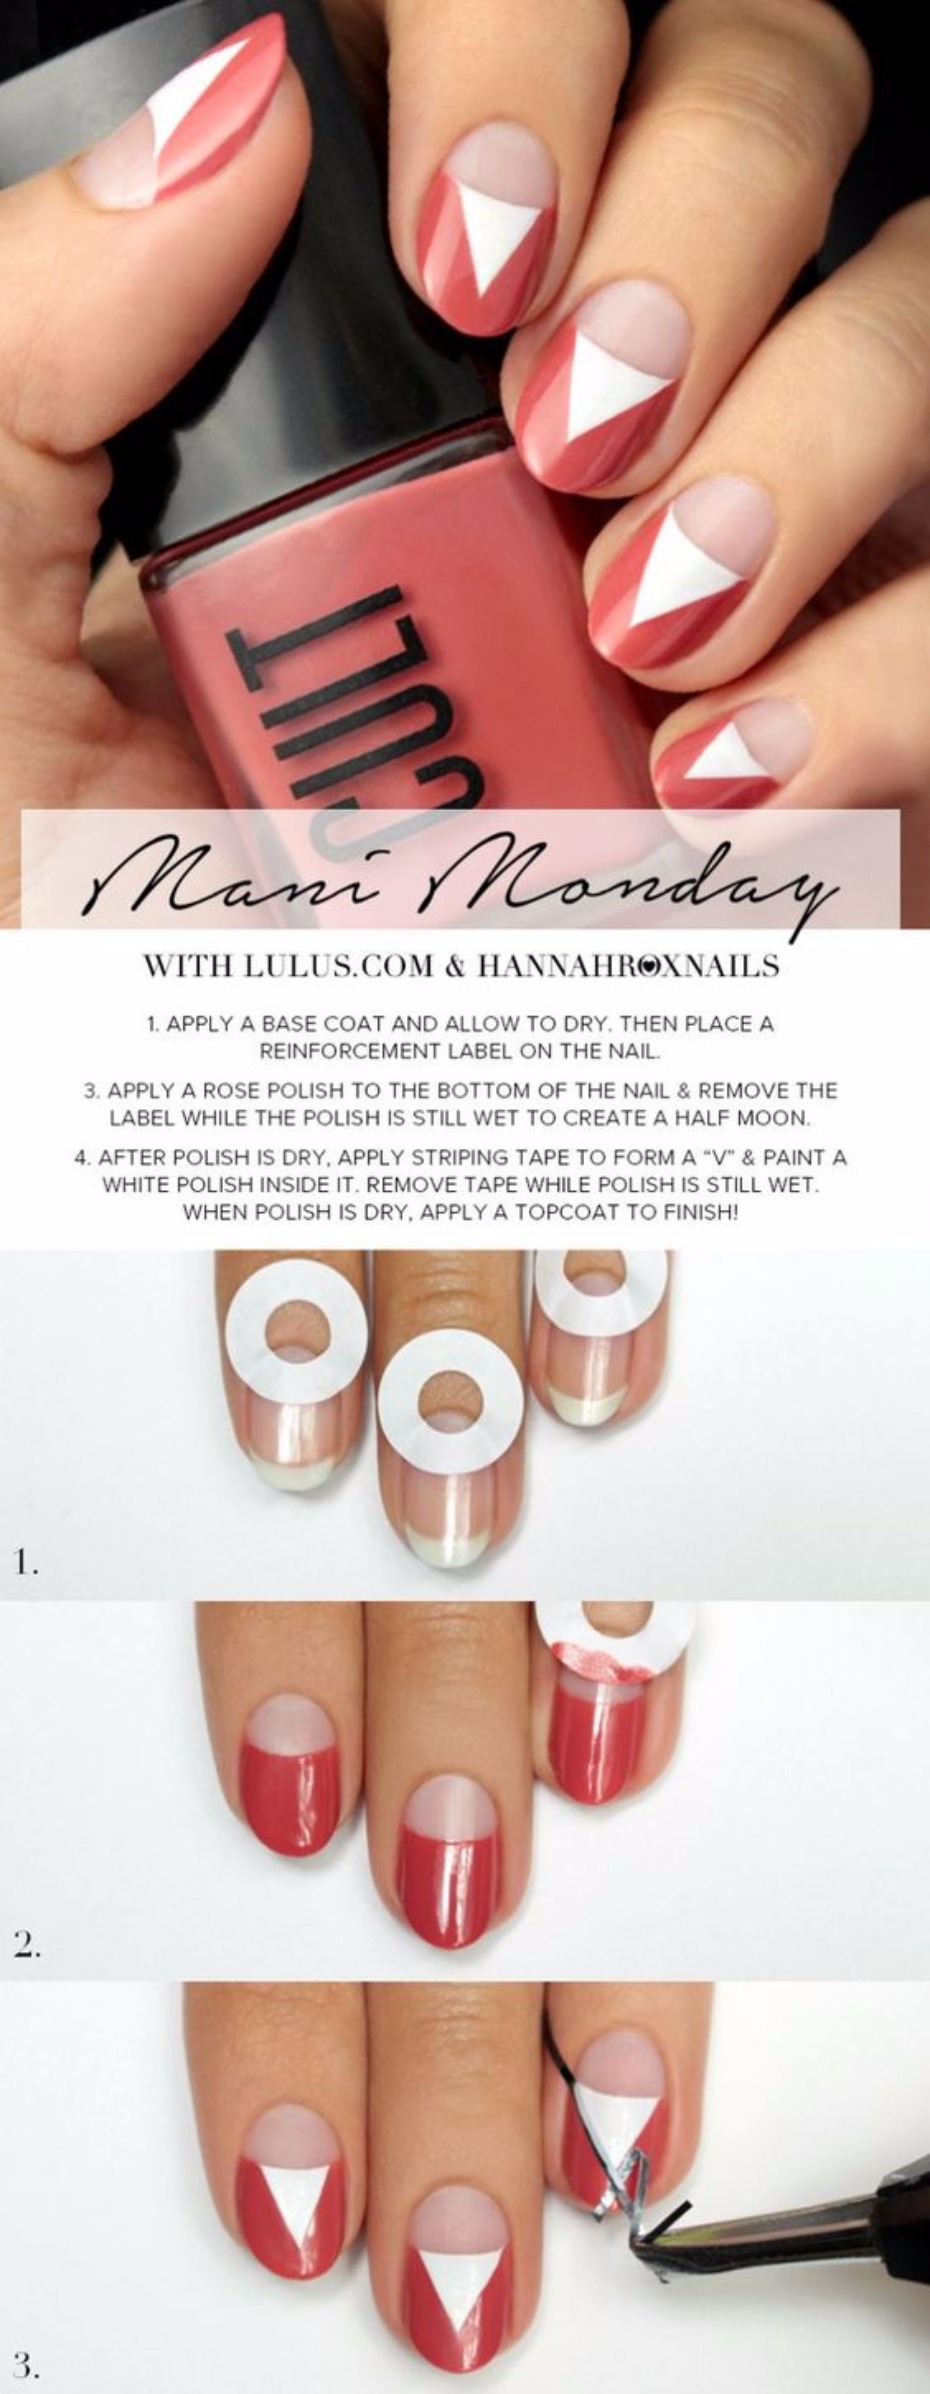 Nail DIY From: B Nails Salon
Supplies
1. Base Coat
2. Reinforcement Labels
3. Nail Polish – Two Colors
4. Stripping Tape
Total supply cost excluding polish is less than $5!! You can get these supplies from Amazon or from your local stores. If you follow the directions exactly you should get similar results! Whats amazing about this DIY is that there are endless designs you can do with it. With these reinforcement labels and stripping tape, you can create any kind of negative space nail art you want! If you try this DIY make sure to tag us with #WeddingChicksDIY. We’d LOVE to see how your nails turned out!!