
How great were all those rustic wedding ideas from Mayhar Designs? You might have noticed all the books that were used in the wedding décor . They added color, dimension, height and interest. Especially to all the lovely yarn wrapped bottles with florals in them. Those were so great … didn’t you think?
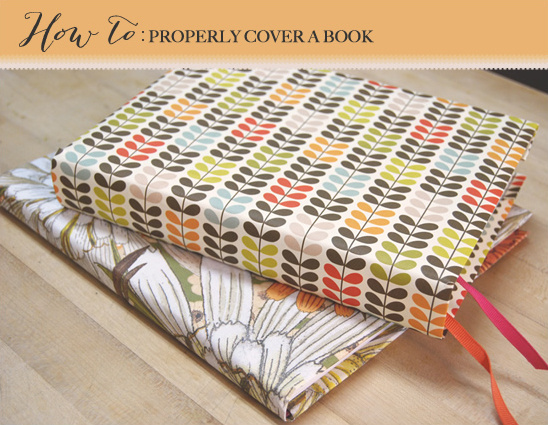
While they can be perfect in vintage form or in the correct color palette, what do you do when you are struggling to find the perfect shade or style? Mayhar Designs has a solution that is quite simple … a book cover. By adding fun paper to your book display, you can truly fine-tune your color palette and design direction. You can also take a vintage idea and modernize it by selecting paper with clean lines and on-trend patterns. Etsy and paper-source have some great wrapping paper selections, but you can also go with kraft-paper for a budget friendly option.
Read on for step by step instructions on how to cover a book … properly. A special thanks to Mayhar Designs for providing this diy wedding project
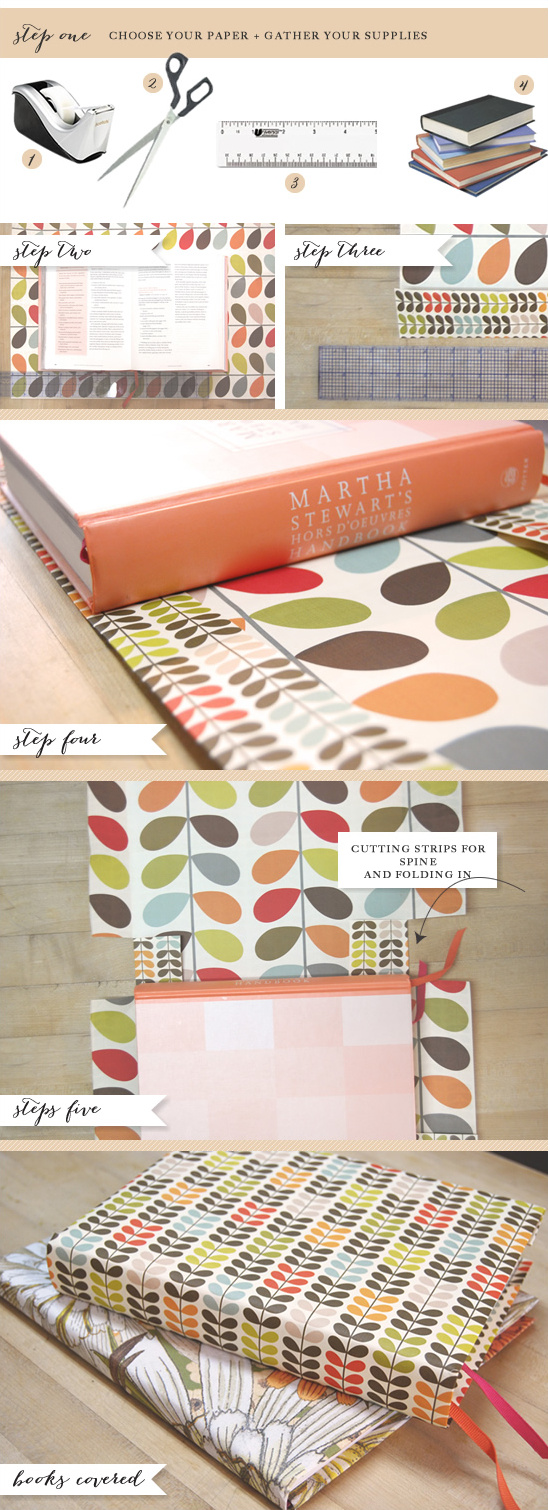
Step One: Choose your paper and gather your supplies
1. scotch tape | 2. scissors | 3. clear ruler 4. books Find your books. Feel free to use what you have, but if you need to add to your stash, stop by your local thrift and Goodwill stores. You can often find hardcover books for $1 or less
2. Lay your paper on a flat surface with the right side facing down. Lay your book on top, spine down and cover open. Using a ruler, trace a 2-3” border around your book. Cut along the lines.
3. Starting at the bottom, fold the paper upwards, creating a 2” flap. Next, you will want to fold the top of the paper downwards, creating the top flap (About 2 1/2”). This will vary slightly, but the goal is to have about ¼” edge above and below the top and bottom edges of the book. This will allow you space to wrap.
4. Next, fold the left edge towards the center creating another 2” flap. Place your book against the fold at the left side and close the book. You can now create your final fold on the right cover edge, making sure that it is taut against the cover.
5. When all of your folding is nicely creased, you will need to cut 2 strips for the spine. Tuck the spine flaps in and pull out all other flaps. These can wrap around all of the book edges. I like to wrap the top and bottom flaps first, followed by the sides. Tape you flaps down and you are good to go.