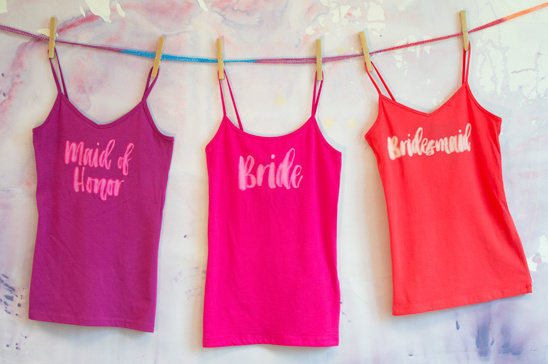
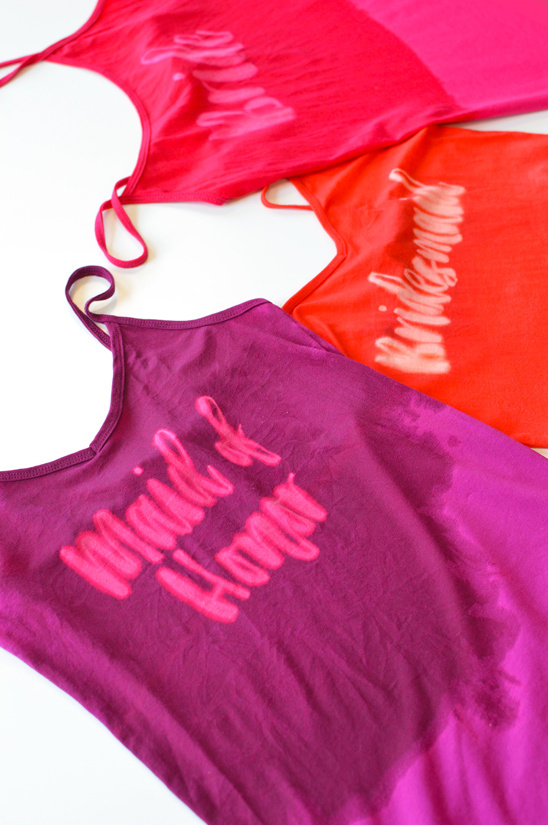
Have you been meaning to find a cute way to ask your gals to share your big day? Or maybe you just have a shirt that needs a little pizazz. These DIY bleach shirts are the answers! Not only are they super cute but they are a breeze to make AND we have FREE DOWNLOADABLE templates for you to print out and use! Hot Dang!
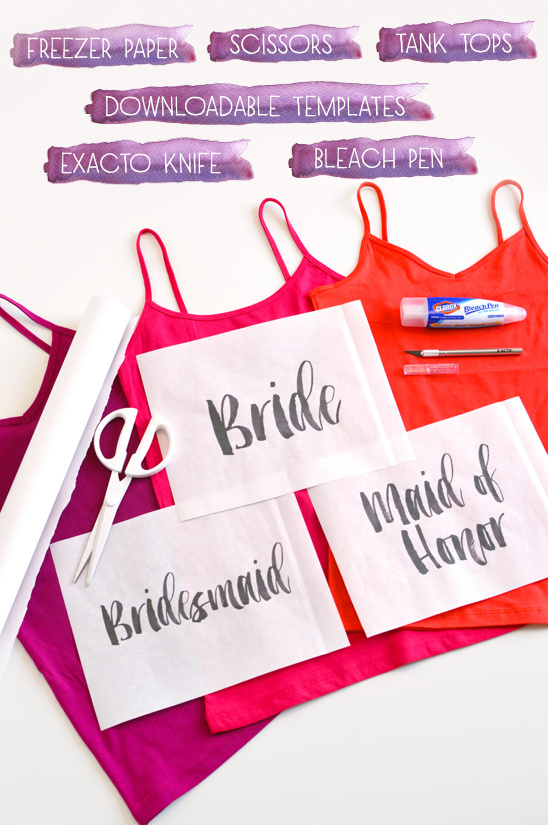
Materials:
Freezer Paper, Scissors, Tank Tops, Downloadable Templates, Bleach Pen, Exacto Knife, Iron, 1ft x 1ft Piece of Cardboard & Plastic Bag.
Step 1:
Carefully measure and cut freezer paper into 8.5 x 11 sheets to print your templates onto. Feed one sheet at a time into your printer so that the image is printed on the non-wax side of the paper. You can get these free downloadable templates by clicking here or on the image below.

Step 2:
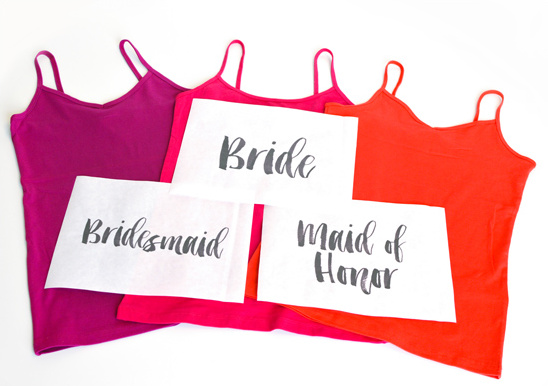
Print out a template for each shirt you plan to bleach. You will not be able to reuse them, so if you have multiple bridesmaids be sure you have multiple bridesmaid templates printed.
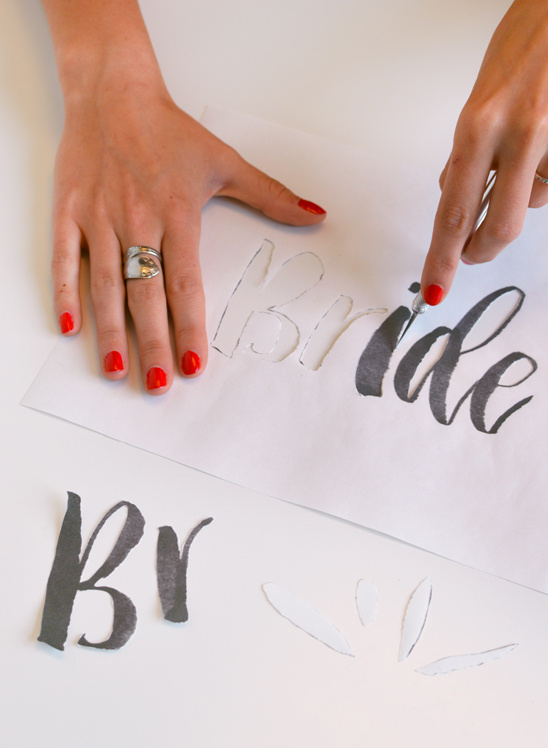
Step 3:
With an Exacto knife carefully cut around each letter. We suggest starting with the insides of each letter as it will make the cutting process much easier. You will need the interior shapes of the letters so be sure to hang onto those for the next step.
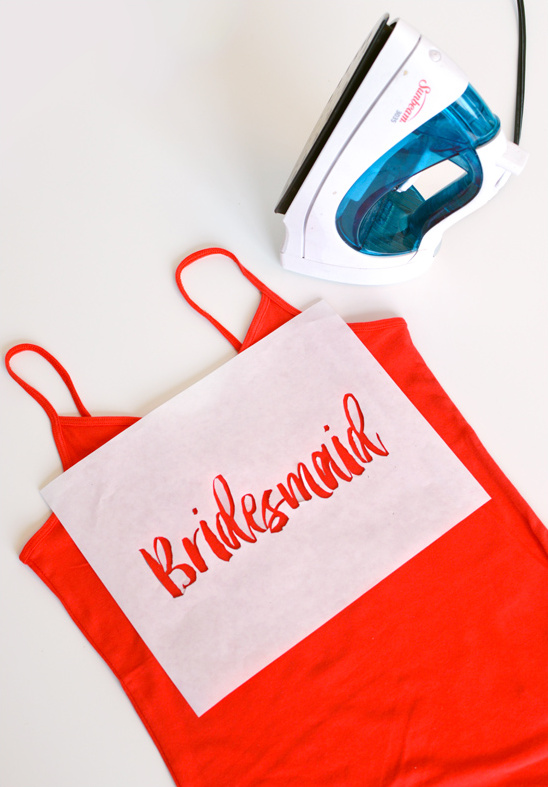
Step 4:
Place your newly cut out template onto your shirt where you would like it to be bleached. Carefully add in the interior shapes of the letters. Gently iron template to shirt, This shouldn’t take more then 20 or 30 seconds.
Step 5:
Insert plastic back covered piece of cardboard into the shirt to prevent the bleach from staining the back of the shirt.
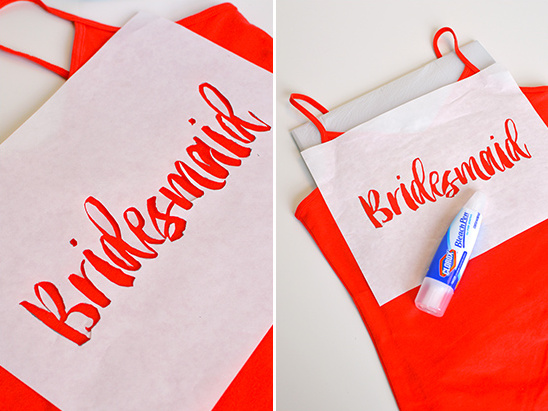
Step 6:
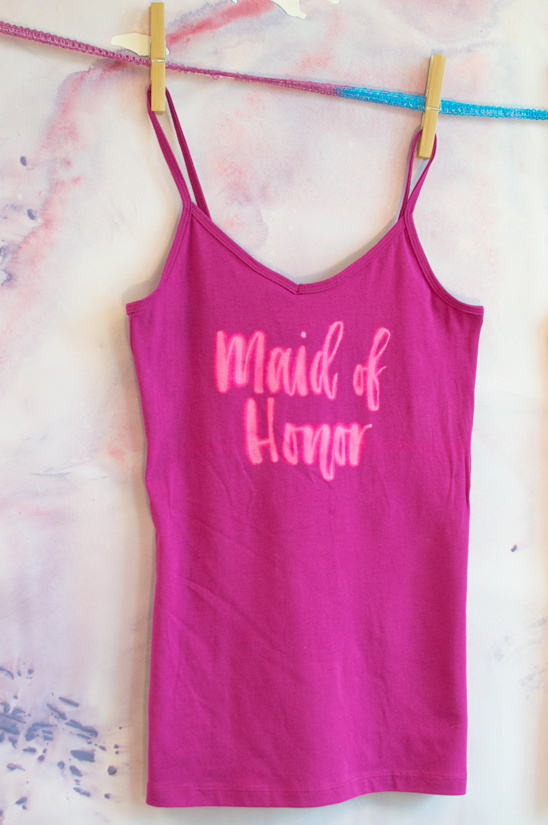
Lightly apply bleach pen gel to the shirt. We recommend doing your best to stay within the lines of the template. This will cause less bleeding and make the letters more crisp.

Step 7:
Let bleach for about an hour to an hour and a half depending on the color of the shirt. A good rule of thumb is the darker the color the longer it will take to bleach properly.
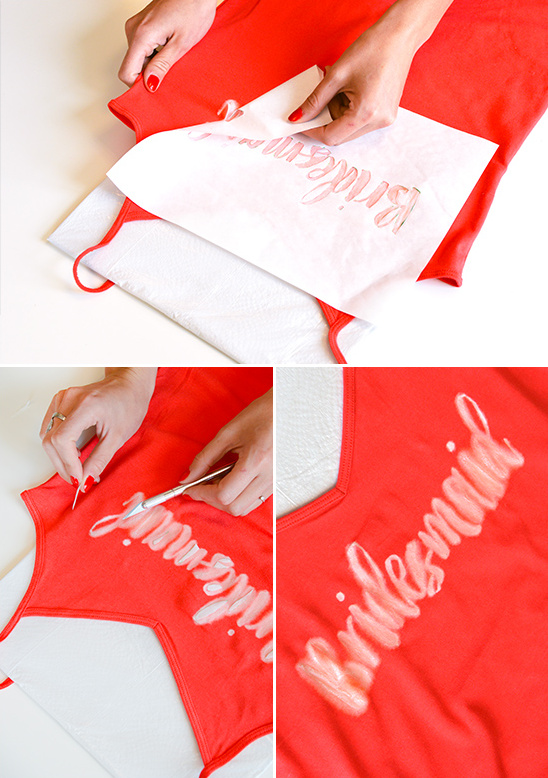
Step 8:
Once the bleach time is up carefully peel off the template and discard. Then with your Exacto knife gently remove the interior shapes of the letters.
Step 9:
Thoroughly rinse off the shirt to stop the bleach and let dry
Step 10:
Machine wash before you wear in order to get rid of all of the leftover bleach. Hang up and prepare to surprise all of your besties!