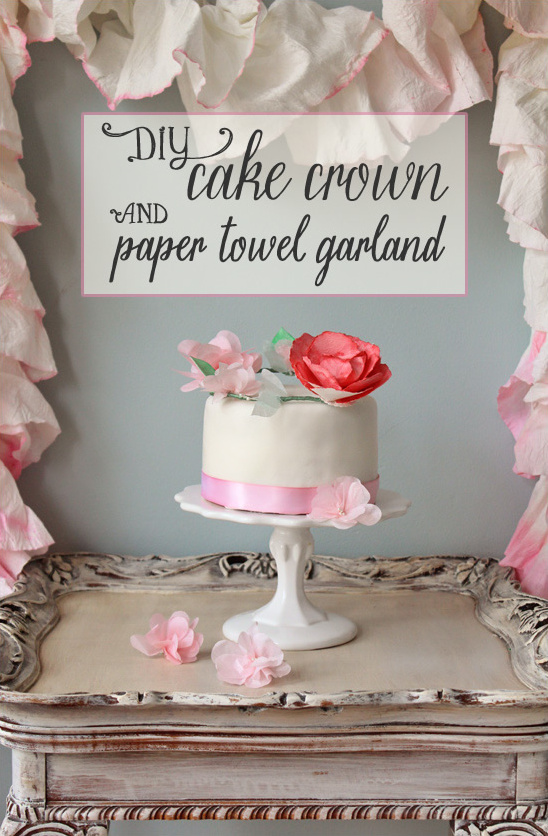
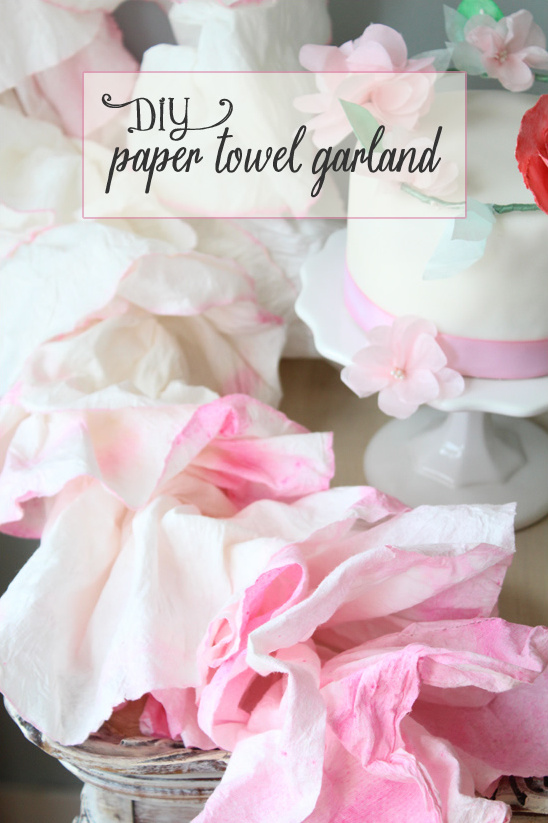
Melissa, Kellie and Katie of Icing Designs gave us these two amazing DIY projects to share with you today! Both projects use paper to create stunning decor for any event. Starting with directions for making a cake crown with watercolor and tissue paper flowers followed by the steps for creating ruffly garland made out of paper towels. Both of these DIY projects would be perfect for a summer bridal shower or even a small backyard wedding! Plus, be sure to read on for the detailed instructions for making the tissue paper flowers.
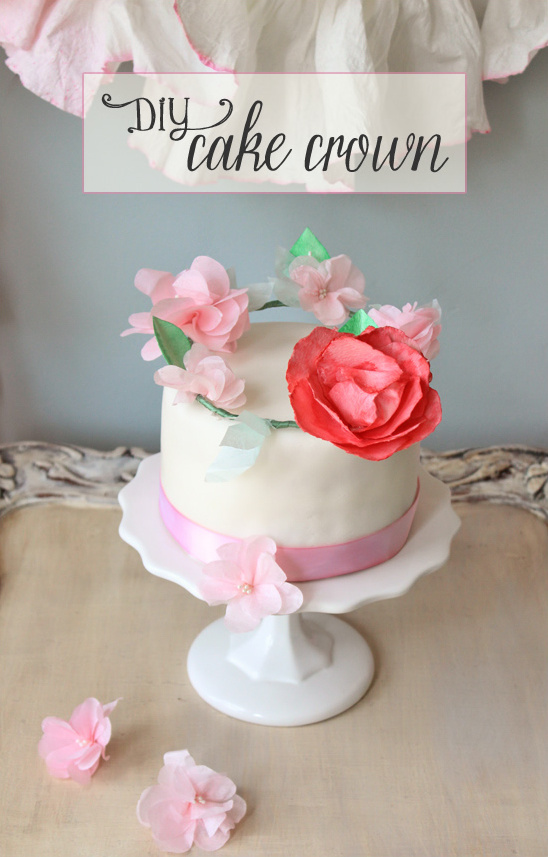
DIY Cake Crown To make this DIY Cake Crown you will need floral wire, green satin ribbon, hot glue, watercolor paper, watercolors, scissors, paintbrush, tissue paper and floral stamens (which you can find in the baking department of you nearest craft store).

Step 1: To begin, take your floral wire and twist it together so that if forms a circle. Then wrap the floral wire with green satin ribbon and use some hot glue to secure it. Take the watercolor paper and cut out about 14 two inch circles; these will be the petals of your flower. Melissa, Kellie and Katie ripped the edges of the circles for a more life-like feel. Cut a small slit in the bottom of the circles, leaving one in tact to use a base to glue the petals. You can also cut a few leaf shapes while you’re at it.
Step 2: Now it’s time to paint! Begin painting your petals with the watercolor of your choice. Don’t worry about being neat — Melissa, Kellie and Katie recommend leaving some white space and painting the edges of the petals darker. Don’t forget to paint your leaves, too!
Step 3: When your petals are dry you can begin to assemble your flower. Remember how you cut a slit in each of the petals? The first step in assembling your flower is to cross one side of that slit paper over the other and hot glue it to hold it in place, giving the petal some three-dimensionality.
Step 4: After you have given all of your petals a little bit of shape and dimension it’s time to glue the petals to the base. Begin hot gluing five petals around the perimeter of the base circle and layer up from there. Continue to hot glue petals on until your flower is full. Melissa, Kellie and Katie curved the final three petals in toward the center.
Step 5: Continue reading for the detailed steps for creating these beautiful tissue paper flowers!
Step 6: The final step to create your DIY Cake Crown is to attach the flowers to the circle of wire your created in step 1 using hot glue.
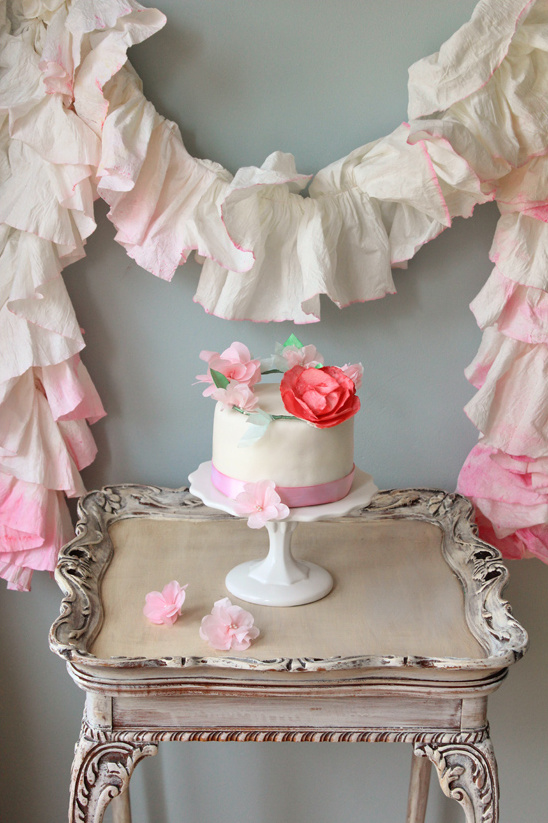
DIY Paper Towel Garland To make the ruffly DIY Paper Towel Garland you will need Viva Paper Towels (Melissa, Kellie and Katie recommend this brand because of it’s fabric-like quality and suggest getting the full-sized sheets rather than the “choose-a-size” rolls), food coloring (your choice of color), water, a bowl for each shade of food coloring and either a sewing machine or needle and thread.
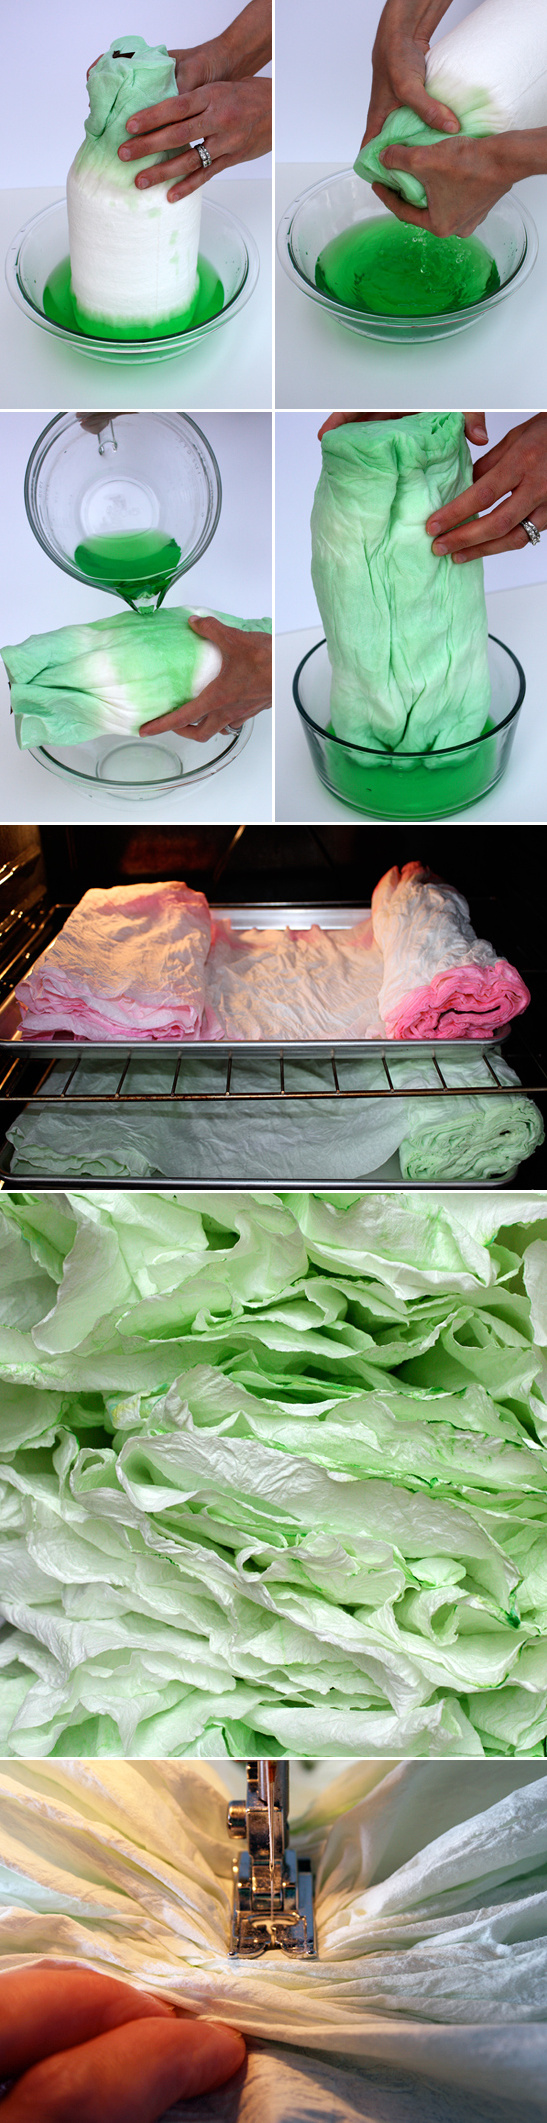
Step 1: Start by mixing the food coloring with water, then dip each end of the roll of paper towels into the colored water. Melissa, Kellie and Katie suggest experimenting with different dyes, like Easter egg dye, to create different colors.
Step 2: Squeeze out as much of the water as you can back into the bowl after soaking the paper towels.
Step 3: A) Saturate the rest of the paper towel roll with the colored water by either pouring it over the role or submerging the entire roll in the colored water. B) To create a bit more variation in the color, Melissa, Kellie and Katie suggest dipping the ends in darker colored water.
Step 4: Now comes the time consuming part — drying the paper towels. This can be done in an oven by setting it to 200˚ then placing the towel roll on a baking sheet and unrolling it one layer at a time, stacking the layers as they dry. Melissa, Kellie and Katie also discovered that their dryer has a rack that is used to dry items that cannot tumble, which worked great for this project and was a bit faster. To use the dryer set it on high and unroll the towels around every five minutes. Both of these methods will take several hours. The last option to dry the paper towels is in the sun on a warm day, but this option will take the longest.
Step 5: This is what your stack of paper towels will look like when it’s all dried.
Step 6: The final step is to pick thread that matches the color of your paper towels, then gather and sew down the center of the towels. Don’t worry if the sheets tear apart from the roll in certain places because you won’t be able to tell once they are all sewn together. You can make the garland any length you want by sewing multiple roles together.
Read on to learn how to make DIY Tissue Paper Flowers!
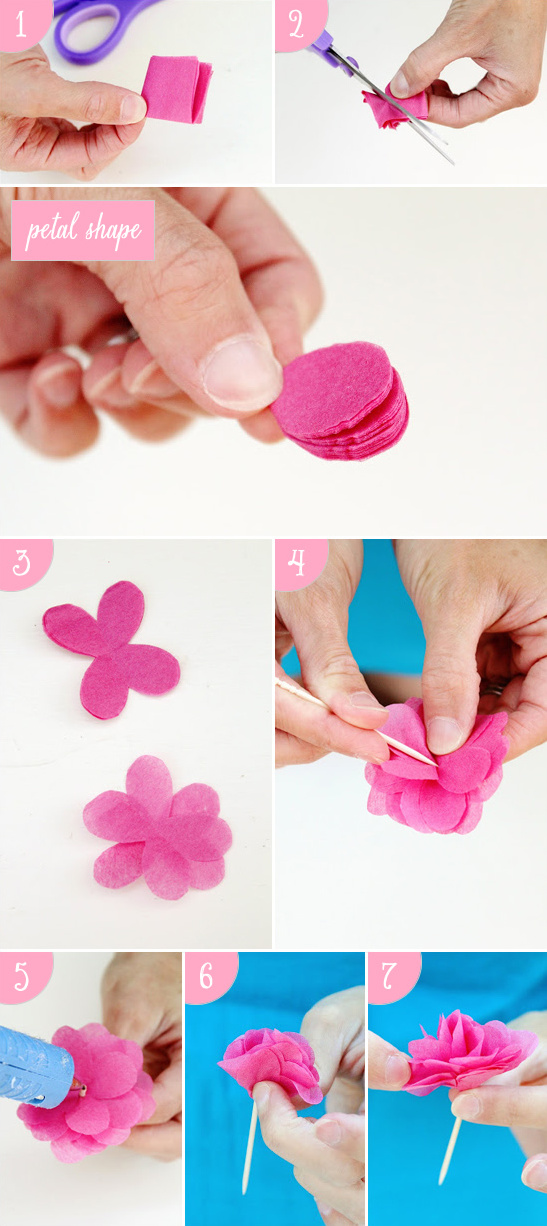
Step 1: To make the tissue paper flowers, start by cutting the tissue paper into two inch squares and fold each piece into quarters.
Step 2: Holding the folded corner of each piece of tissue paper, start cutting around the edge to make a petal shape — be careful not to cut too close to the point.
Step 3: Unfold the tissue paper and layer the flower shapes on top of each other, staggering the petals.
Step 4: Poke a hole in the middle of the stacked flower. Melissa, Kellie and Katie have a wonderful little punch that makes a tiny hole, but a pin or even the end of the toothpick will work just fine.
Step 5: The next step is to create a hole in the layers of tissue paper. This can be done by using a pin or toothpick and poking a hole, but Melissa, Kellie and Katie recommend gently folding the petals in half and cutting a small slit in the middle of the back.
Step 6: Insert the floral stamens through the slit and a little hot glue under the flower to hold them in place. Then put a very small dab of glue on each layer of tissue paper on the top part of the flower, squeezing each layer upward.
Step 7: The final step in creating your tissue paper flowers is to fluff and separate the petals then trim the back if there are stamen stems hanging down.