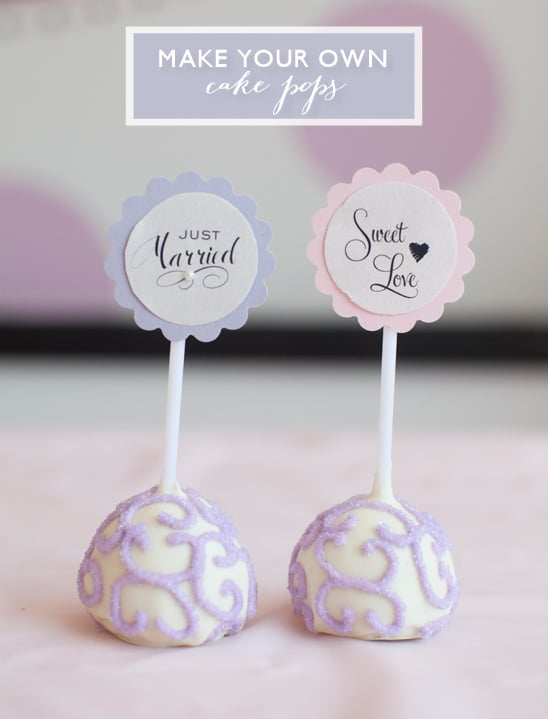

Have you tried a cake pop yet? They are simply delicious and the perfect alternative to a huge slice of wedding cake. Surprisingly enough, you can easily make them yourself, for your guests or just because. Thanks to Los Angeles wedding baker Sweet E’s Bakeshop we have simple instructions on how to make your own cake pops. Read on for the step by step instructions.
As an added bonus, all Wedding Chicks readers will receive 10% off their wedding order of $500.00 or more. Besides their cakes and cupcakes, they ship all of their goodies nationwide. All you need to do is mention The Wedding Chicks blog when placing your order in the store or over the phone and you will receive 10% off. Sweet E’s Bakeshop offers a wide variety of treats to choose from Cake Pops, Brownies & Bars , Chocolate Covered Oreos and so much more. They even have a vegan, gluten free and sugar free menu. Anything and everything you will need for your dessert table. Order must be placed by November 1st, 2012.
A special thanks to Los Angeles wedding photographer Braedon Photography for capturing these delicious treats. His work is amazing and you must see it. You are especially going to love this Smog Shoppe Wedding he photographed.
Another special thanks to Sweet E’s Bakeshop for teaching us how to make cake pops and to Braedon Photography for photographing them. Read on for instructions
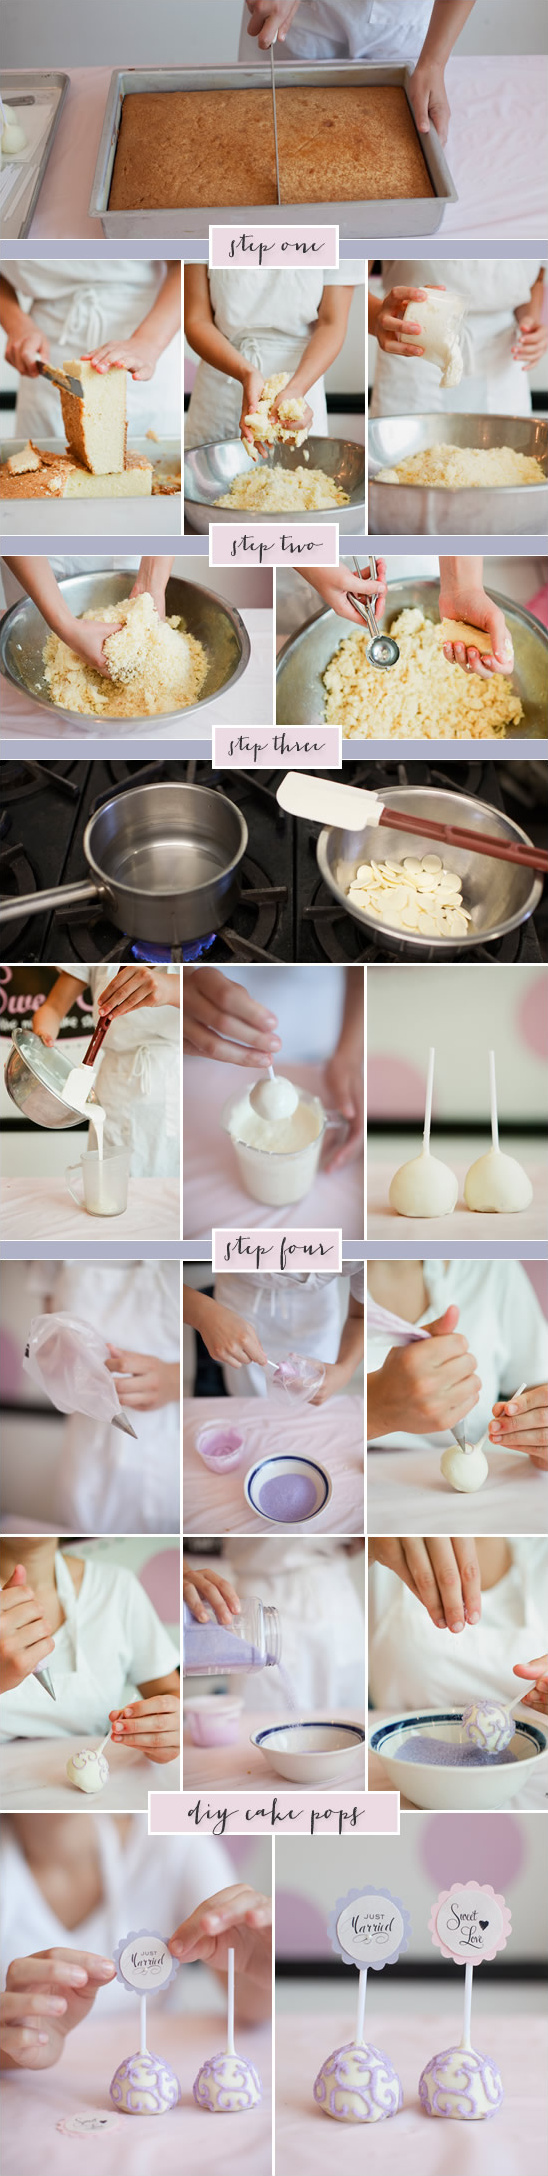
Step One: Bake your favorite cake mix (follow the instructions listed on the box). Once the cake is fully baked, take it out of the oven and let it cool completely.
Step Two: Once the cake is cooled, cut off the crust and crumble the soft cake into a large mixing bowl. Mix in ½ – 1 full can of your favorite frosting (or make your own special recipe)! You will be looking to get the texture of a brownie. Once you mix in your frosting, scoop the prepared cake and frosting and roll into small balls. Place them on a cookie sheet and put them into the freezer for approximately 30 minutes, until the cake firms up.
Step Three: While the cakepop balls are in the freezer, you can melt your chocolate. There are two different ways to melt your chocolate. First, you can fill a pot with water and bring it to a simmer. Then place your chocolate in a metal bowl and place the bowl over the pot. Stir until melted. Second, you can place the chocolate in a microwavable container and microwave in 30 second increments, stirring after each 30 seconds until melted. Once chocolate is melted, pour into a taller container for dipping.
Once you take the balls out of the freezer, you will place a lollipop stick into each ball. First, dip the end of the lollipop stick into the chocolate and then directly into the ball. Dip the cakepop into the melted chocolate until fully submerged and then take it out and let the excess chocolate drip off into the bowl. Lightly scrape the bottom of the balls onto the rim of the bowl to get any remaining chocolate. Sit on a cookie sheet to dry.
Step Four: Once chocolate is completely dry, you can begin to decorate! First, you will need a piping bag, your choice of royal icing (recipe for royal icing below), and matching sanding sugar. For the piping bag you can use a metal tip if you have one, or just cut a small hole in the bottom of the bag. Fill about 1/3 of the piping bag with royal icing. Pipe swirls onto each of the cakepops and then sprinkle sanding sugar over the wet design. Shake off the excess sugar into a bowl and set aside to dry for approximately 15-20 minutes. If you have custom tags, stick them on the end of the stick with a drop of glue! Then enjoy!
Royal Icing Recipe1. Make sure the egg whites are at room temperature before beginning.
2. In the clean, dry bowl of a stand mixer, place the egg whites, powdered sugar, and cream of tartar. Using the whisk attachment, beat all together on low speed until combined. You can use a hand mixer if you desire, but it will likely take longer for the icing to reach the right consistency.
3. Stop the mixer and scrape down the sides of the bowl. Restart the mixer and beat the mixture on medium speed until very thick, shiny, stiff and white. This should take about 7-10 minutes.
4. Check the texture to ensure that it is suitable for your needs. If you require a stiffer icing, add a little more powdered sugar at this point.
5. If you want to dye your icing just one color, you can add a few drops of food coloring into the bowl and mix it for a few seconds until the coloring is evenly distributed. If you want to make several different colors, divide the icing into several different bowls and stir in the food coloring by hand.
6. Royal icing dries to a very hard consistency, and it will begin setting as soon as it is made. To prevent the icing from getting hard before you use it, thoroughly wet a paper towel and place it over the top of the icing in the bowl. It is very important to keep the icing covered! Likewise, if you are using a pastry bag and piping tips with the icing, twist the back end of the bag tightly, and wrap a wet paper towel around the tip when not in use so the icing will not dry in the tip.
7. Depending on the temperature, humidity, and amount of icing used, royal icing should harden within 15-60 minutes of application. Do not refrigerate products with hardened royal icing, as the icing can become soft and sticky.