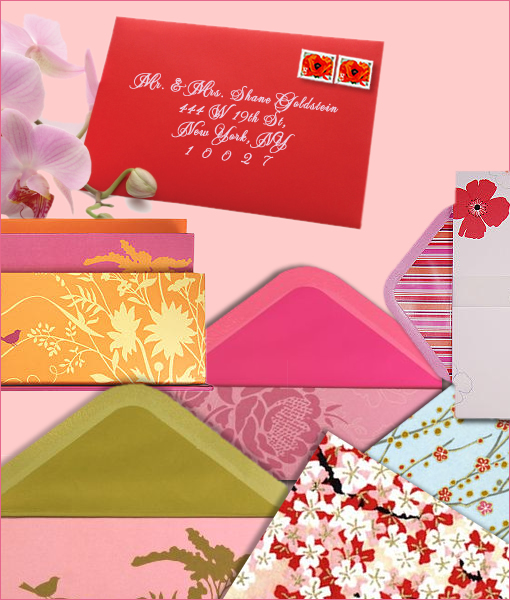
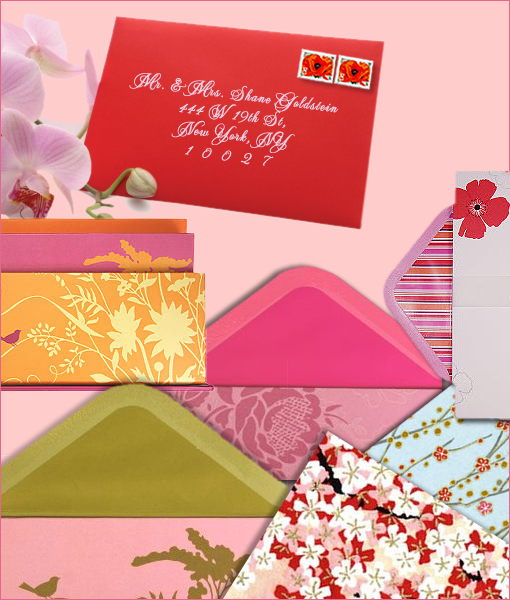
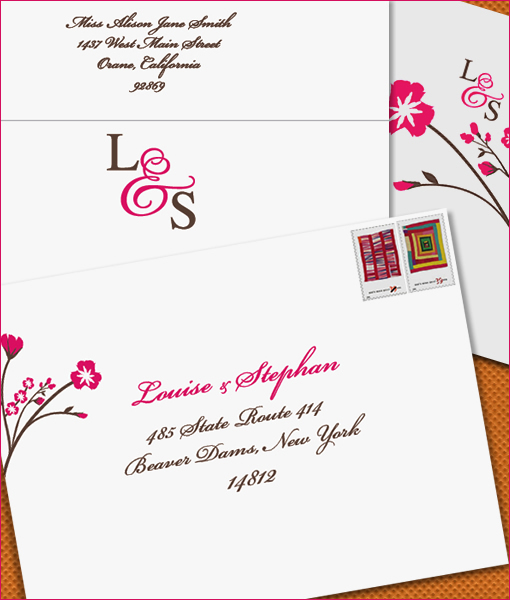
Some basic addressing tips: It is traditional to use the complete, formal name and address of your invited guests on the outer envelope of a double envelope set and on the outside of a single envelope. Do not use abbreviations other than Mr. or Mrs. Spell out Avenue, Road, and Street as well as the State name. Include zip codes on the same line with the city and state.
The inner envelope of a double envelope set (if you choose to have one) carries only the last name preceded by titles (Mr., Mrs., Doctor) of the primary person or couple being invited. There are no addresses. Invited children’s first names appear under the parents names. (Invited children over 18 or older still dwelling with their parents should receive separate invitations.) If you are allowing single people, who are not dating anyone in particular, to bring a guest, you would say so on this inner envelope by adding “and guest” to their title and surname. If you are using a single envelope, you must put this information on the outside of the single envelope by adding the children’s names below the parents names or the guest line beside the single guest name. The liners above are from ici paper and the simply lovely decorative envelopes are from Papayrus.
HOW TO MAKE YOUR OWN LINERS!
What you will need!Decorative paper Ruler Bone folder Paper cutter Scrap paper Glue stick
How to!1. To make an envelope liner, measure the width of your envelope, and subtract 1/4 inch. For the length, fold back the flap of the envelope, and measure from the bottom of envelope to tip of flap, just under the gummed strip. Using a paper cutter, cut a sheet of paper to these dimensions.
2. Slip the paper into the envelope, and fold the corners down just below the glue line, using a bone folder to create sharp creases. Remove the paper from the envelope, and cut off the corners along the folds.
3. Insert liner sheet into envelope, and fold down flap. Lift up the envelope flap, keeping the liner folded. Slip a piece of scrap paper under the liner flap to protect envelope from glue. Run the glue stick over the edges of the back of the liner.
4. Slip out scrap paper. Close down the outer flap over liner, and rub with fingertip to adhere glue to flap.
The above image is from our new Joceybella Suites!