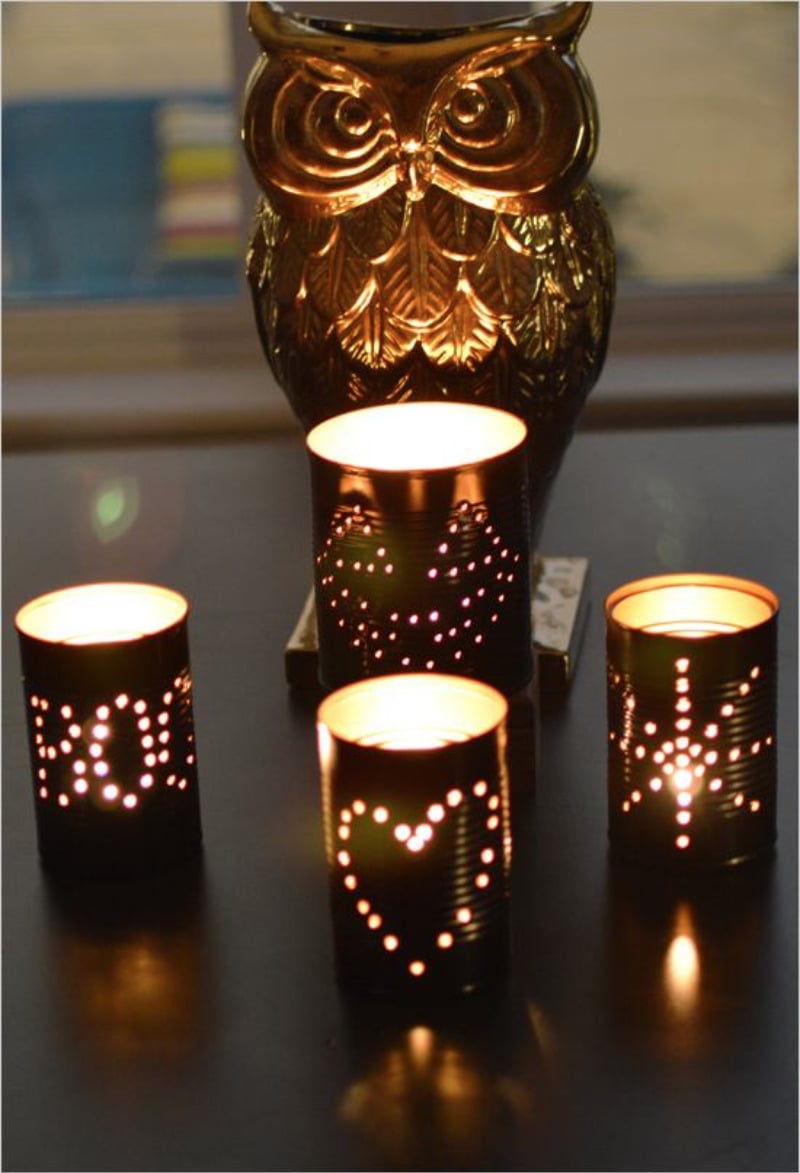
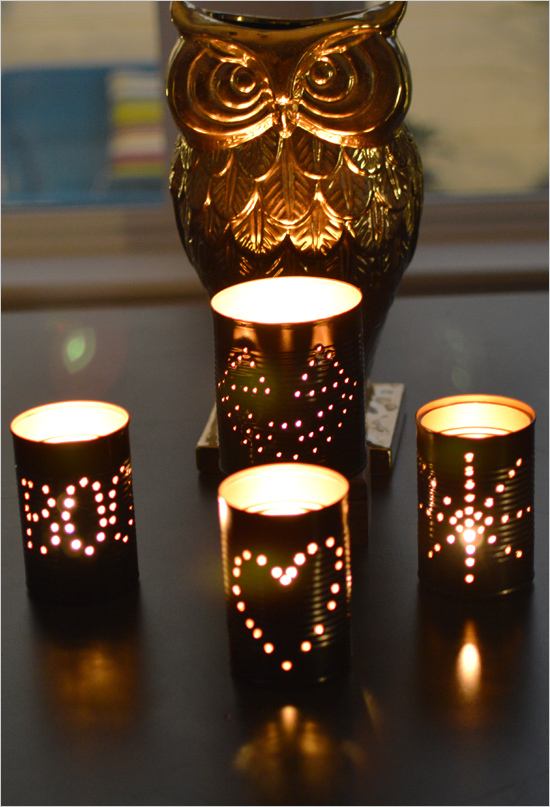
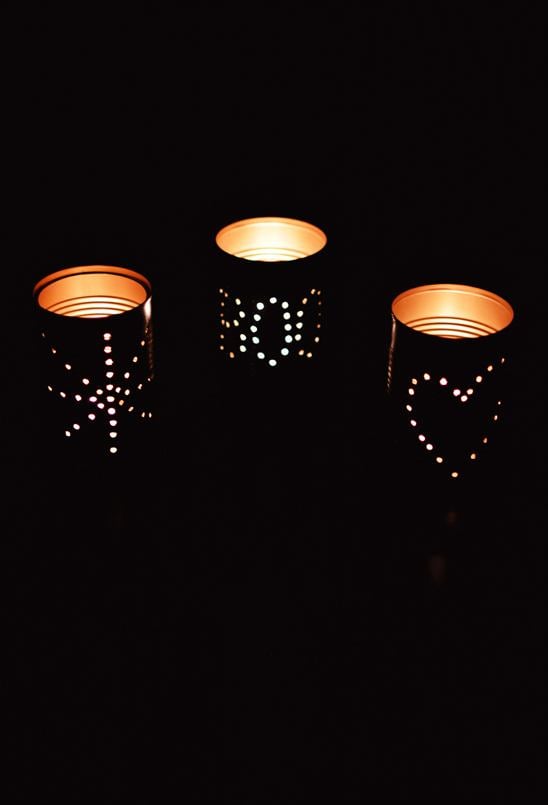
DIY Tin Can Lanterns
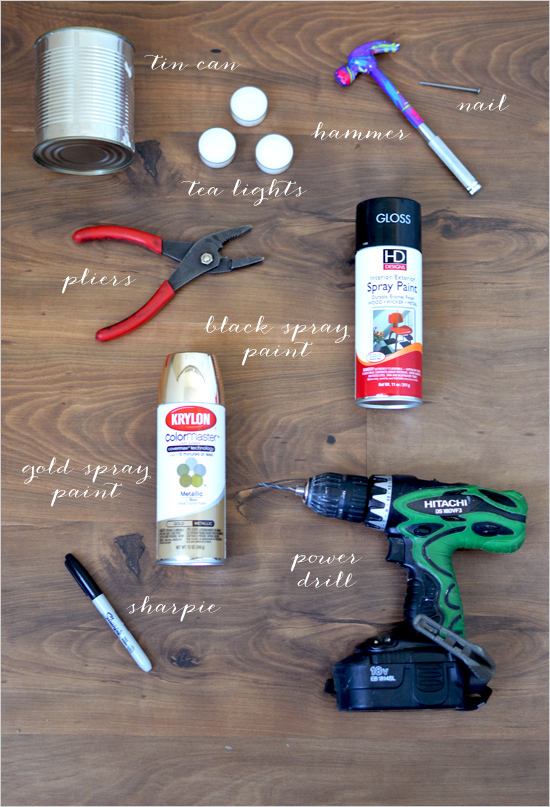
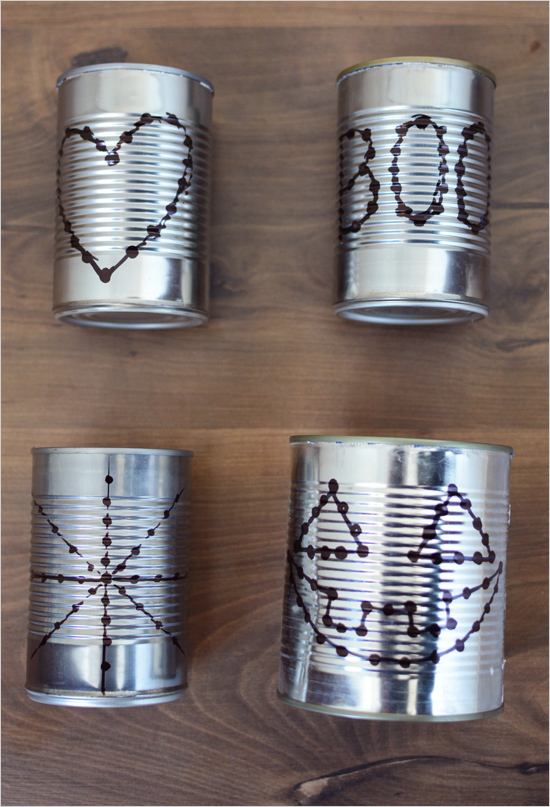
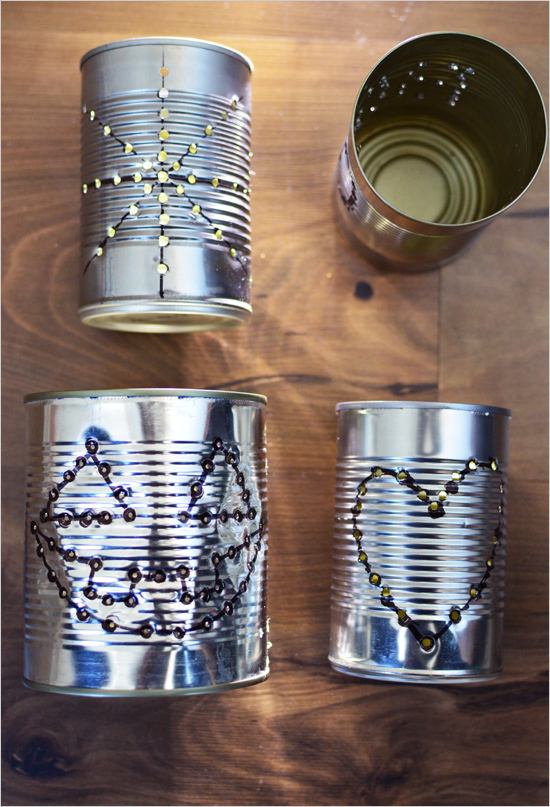
Light up this years Halloween party with some super cute and easy to make DIY tin can lanterns! We have a list of all of the materials needed with step by step directions right here, so how can you possible resist checking it out?!