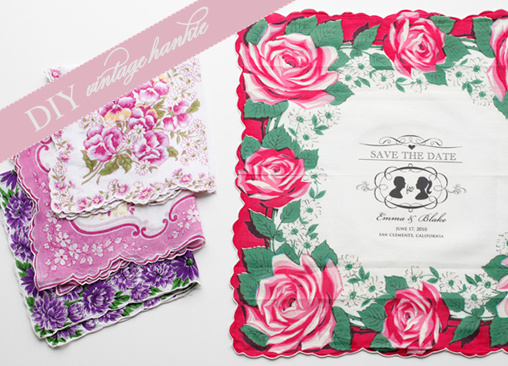

Do It Yourself, or DIY, wedding projects allow you to create your own personalized favors and touches that can be applied in any way you can imagine on your special day, for a shower, a party or whenever. All you need are some basic items and a little creativity.
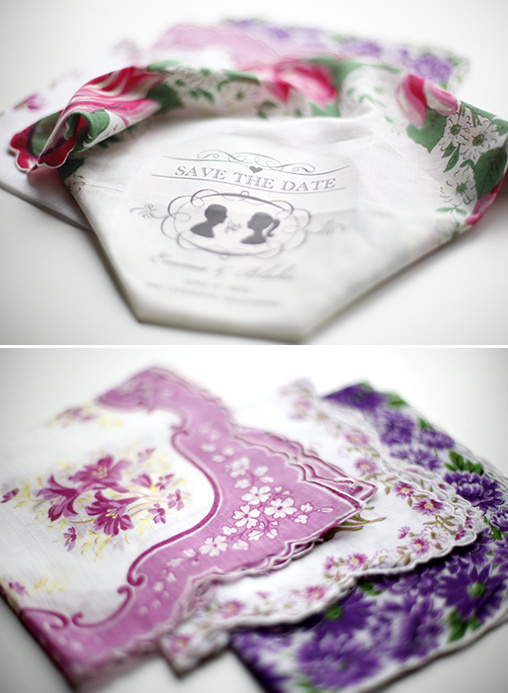
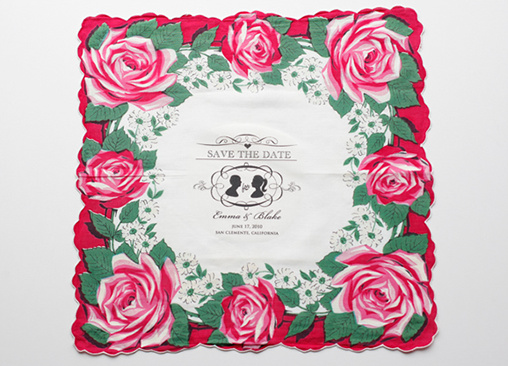
We’re thrilled to share these Vintage Hankie Do It Yourself Save the Date Invitations with you. We asked Rachel over at B9 Objects if we could share the template. Rachel created her Vintage Hankie Do It Yourself Save the Date Invitations using a YUDU. If you can’t get your hands on a YUDU, below are instructions on how to use an iron template.
We highly recommend you check out how Rachel (B9 Objects) packaged the whole project. Click Here To See Her Vintage Hankie Do It Yourself Save the Date Invitations but don’t forget, the Wedding Chicks shop has lots of Vintage Hankies. Check them out here for some serious pretty.
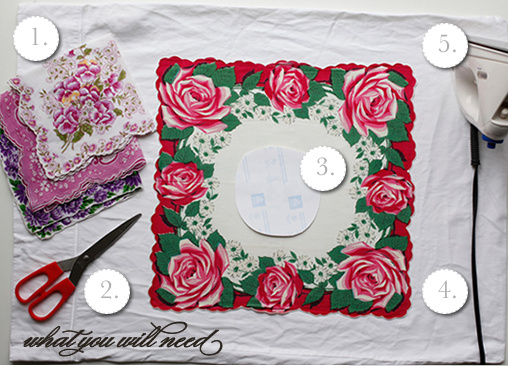
1. Vintage Hankies {we know that it might be hard to find vintage hankies, but a great alternative is going to the fabric store or to Etsy and buying fat quarters}
2. Scissors
3. Iron Templates
4. Pillow Case
5. Iron
Here is where it might get a bit tricky but we are confident that you can pull it off. So, when you download the template here it is going to be reversed in order to iron it on properly.
Print it out on regular paper first so you don’t waste your iron-on templates. Then go into Word or any text edit program and type in your names and wedding date and reverse it. When you print it out, you can specify on the printer’s dialog box that you want it printed as “mirror”. Look under “preferences” when you click “Print”.
When everything is aligned properly you can use your iron templates.