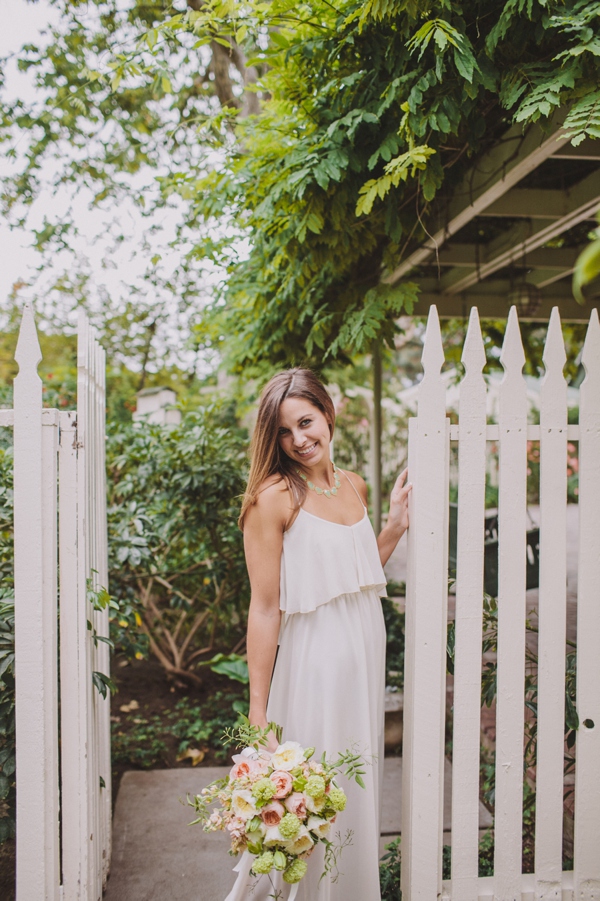
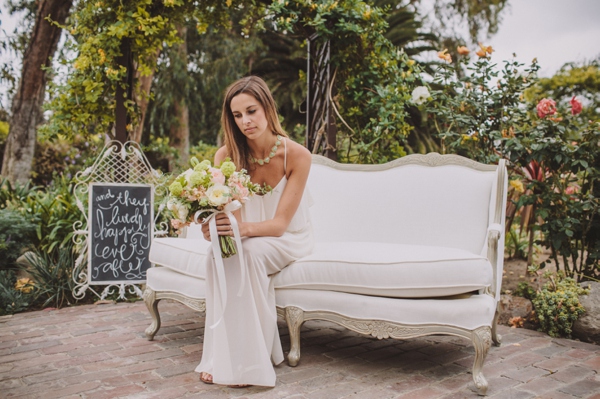
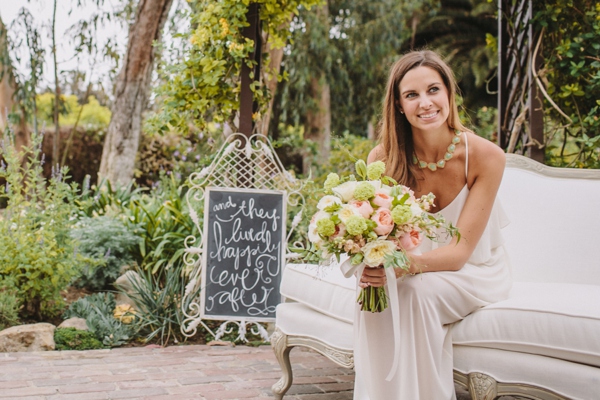
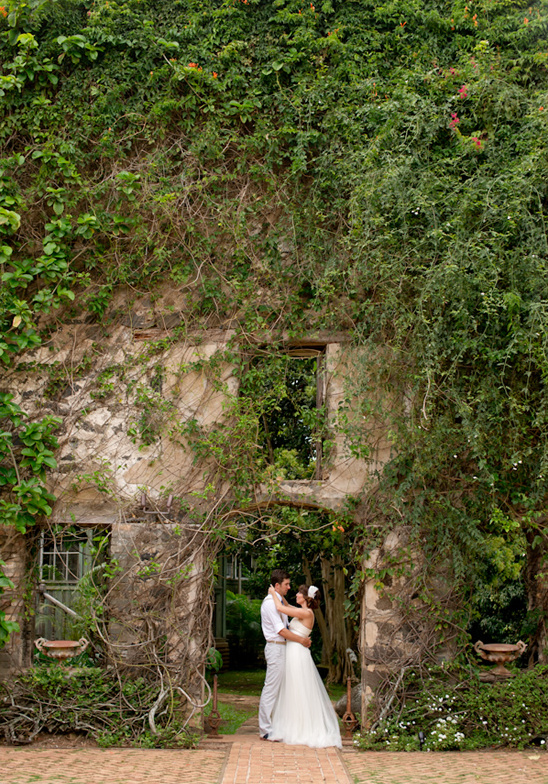
Vintage Garden Wedding Ideas At Haiku Mill

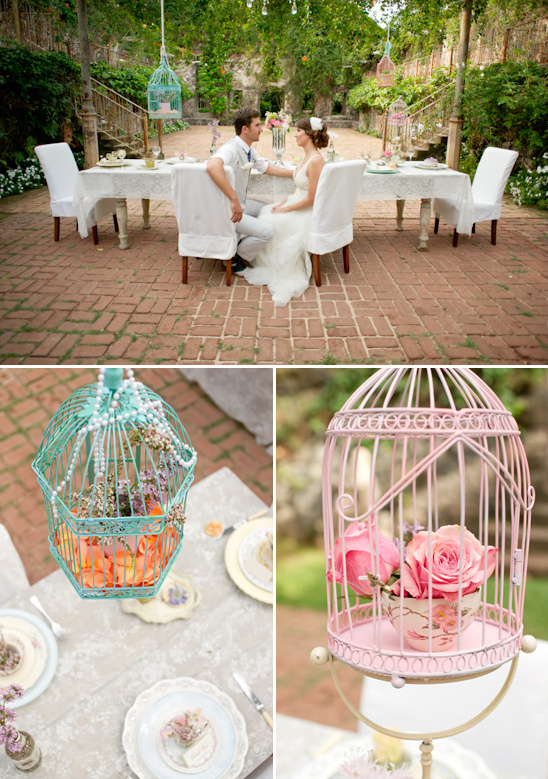
We have some lovely vintage garden wedding ideas to share with you today designed by Della Peacock of Dellables and photographed by Karma Hill at Haiku Mill. Once a sugar mill ruin dating back to 1857, it has been fully recreated and is filled with European decor. Including a shabby chic chandelier that hangs in the open air dining space. Making for an old world delight in the middle of paradise. See more vintage garden wedding ideas in the full gallery by clicking here.
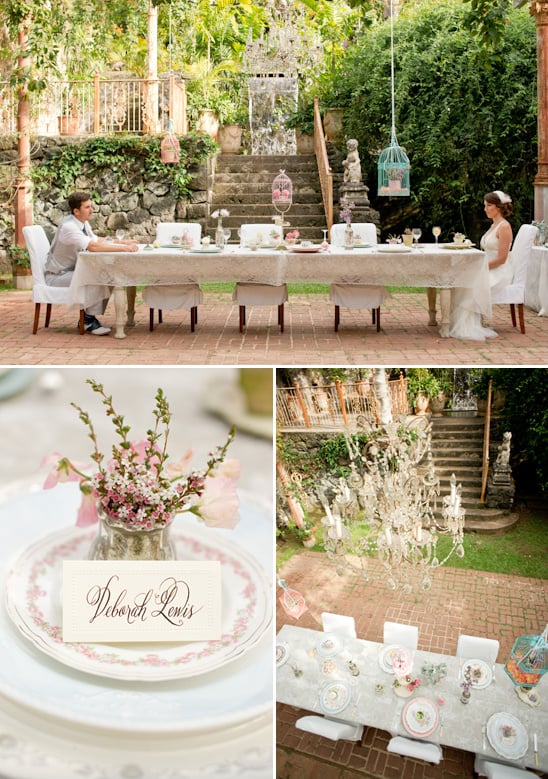
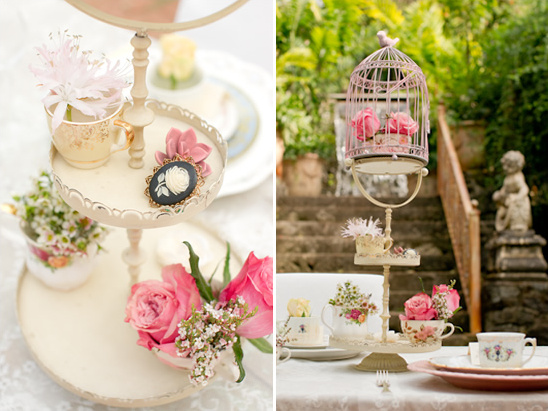
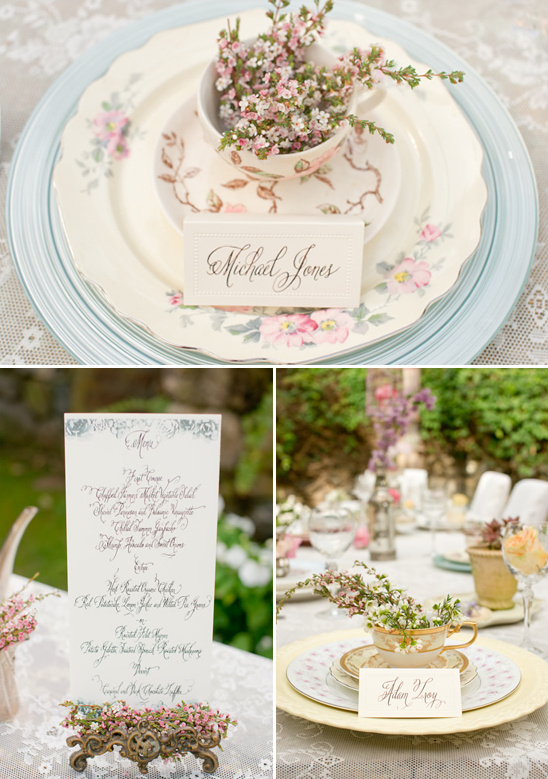
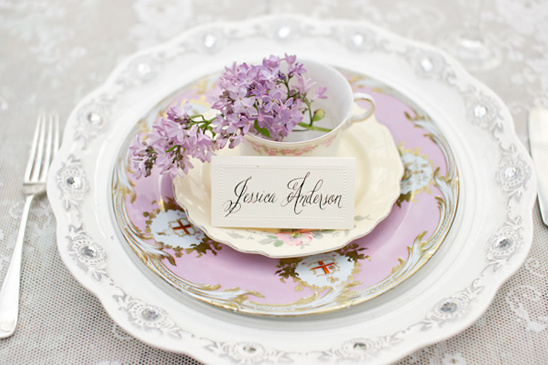
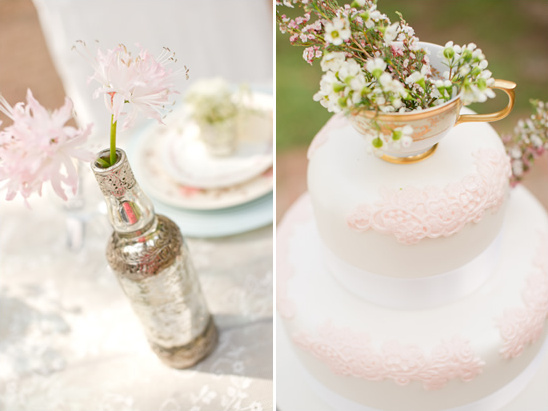
We fully enjoy the idea of using vintage style tea cups filled with flowers as wedding favors. You can collect tea cups from second hand stores and either drop them off at your wedding florist or make it a fun DIY project. They really do look quite sharp when paired with the simple yet elegant calligraphy escort cards form Barbara Vanderpool of Miss B Calligraphy.

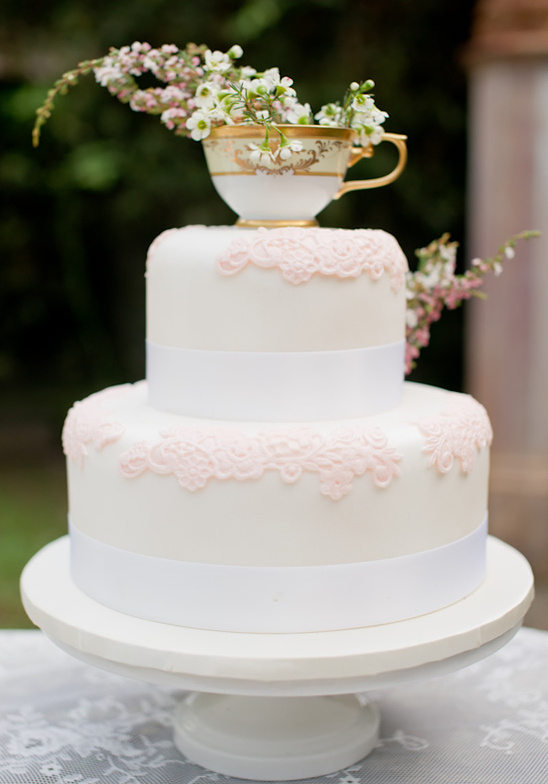
Keeping with the vintage style tea cup theme in mind, Della Peacock of Dellables used a vintage style tea cup as the cake topper as well. Such a great idea ... do you love it?
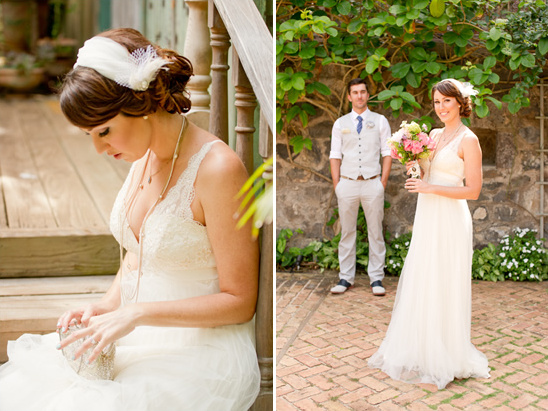
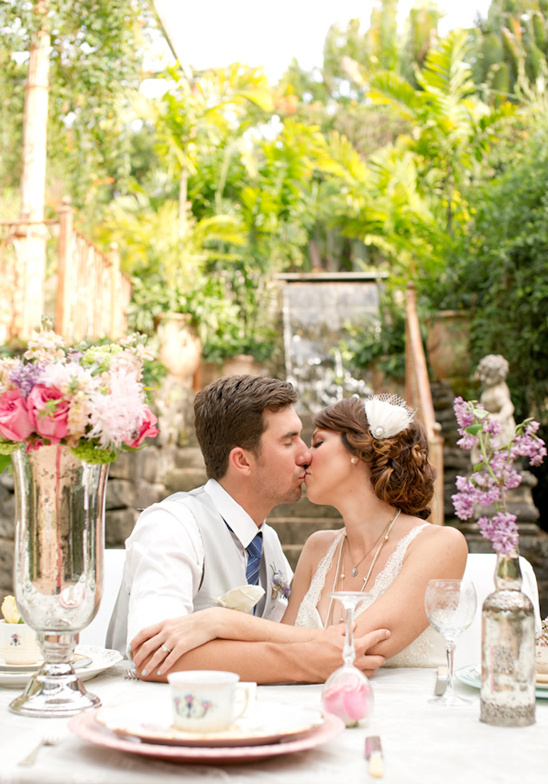
Photographer: Karma Hill Event Designer: Della Peacock of Dellables Venue: Haiku Mill Makeup & Hair: Adiel Sneary of Salon 253 Cake: Hawaiian Cakesations Dress Designer: W1 White One by Pronovias Flowers: Della Peacock of Dellables Groom's Attire: Express Stationery: Barbara Vanderpool of Miss B Calligraphy Veil or Hair Accessories: Created by Adiel Sneary of Salon 253 Dress provided: Ellys Formal Wear
View All Images