Tres Hermanas Winery Wedding By Alegria by Design

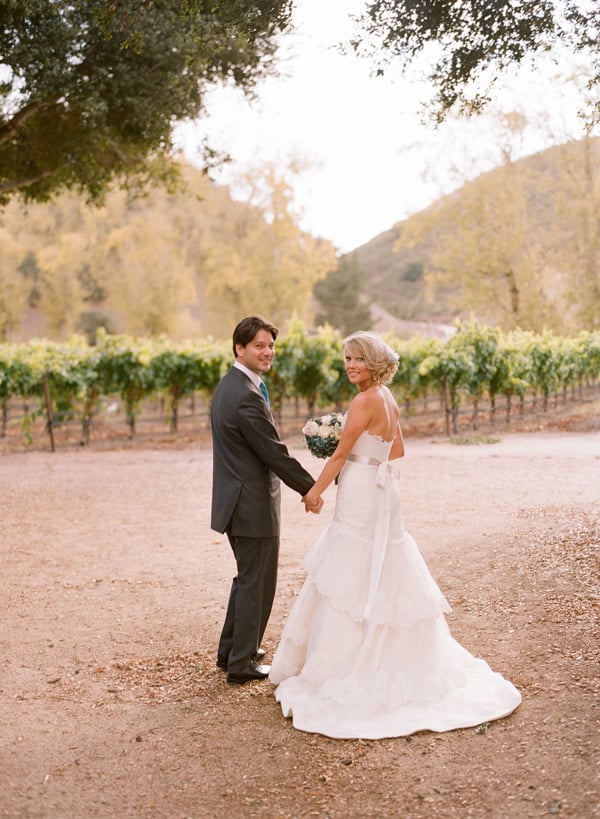
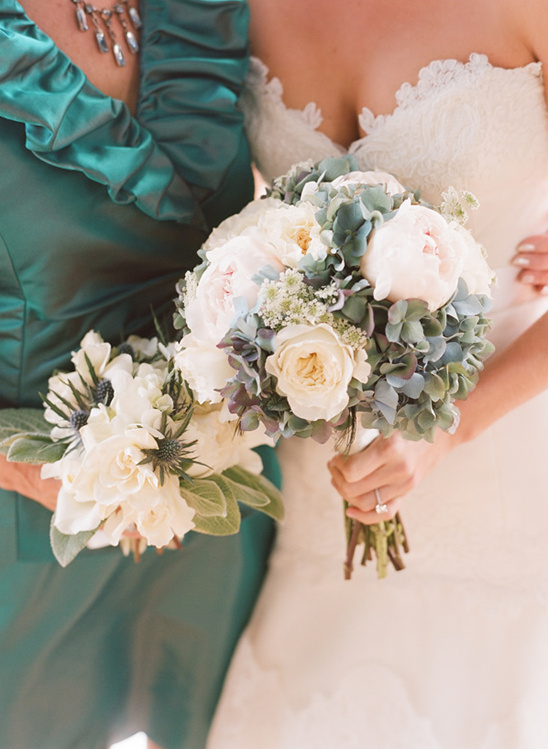
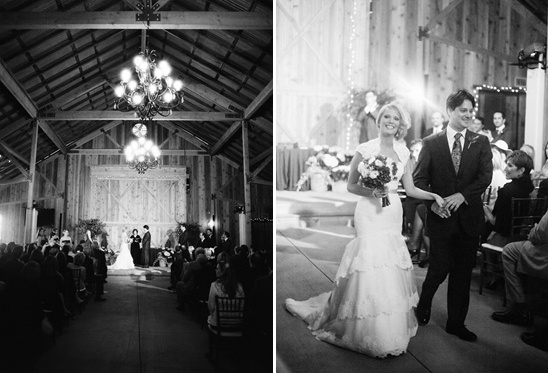
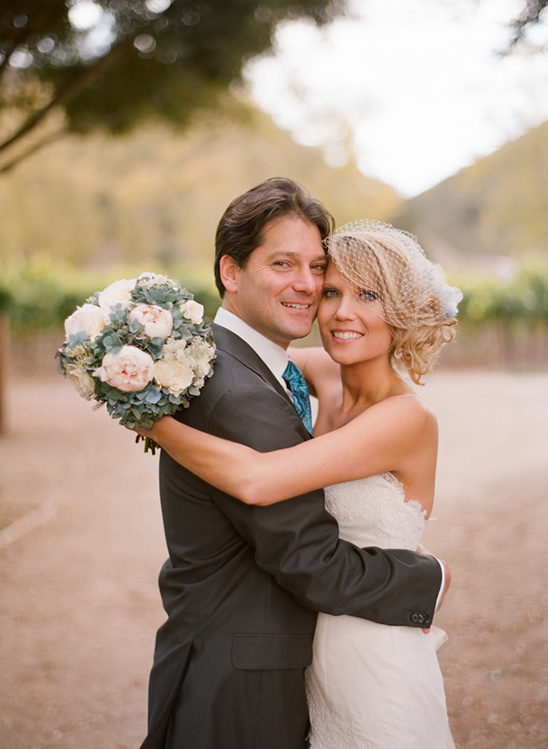
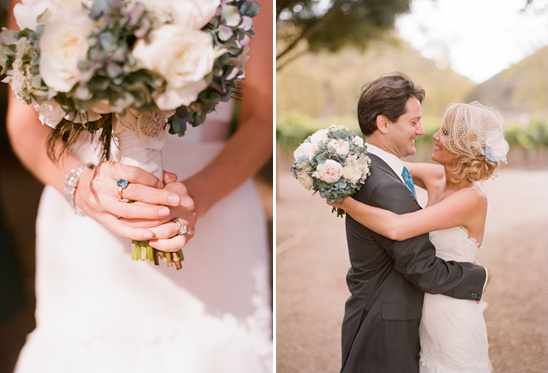
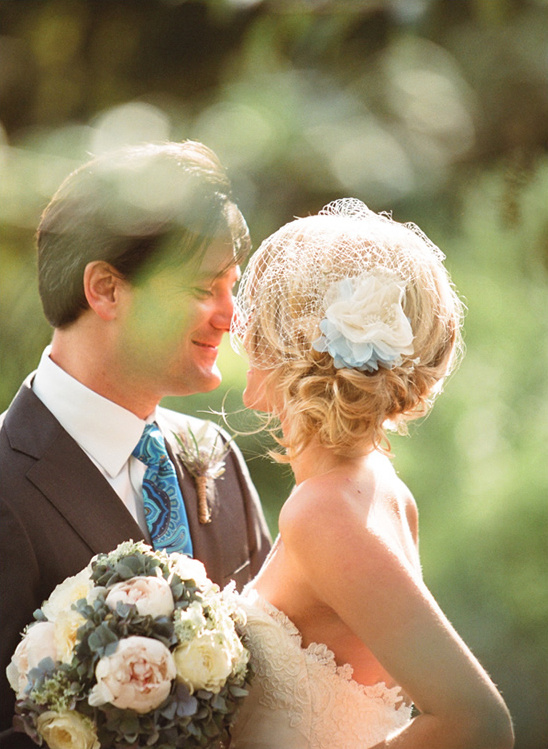
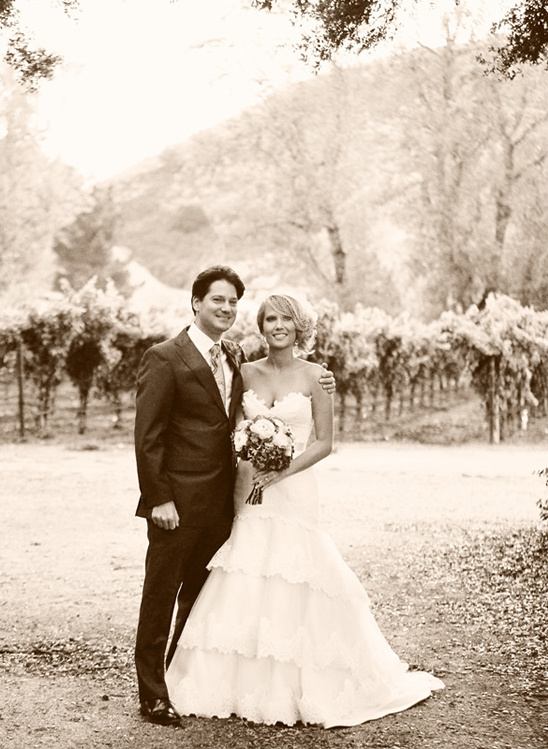
Elizabeth is originally from Texas and Simon from South Africa. It was destiny that two people from totally opposite sides of the planet were seated in the same aisle on an airplane headed for New York. Of course they would have to plan not one but two destination weddings. Today we are featuring their wedding celebration part one, in Santa Barbara’s wine country at thee Tres Hermanas Winery in the Santa Ynez Valley.
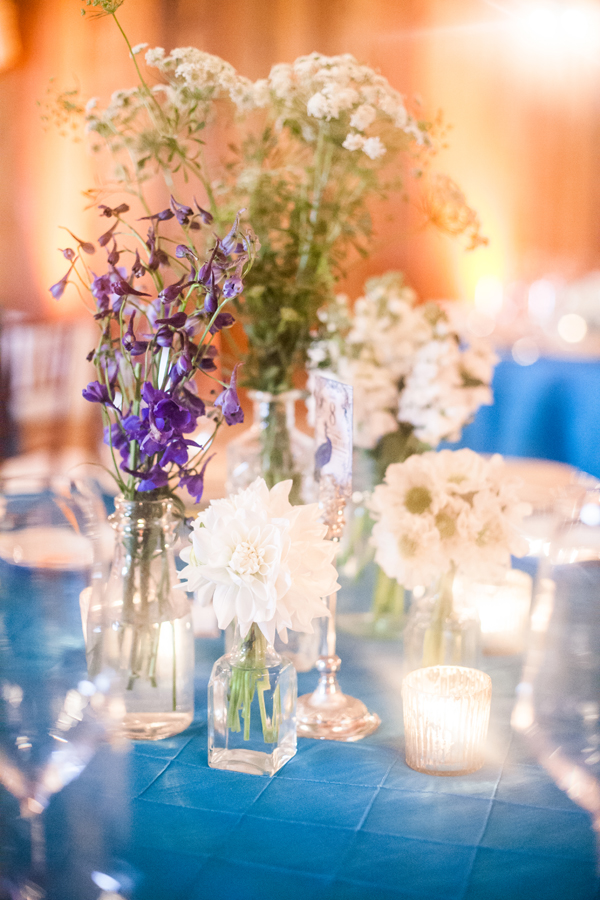
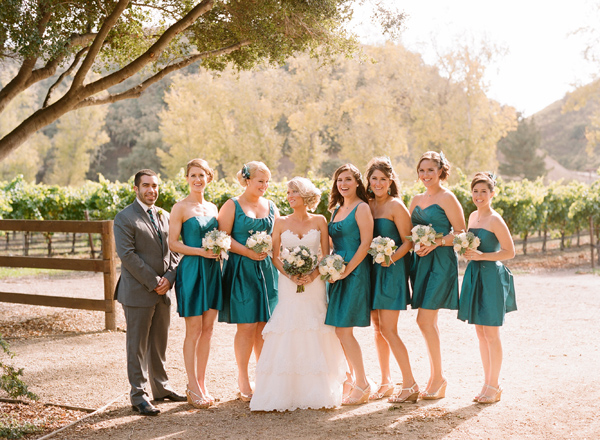
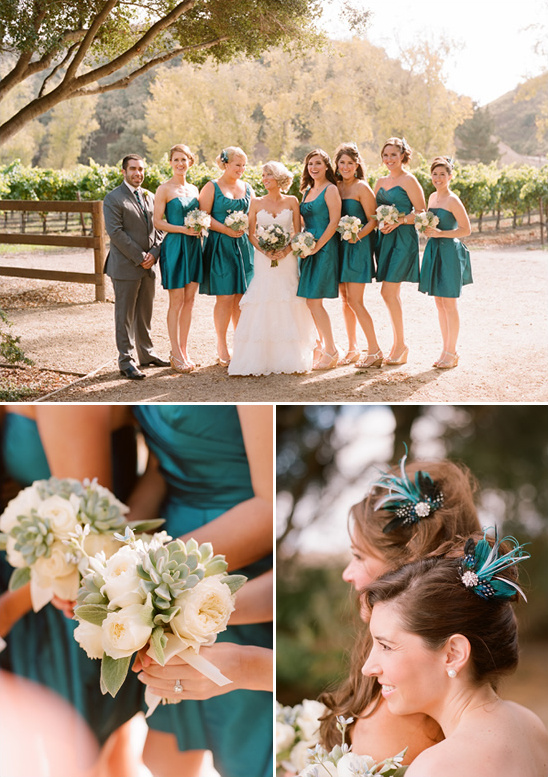
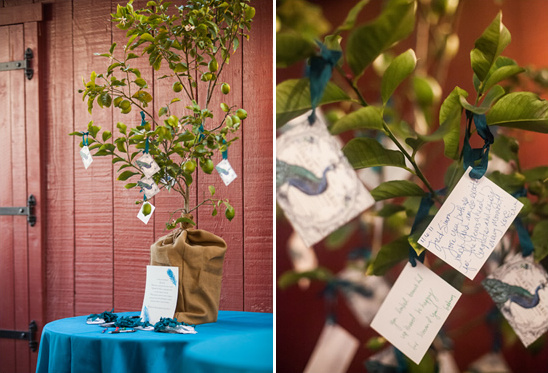
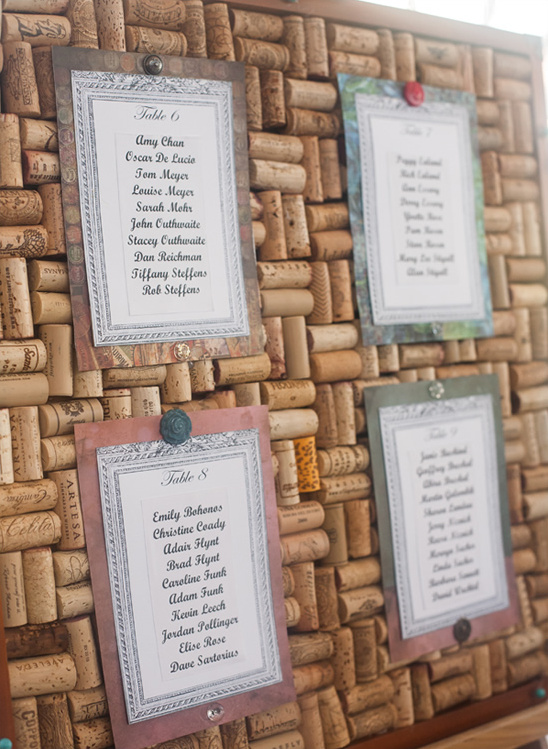
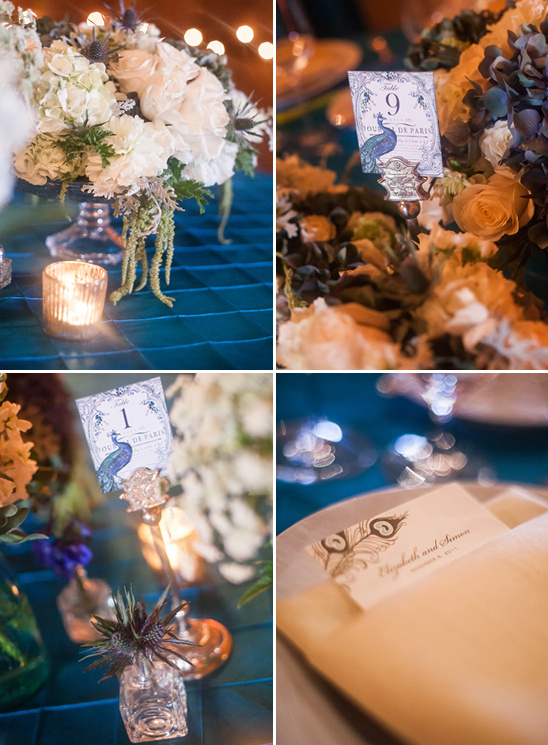
All of the elegant decor was designed by Central Coast wedding event planner and designer Alegria by Design. To see more of this Tres Hermanas Winery Wedding that was beautifully captured by Beaux Arts Photographie.


Event Designer: Armando Martinez for Alegria by Design
Coordinator: Armando Martinez for Alegria by Design Photographer: Beaux Arts Photographie Venue: Tres Hermanas Winery Makeup: Jessica DeBen Cake & Caterer: DUO DJ & Lighting: Gavin Roy Presents Dress Designer: Mon Amie Flowers: The Village Gardener Officiant: Marlene Morris Shoe Designer: Christian Louboutin Stationery: Hello Lucky Prop or Furniture Rentals: Santa Barbara Classic Party Rentals Vintage Car: Classic Motoring Santa Ynez Accommodations: Fess Parker Wine Country Inn & Spa
View All Images