Luxurious Jewel Toned Winter Wedding Inspiration

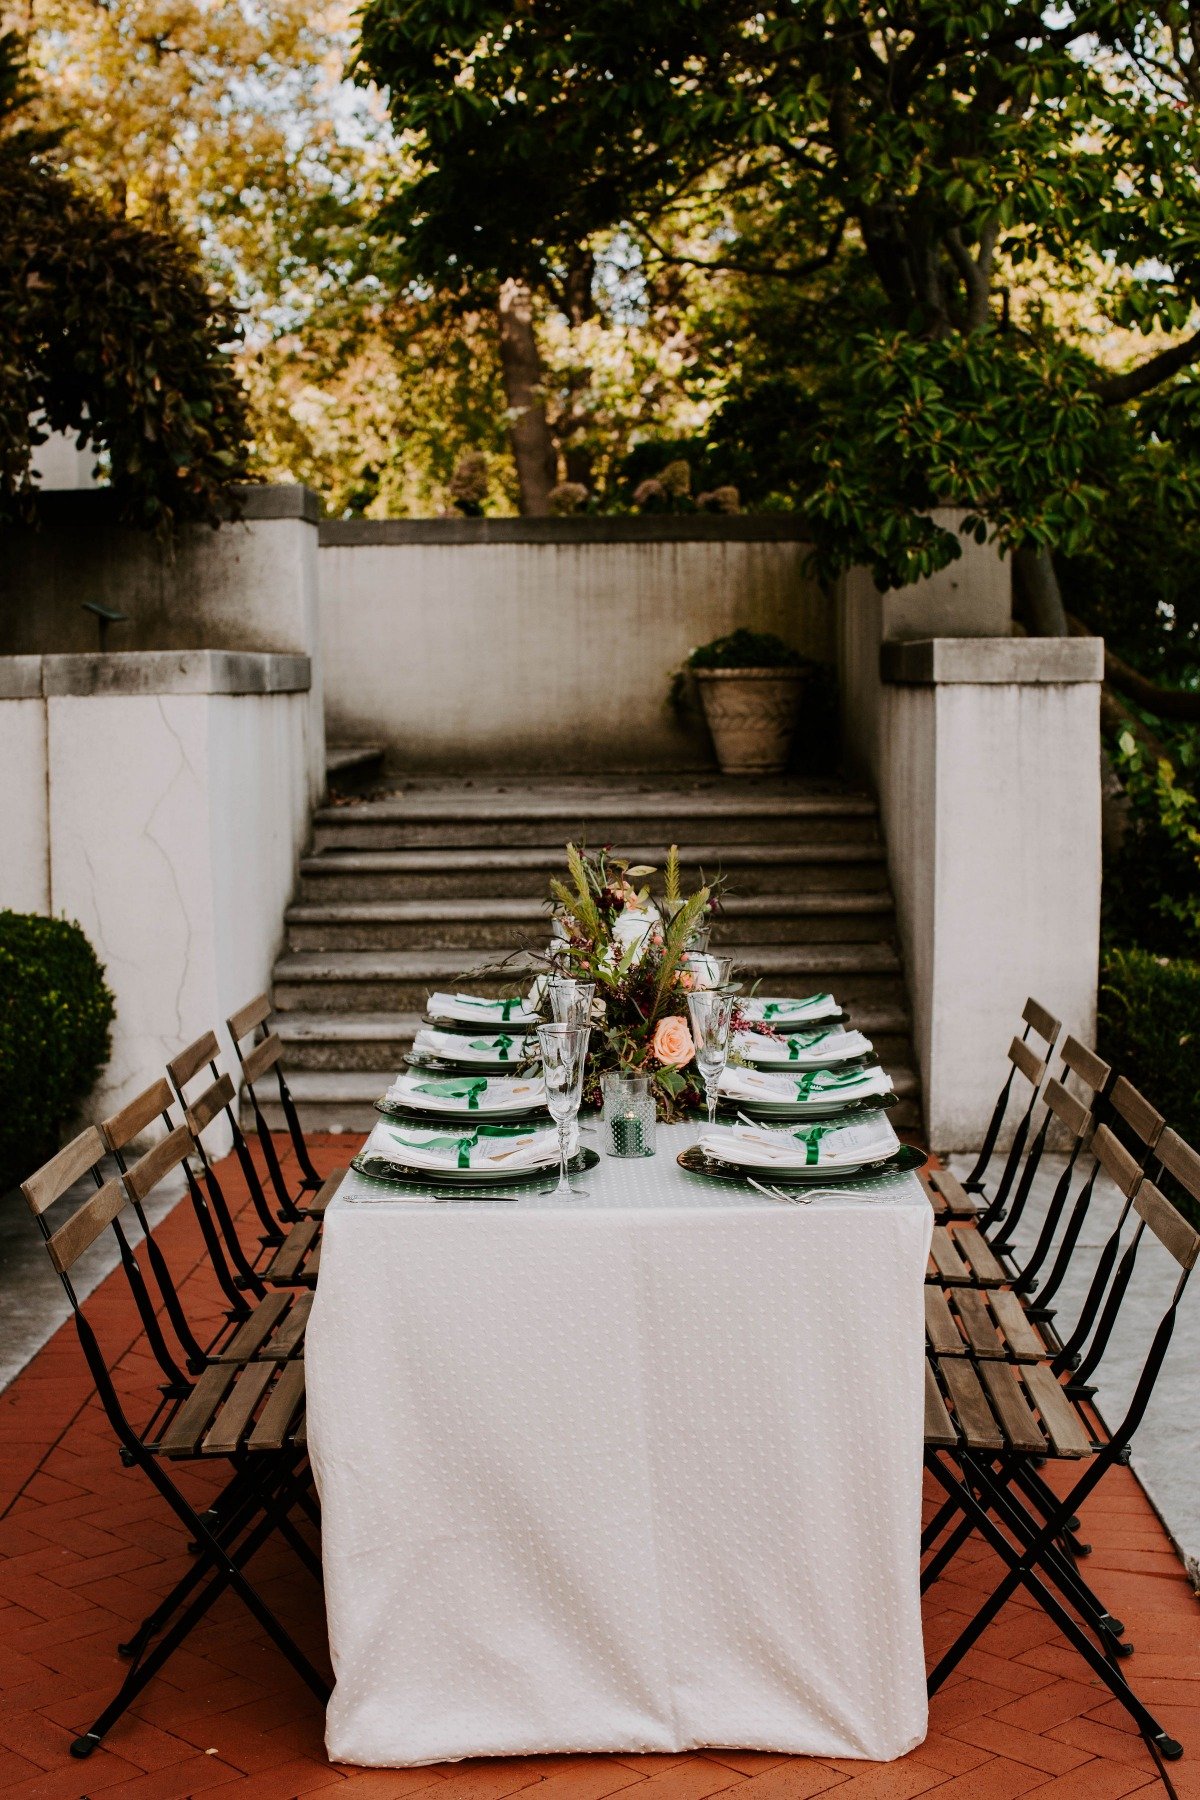
You don’t need snow to have a romantic winter-themed wedding like this styled by Bash Event Planning & Design at The War Memorial. Winter-greenery and bold jewel tones add to the luxurious feel of this shoot, but our favorite detail, of course, has to be the dress.
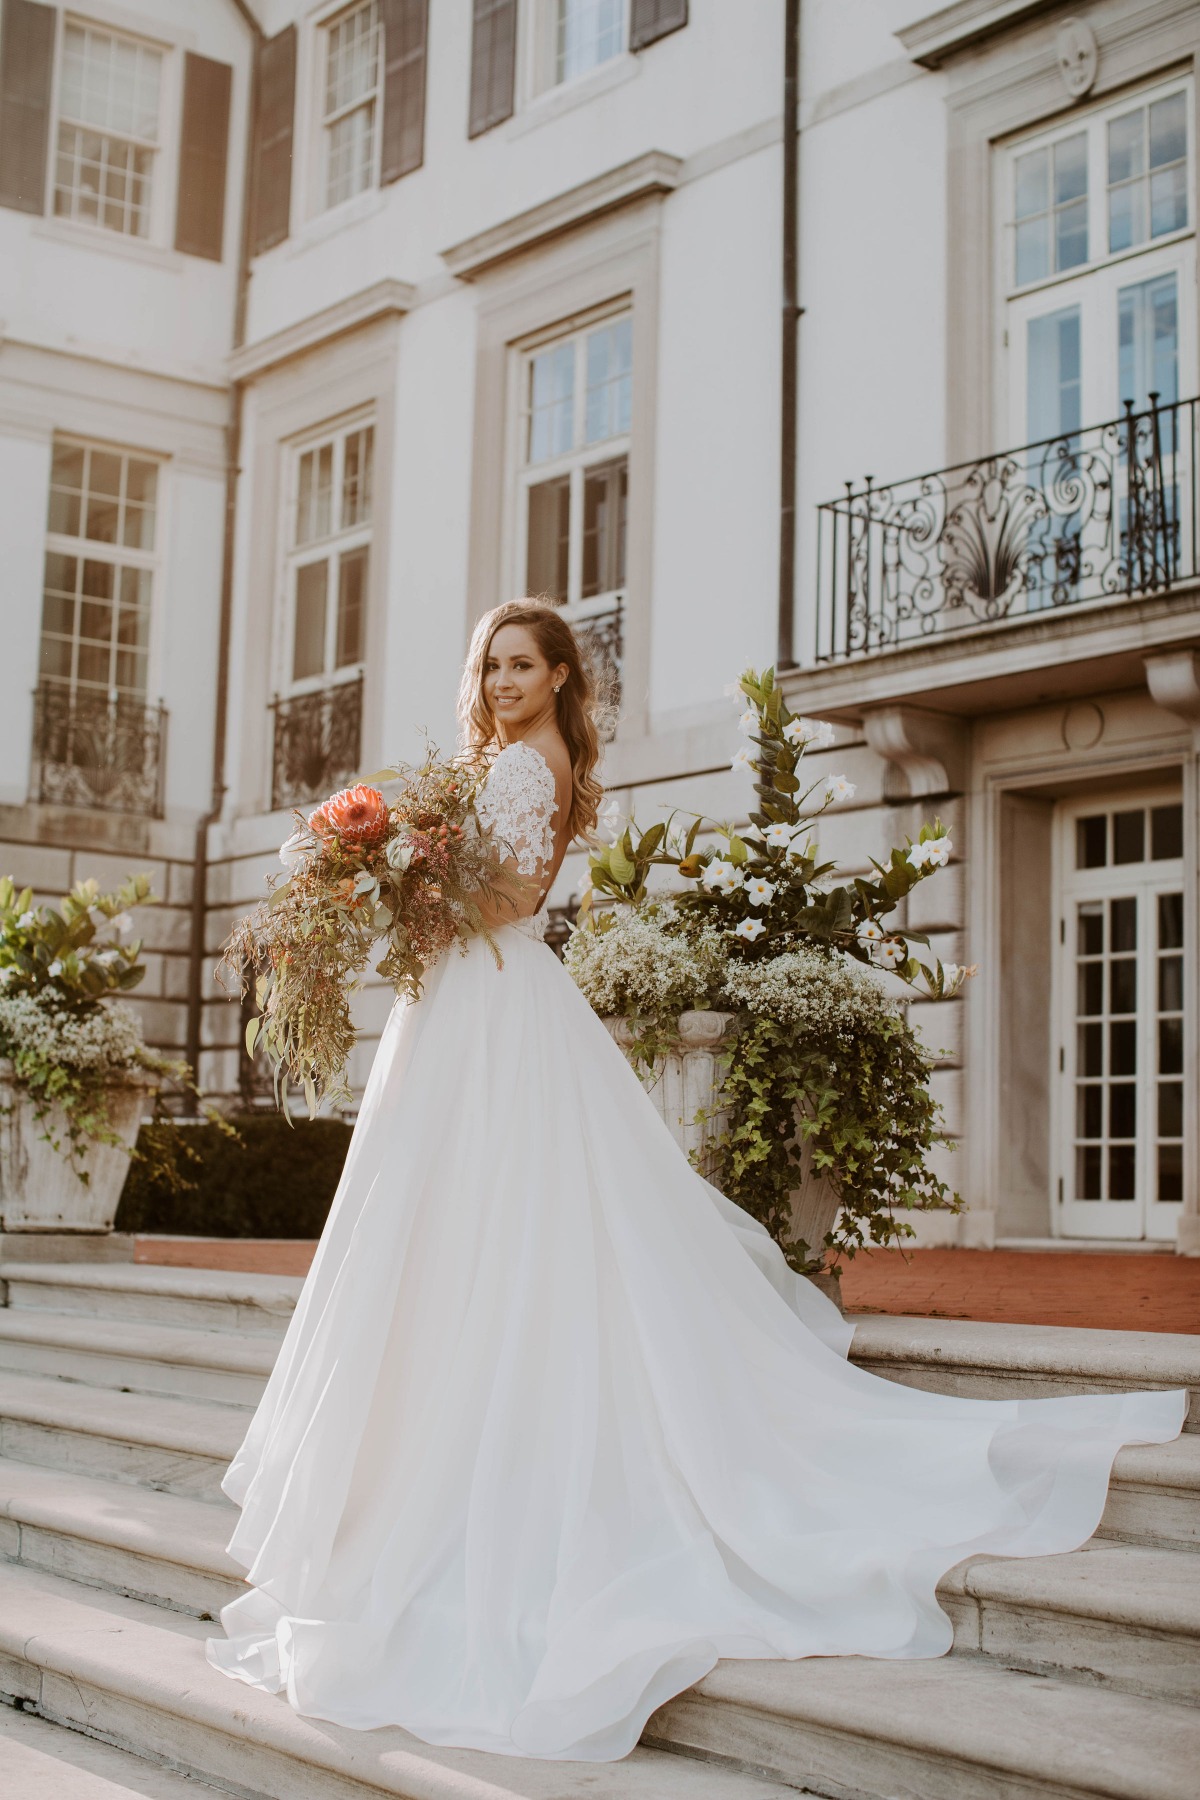
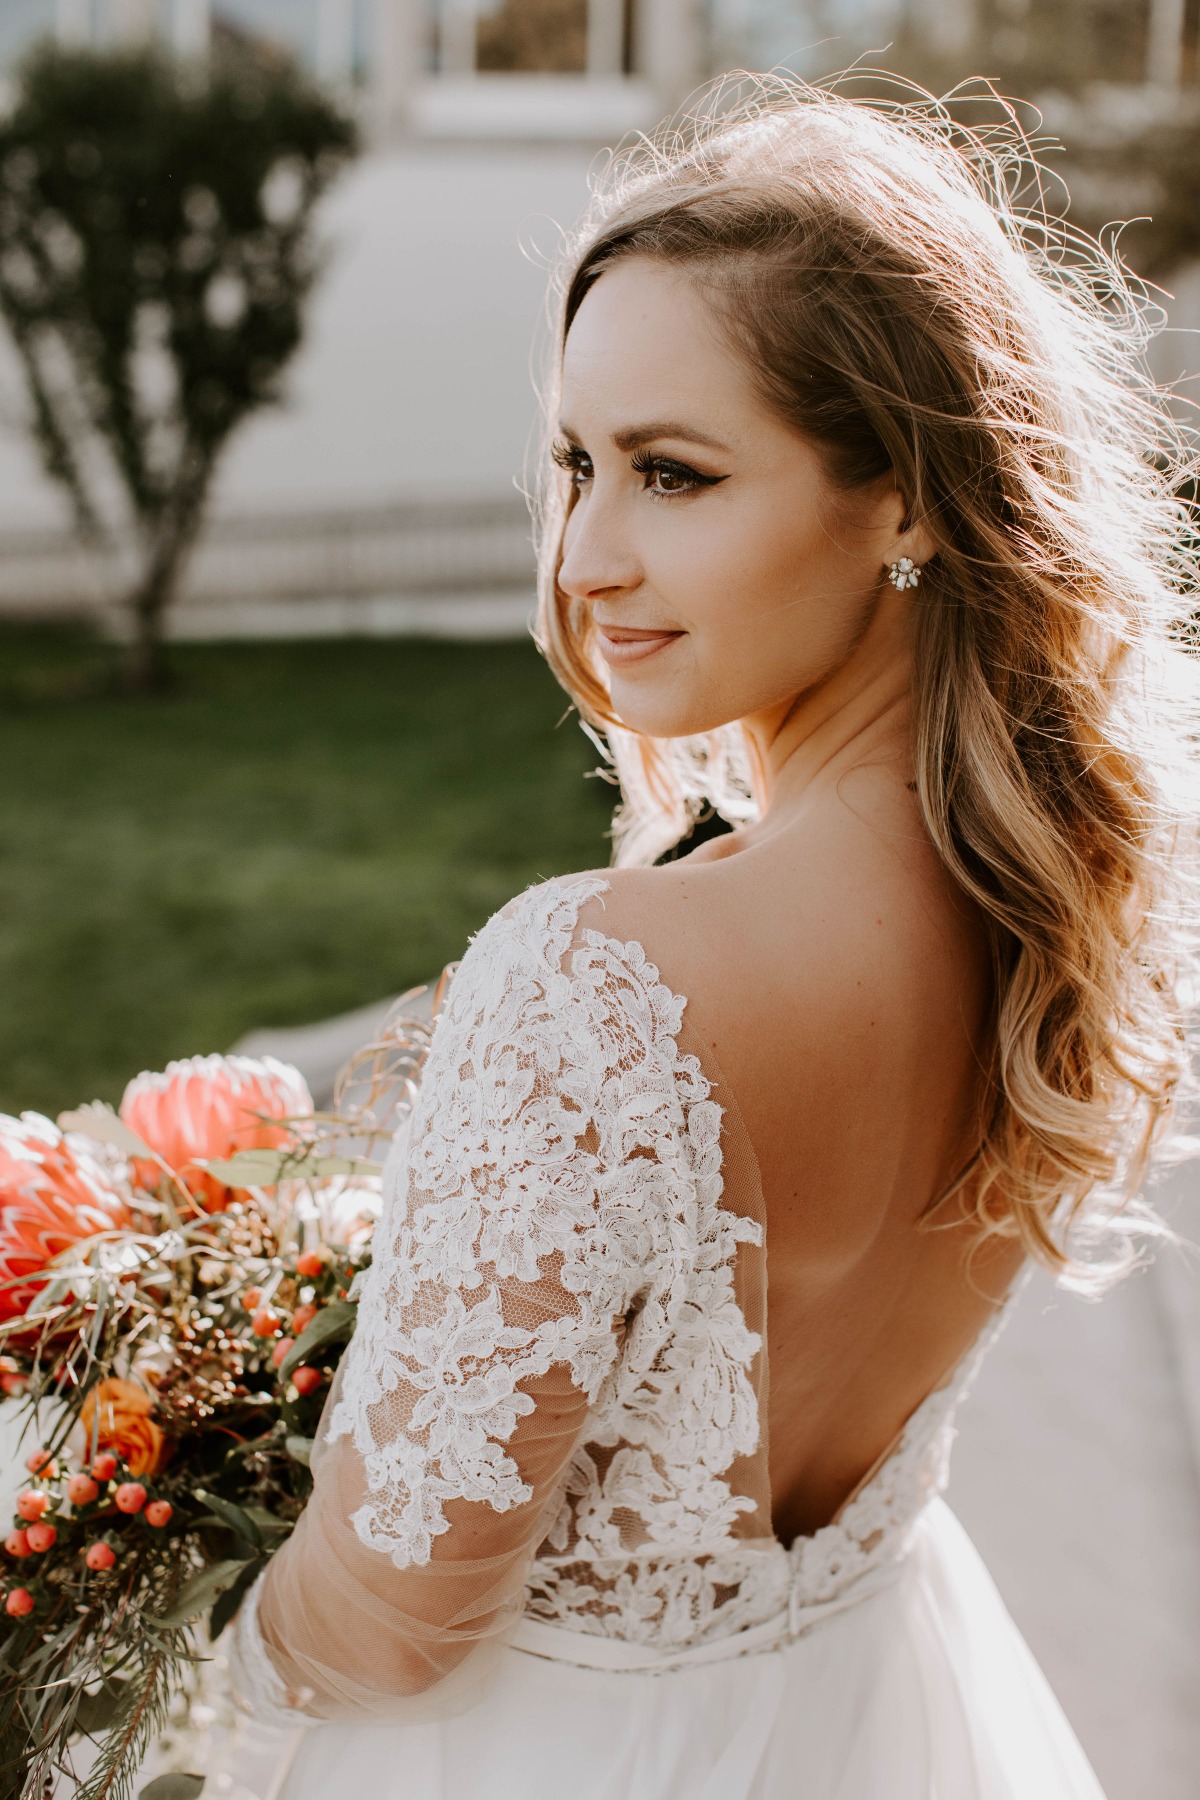
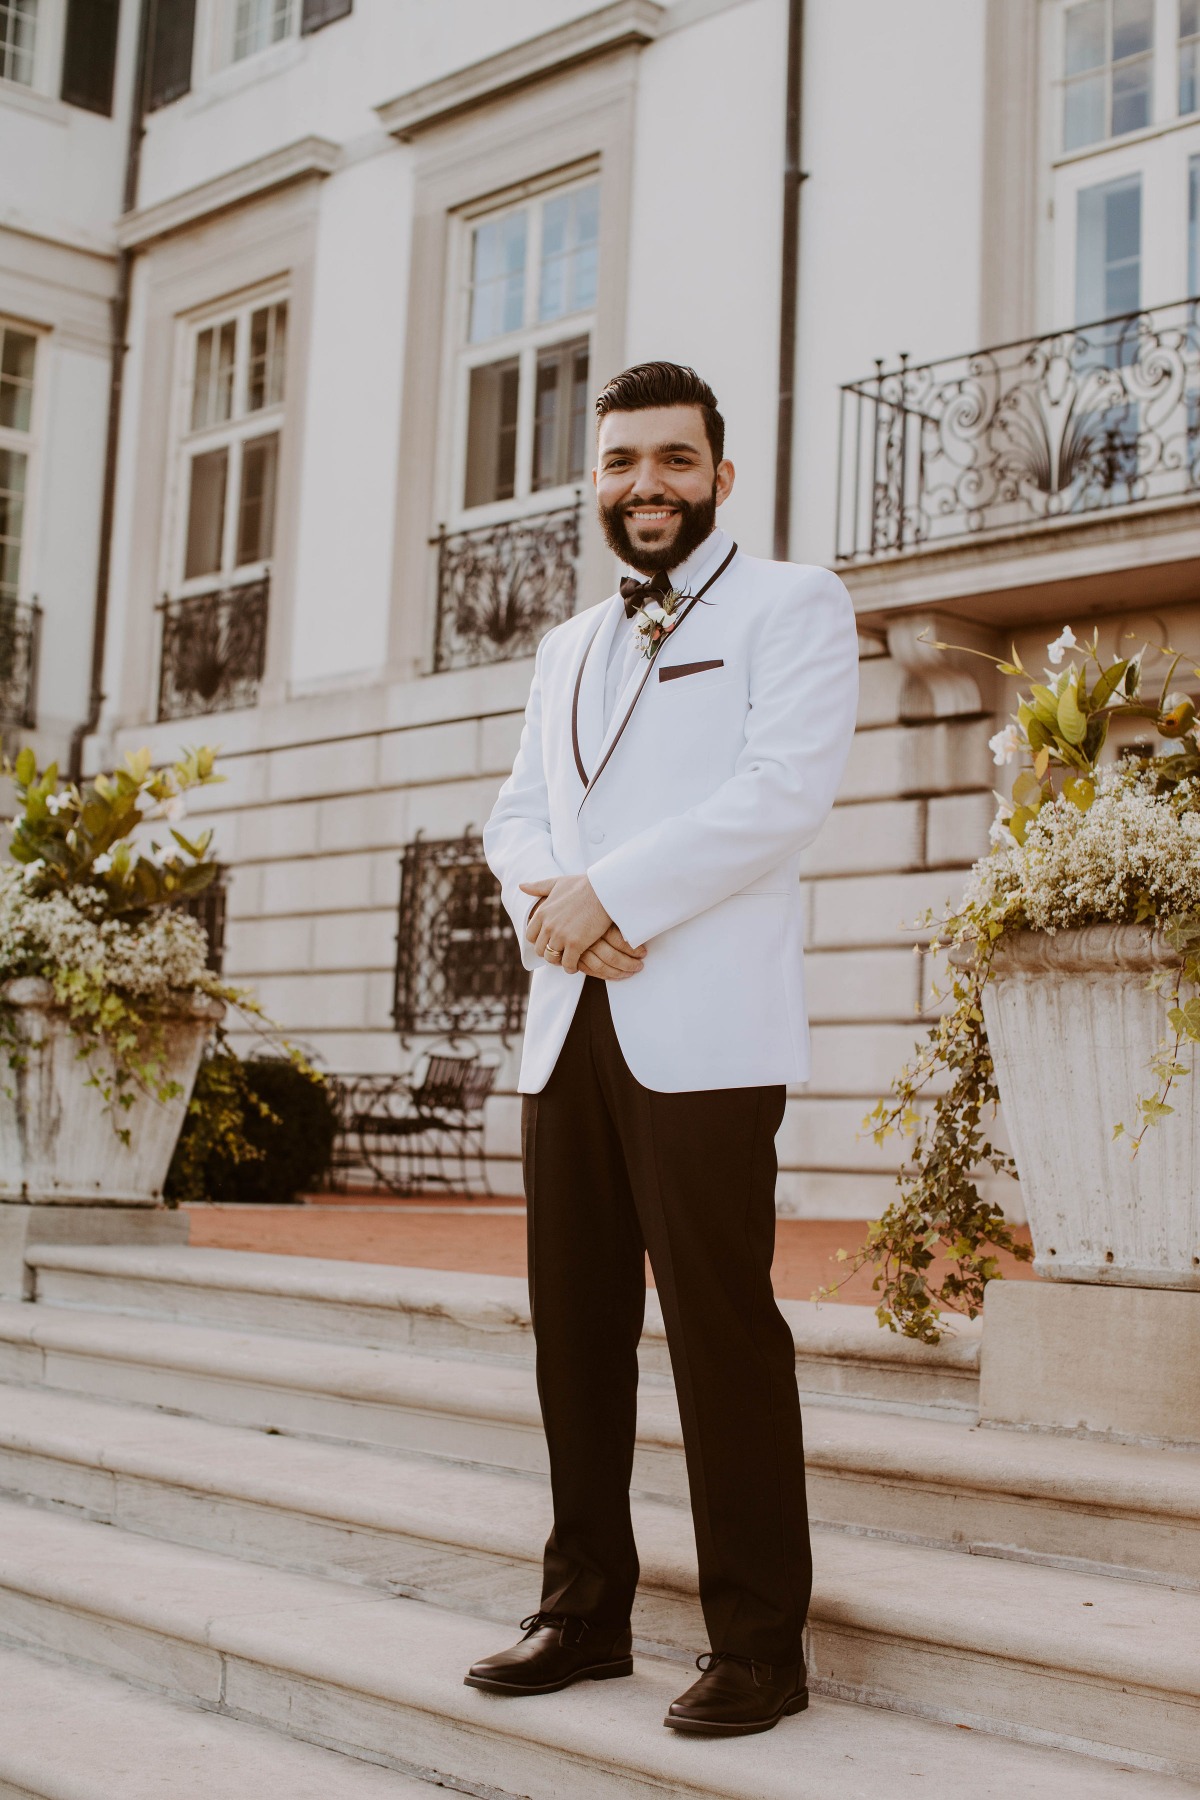
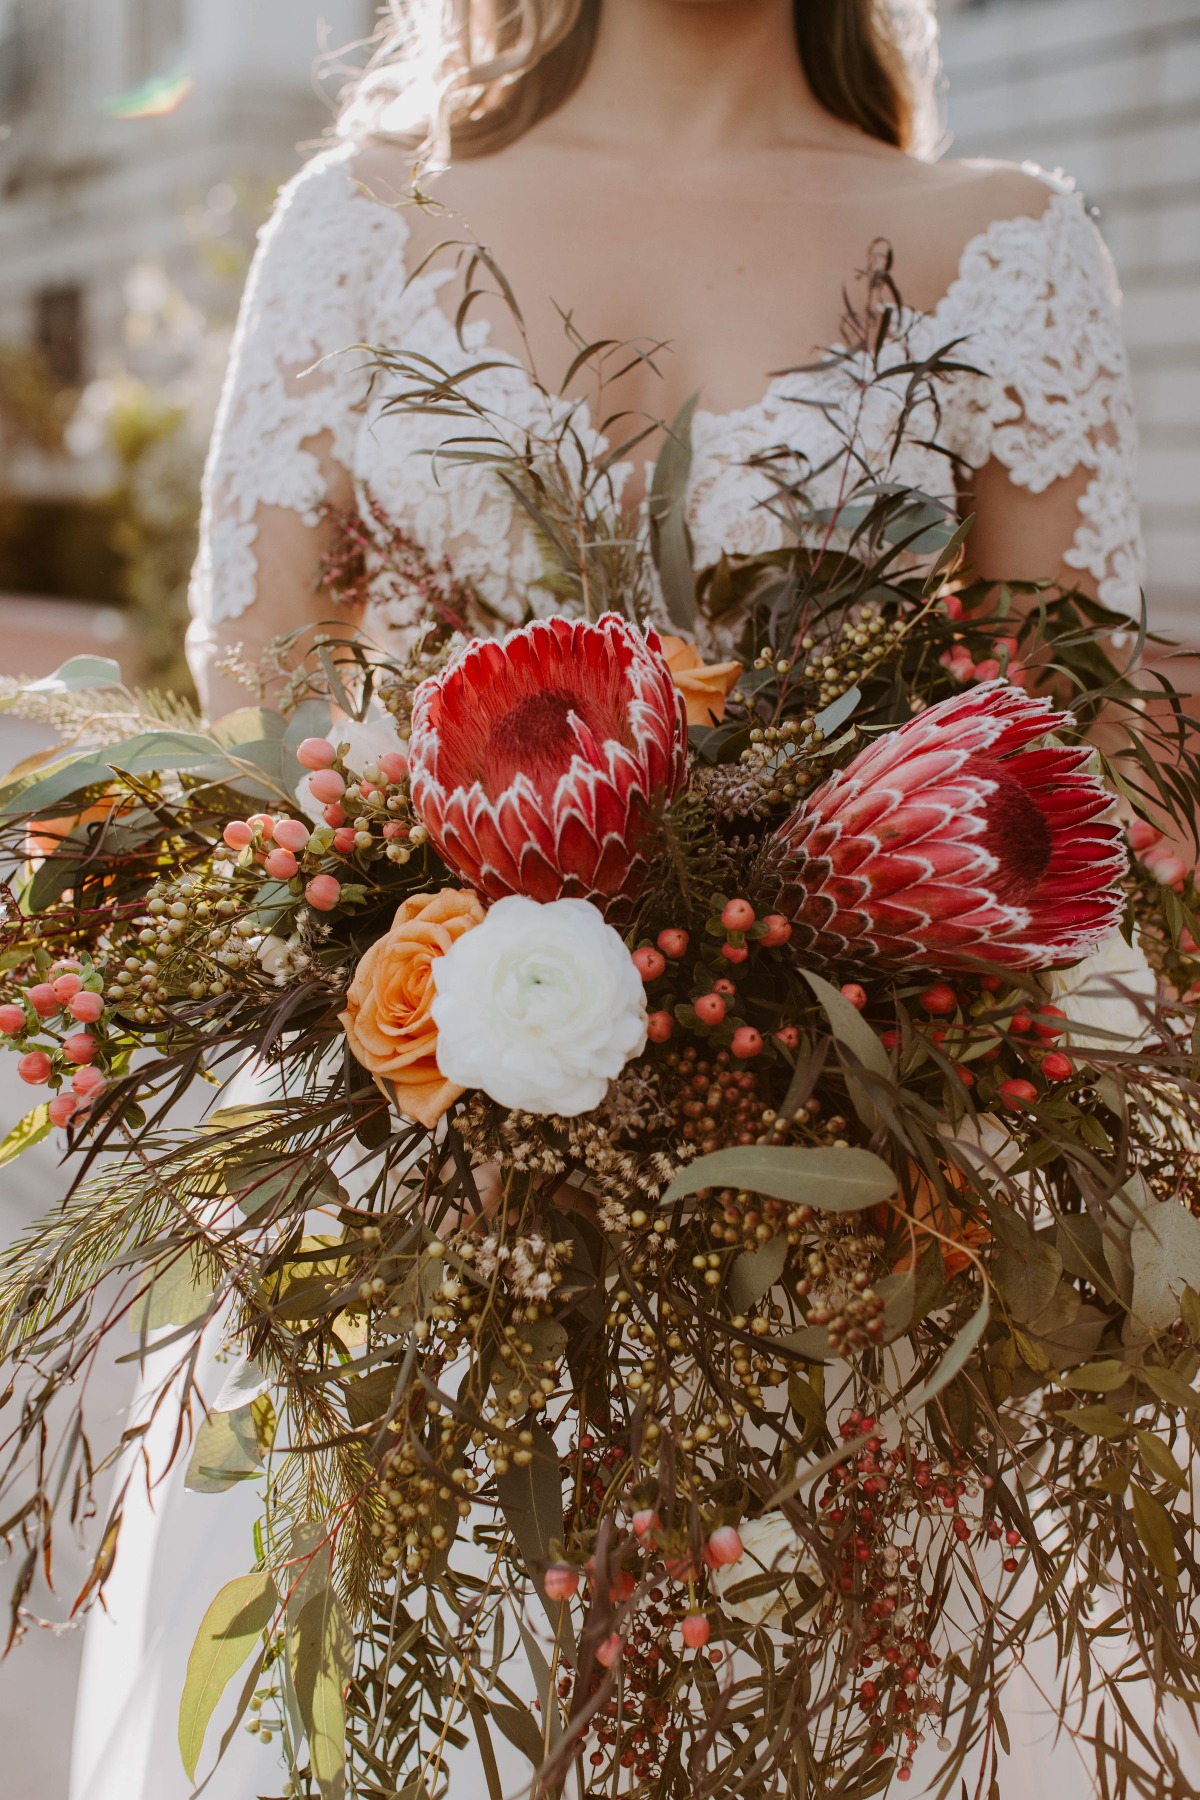
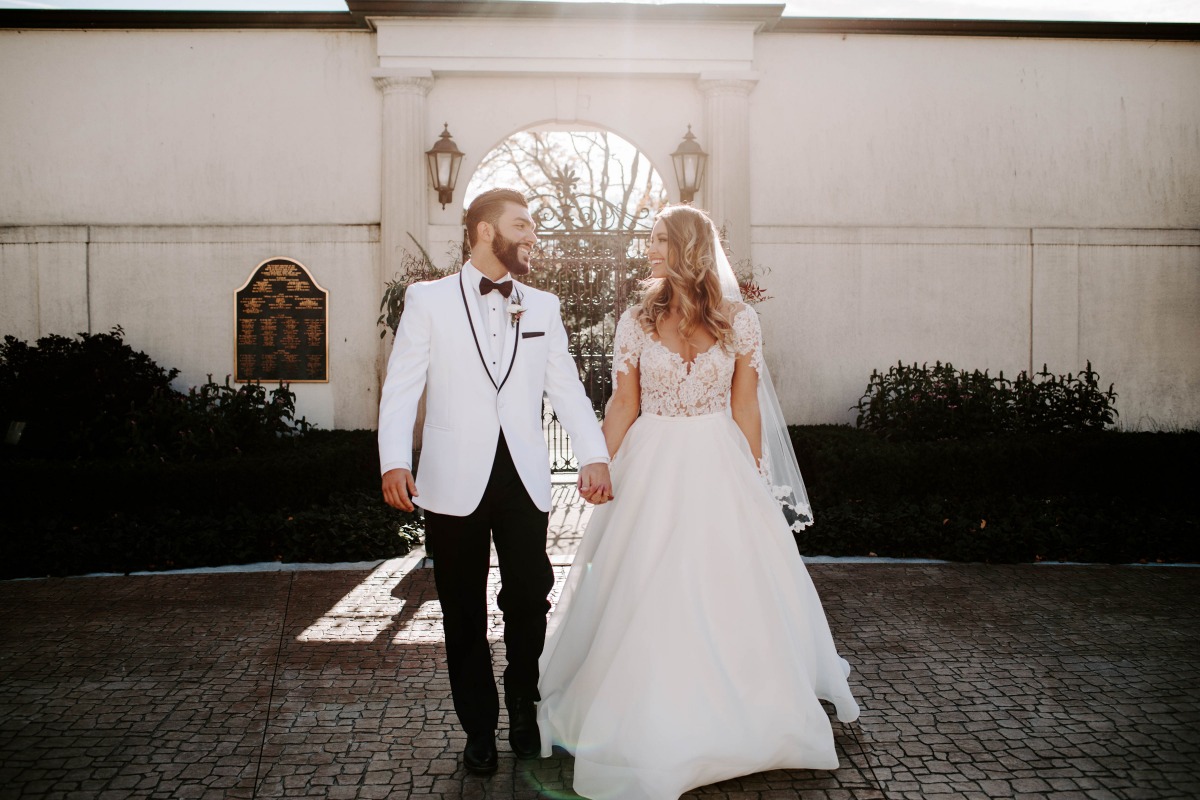
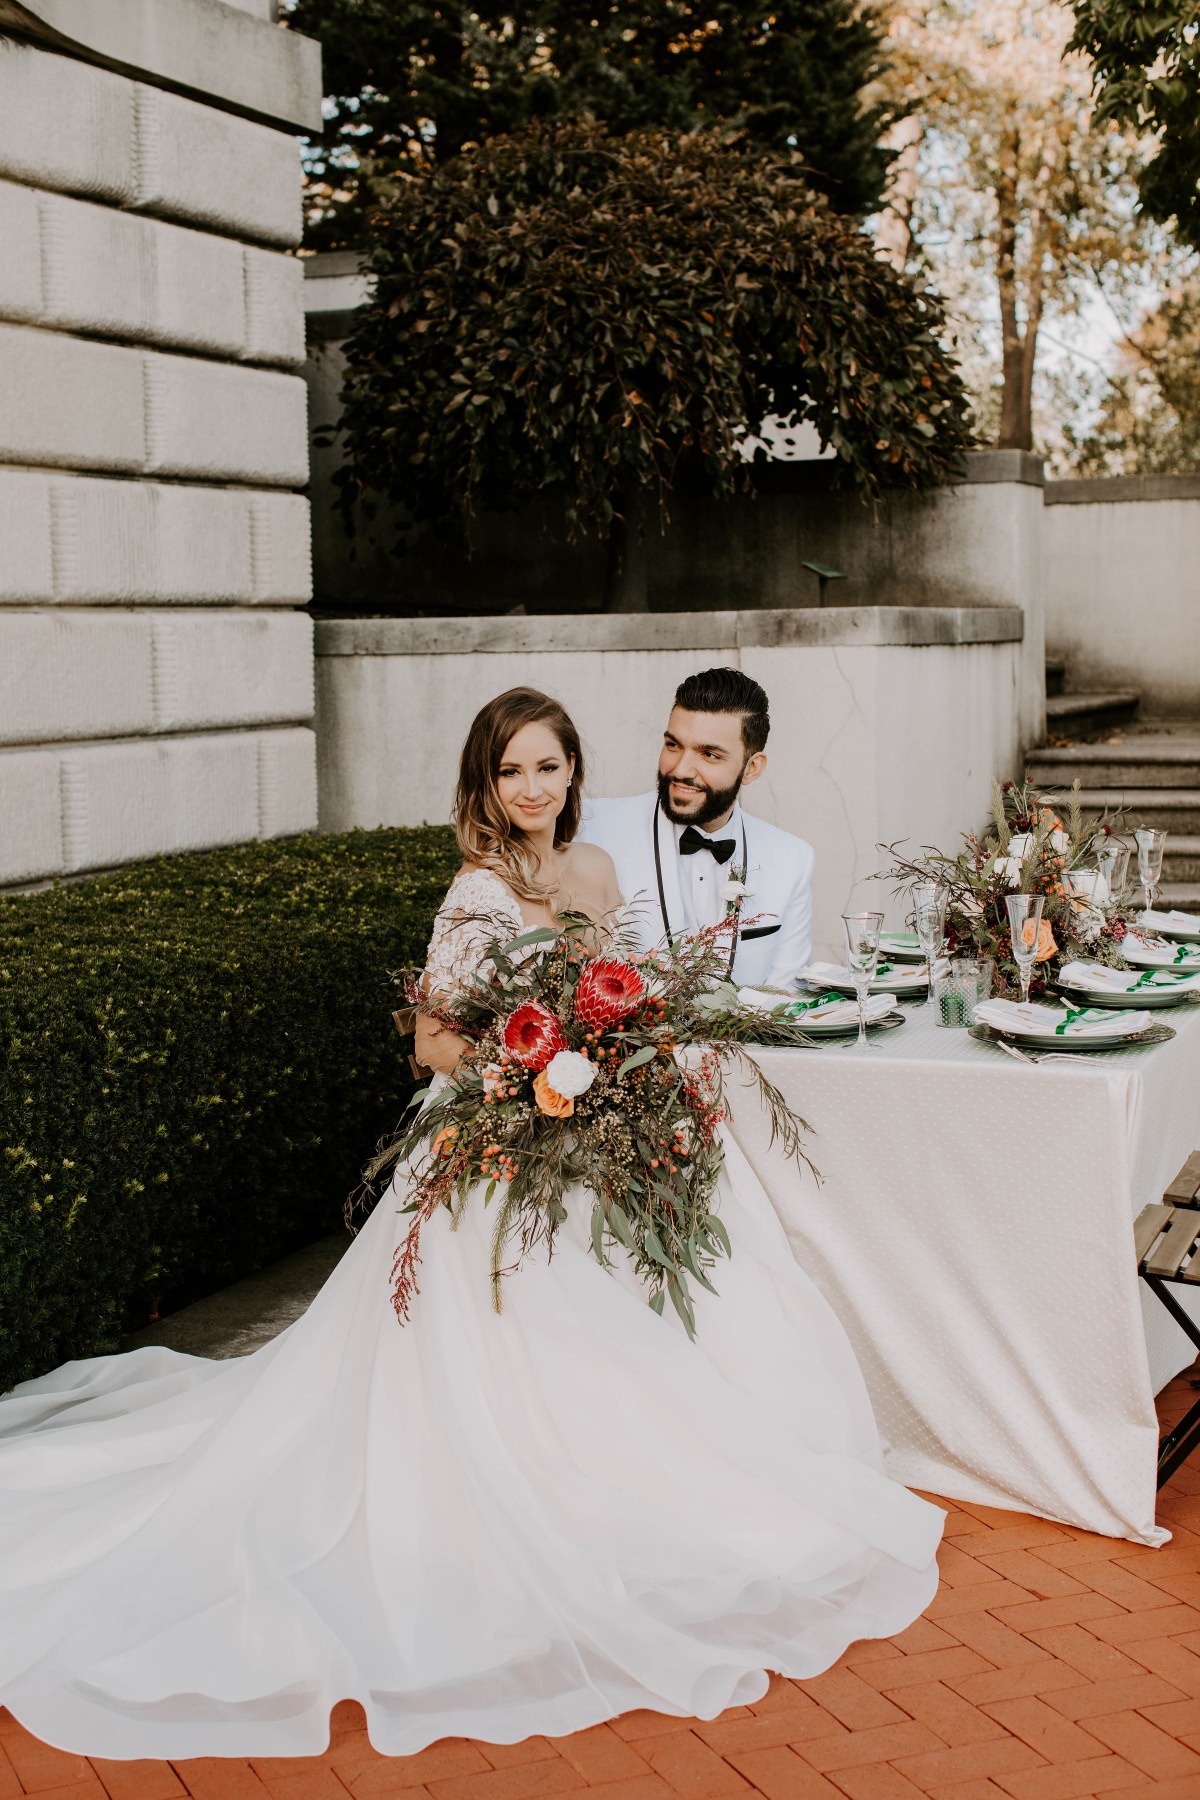
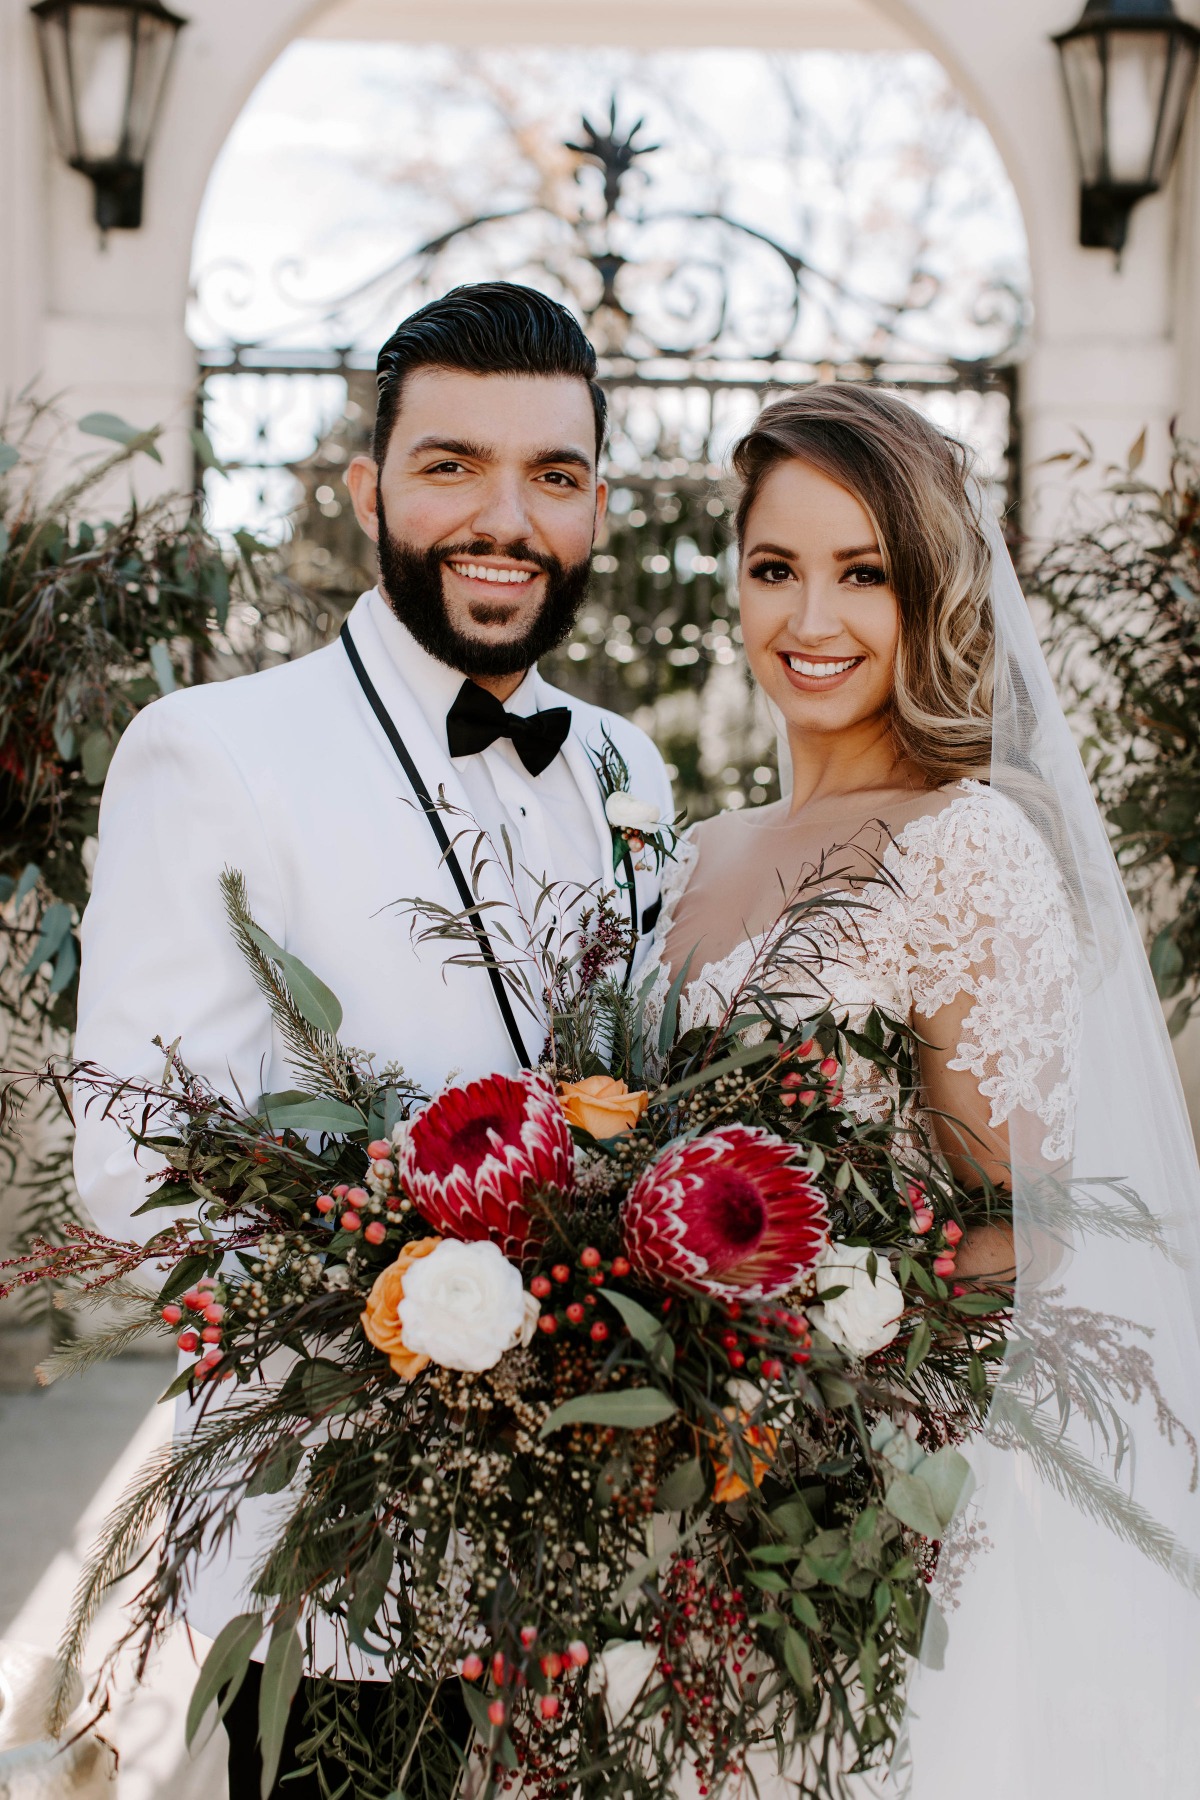
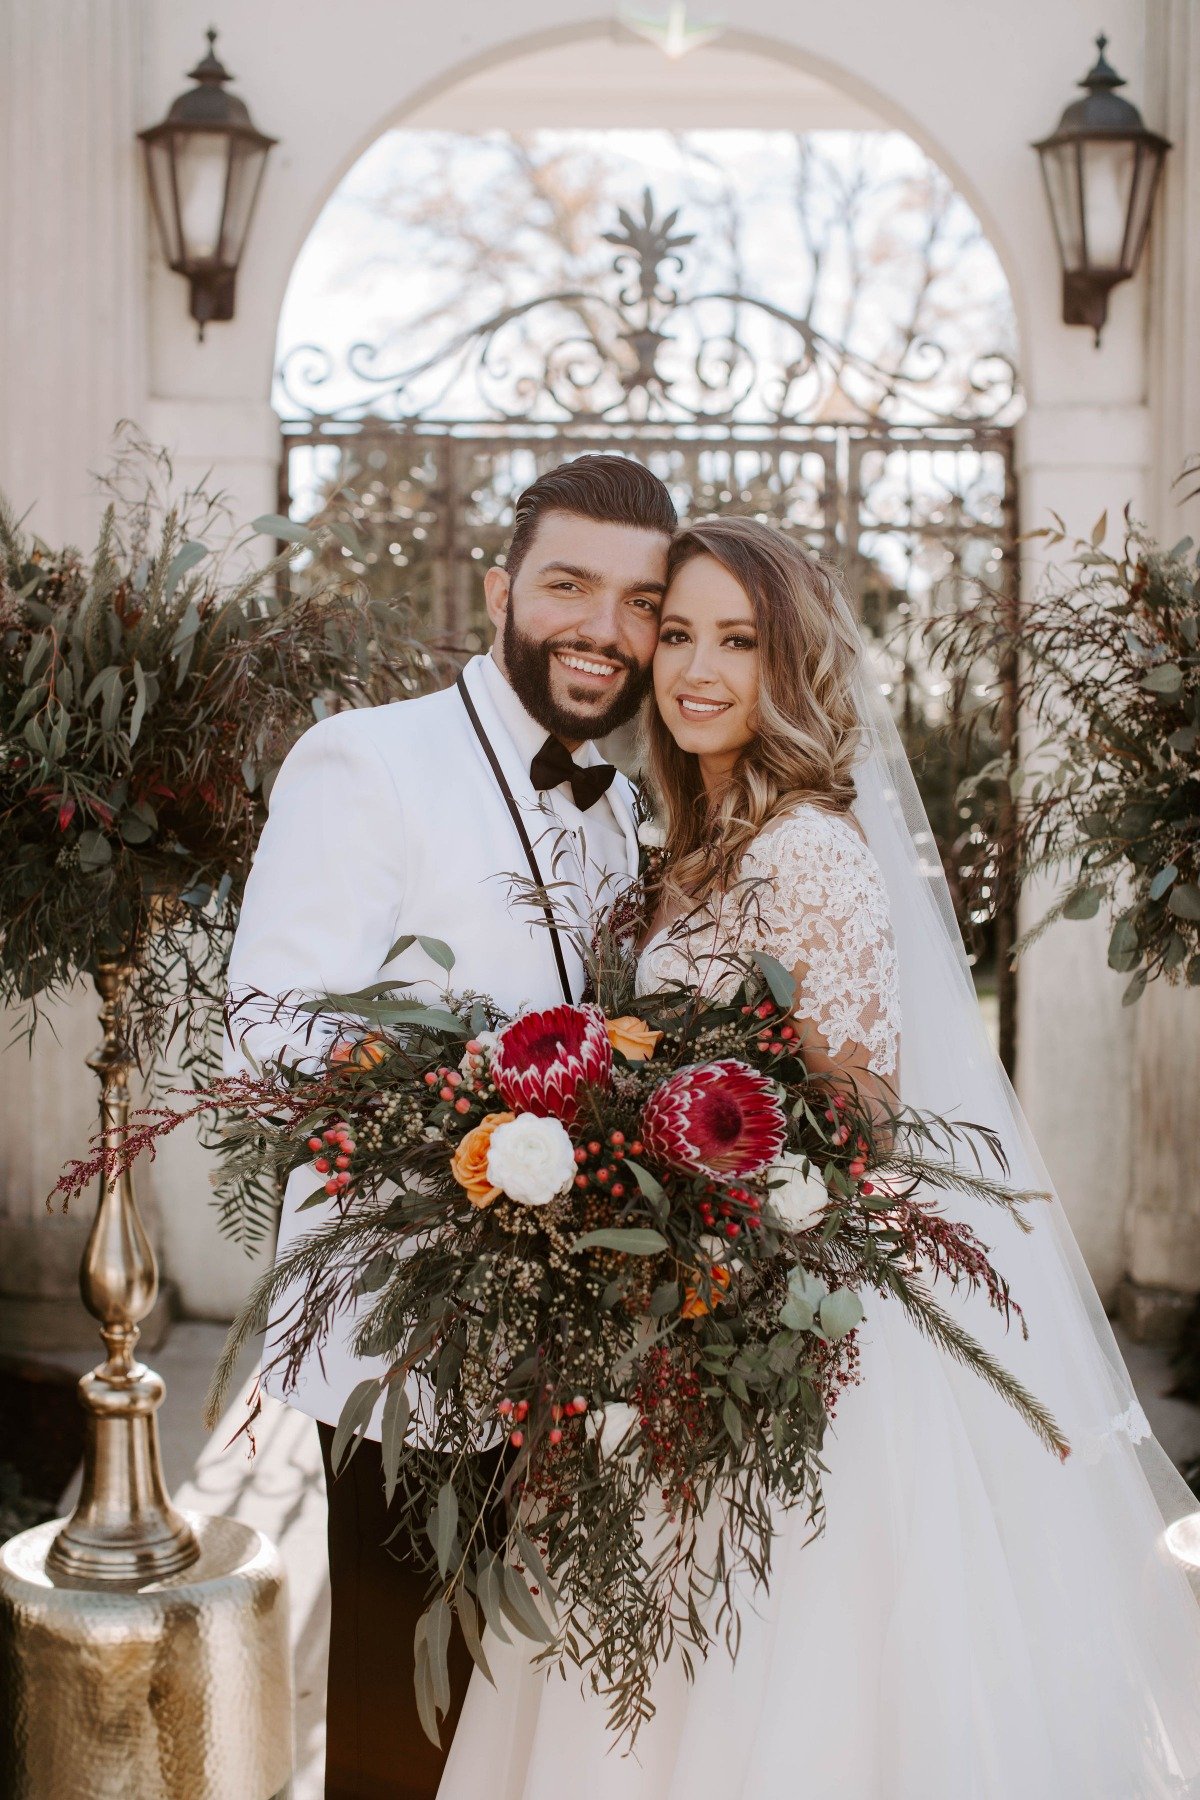
The brides' ball gown wedding dress from Paloma Blanca is show-stopping, to say the least, especially next to the grooms modern black and white tux. And how about that stunning bouquet? Swoooon! See all the highlights below from Nicole Balsamo, and see the entire shoot in the full gallery.
Jewel-toned winter inspiration
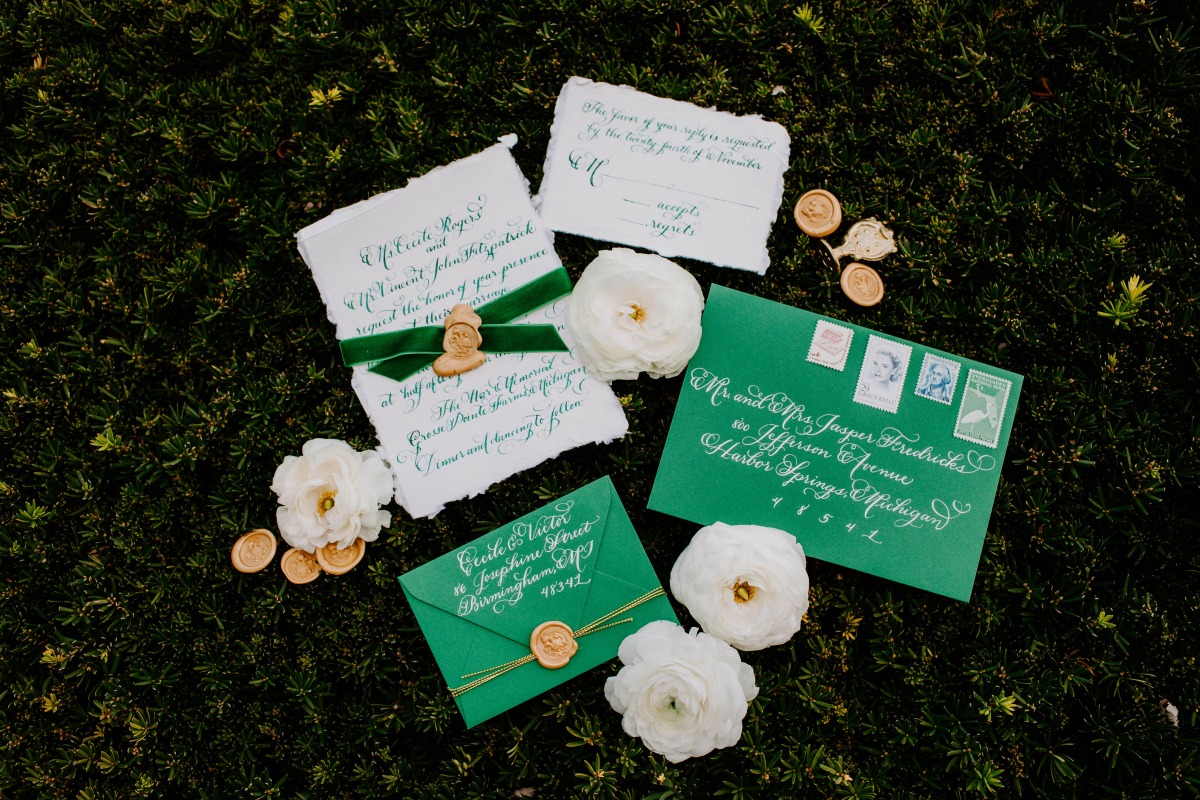
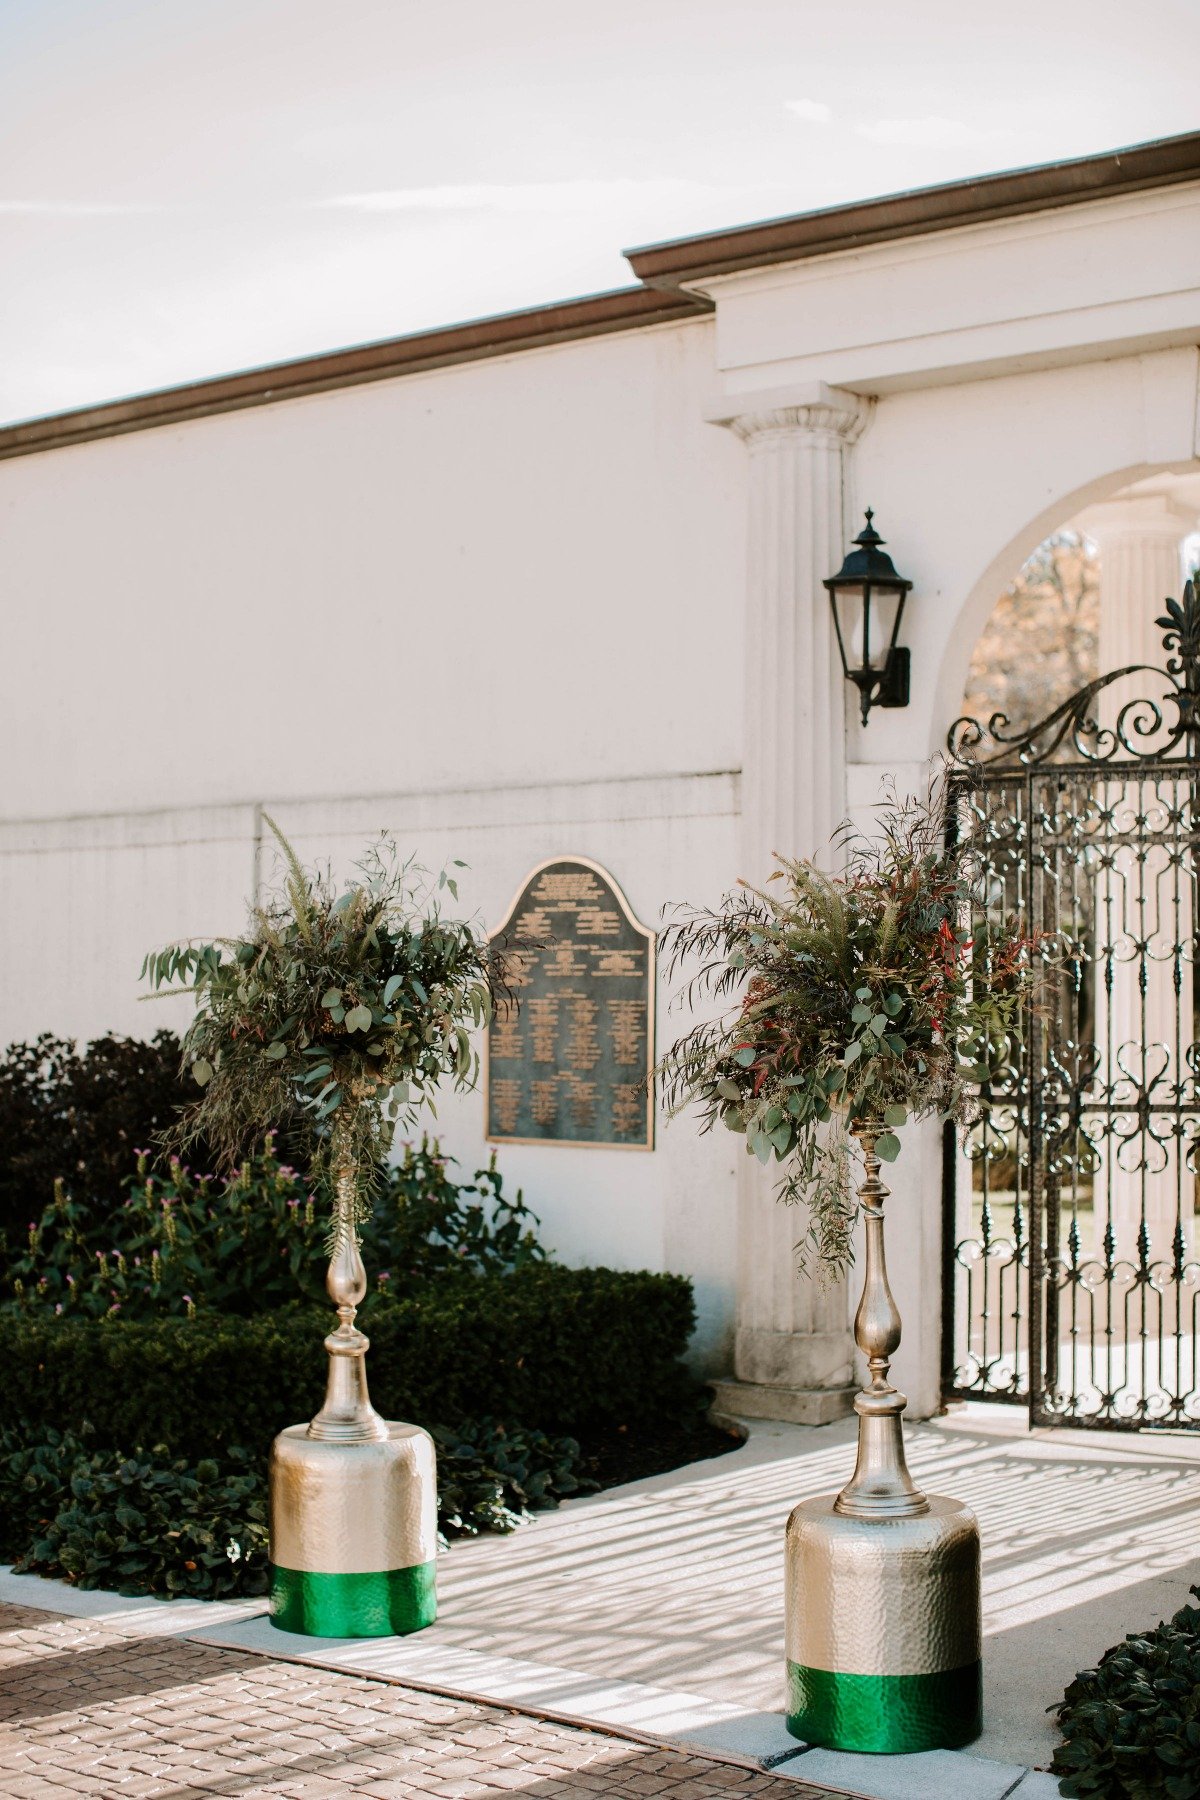
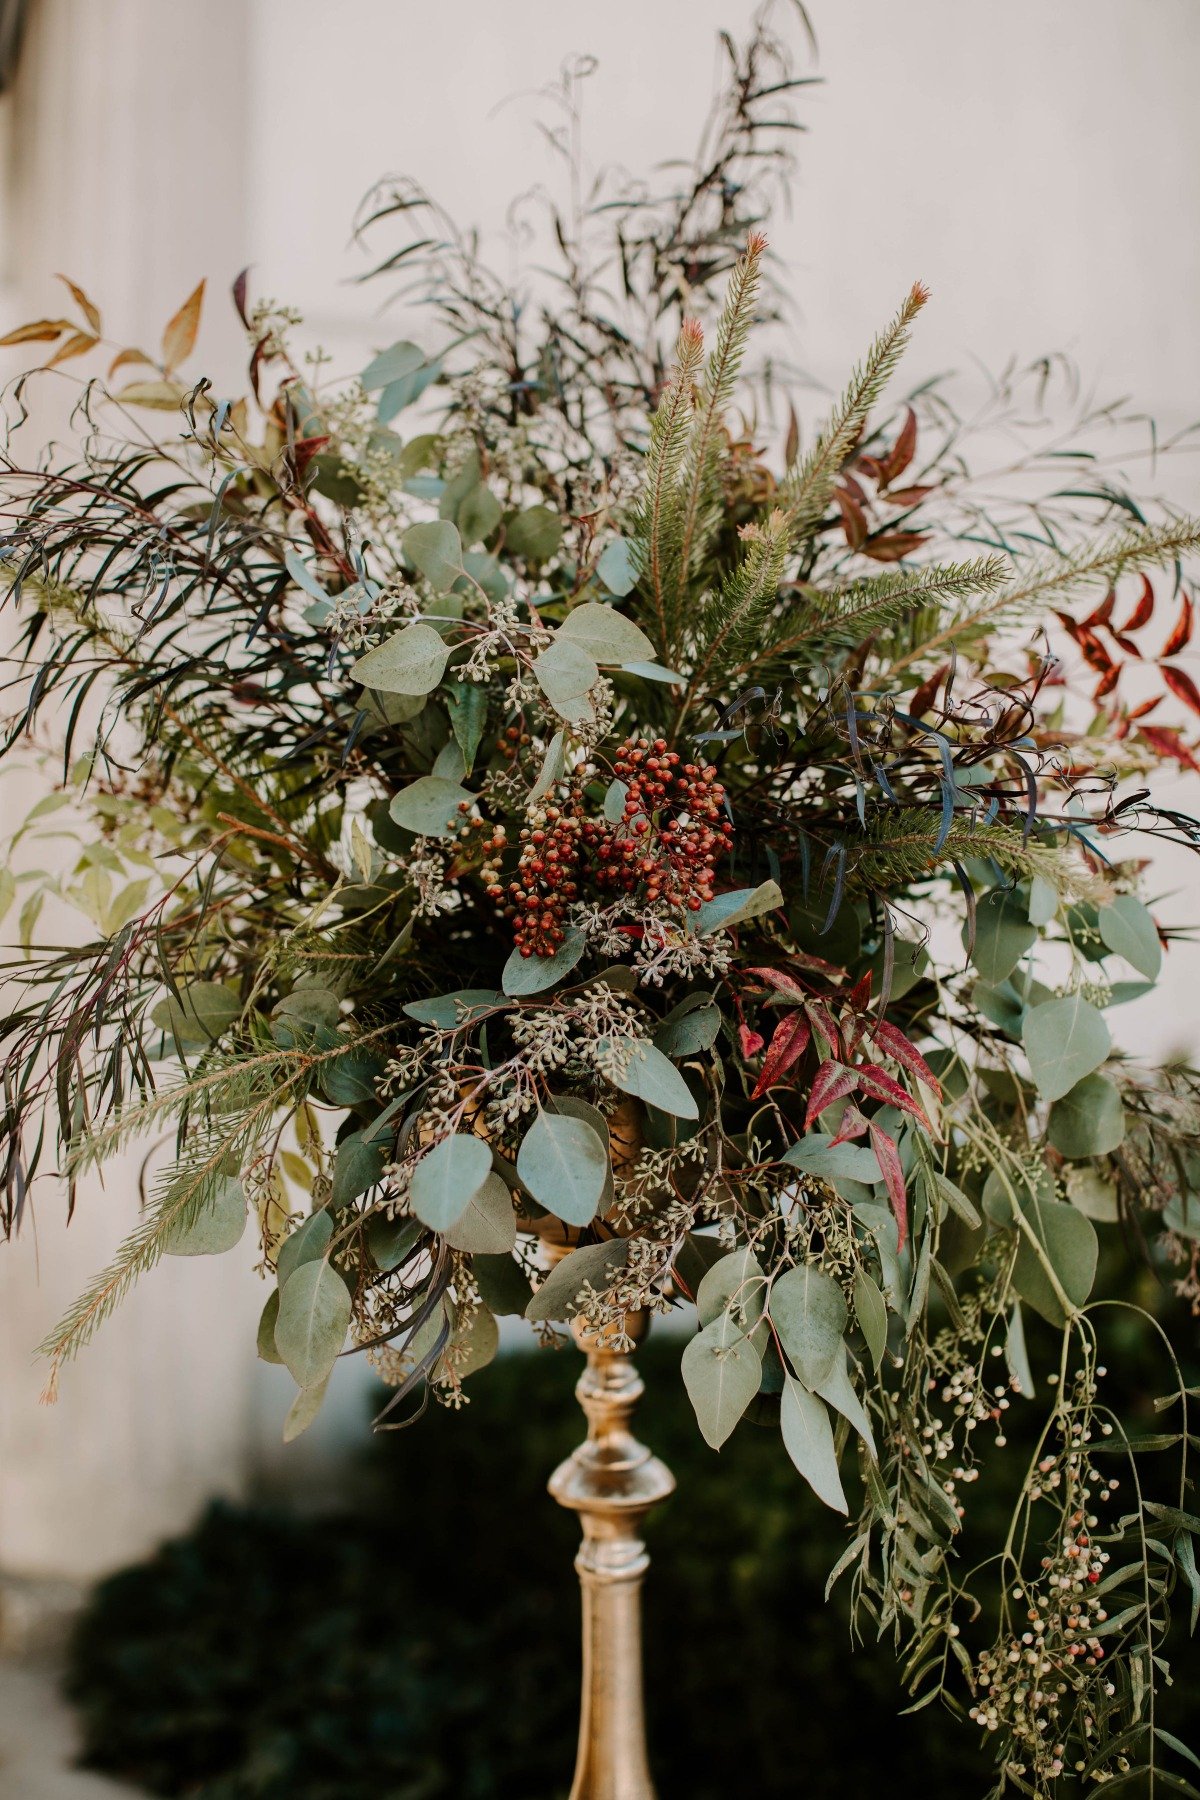
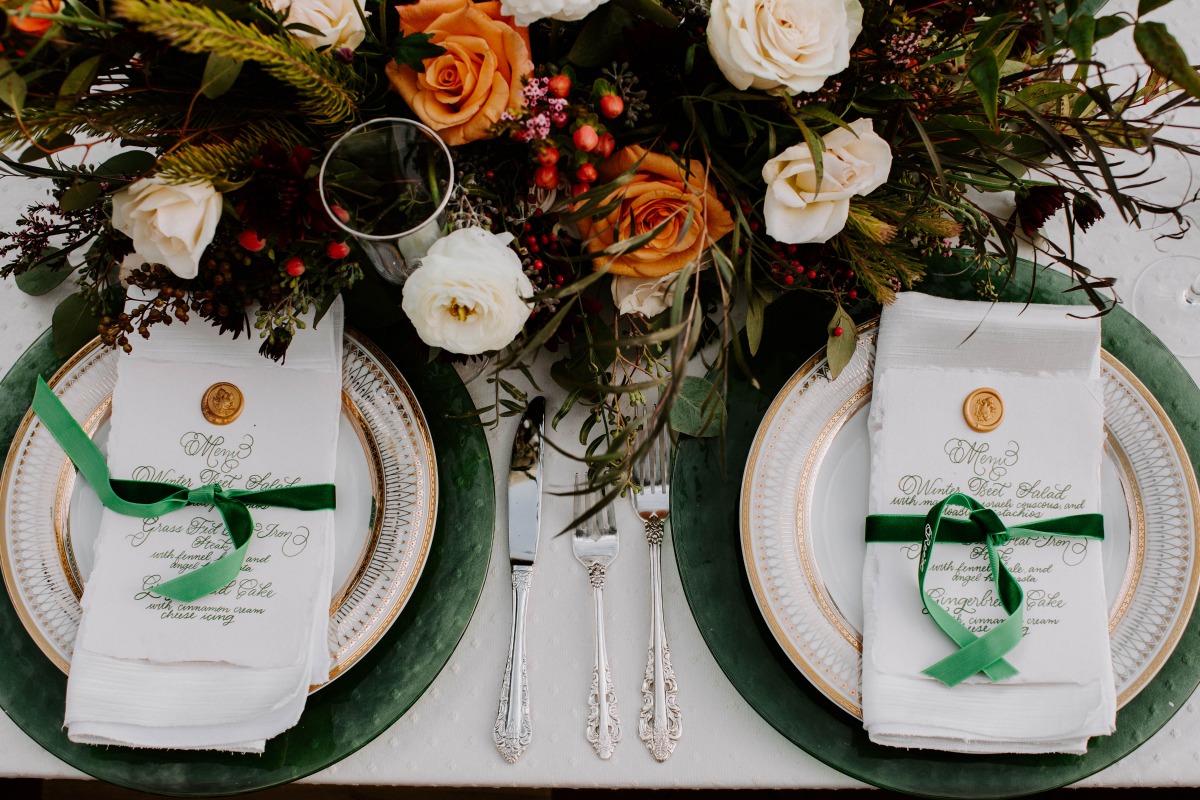
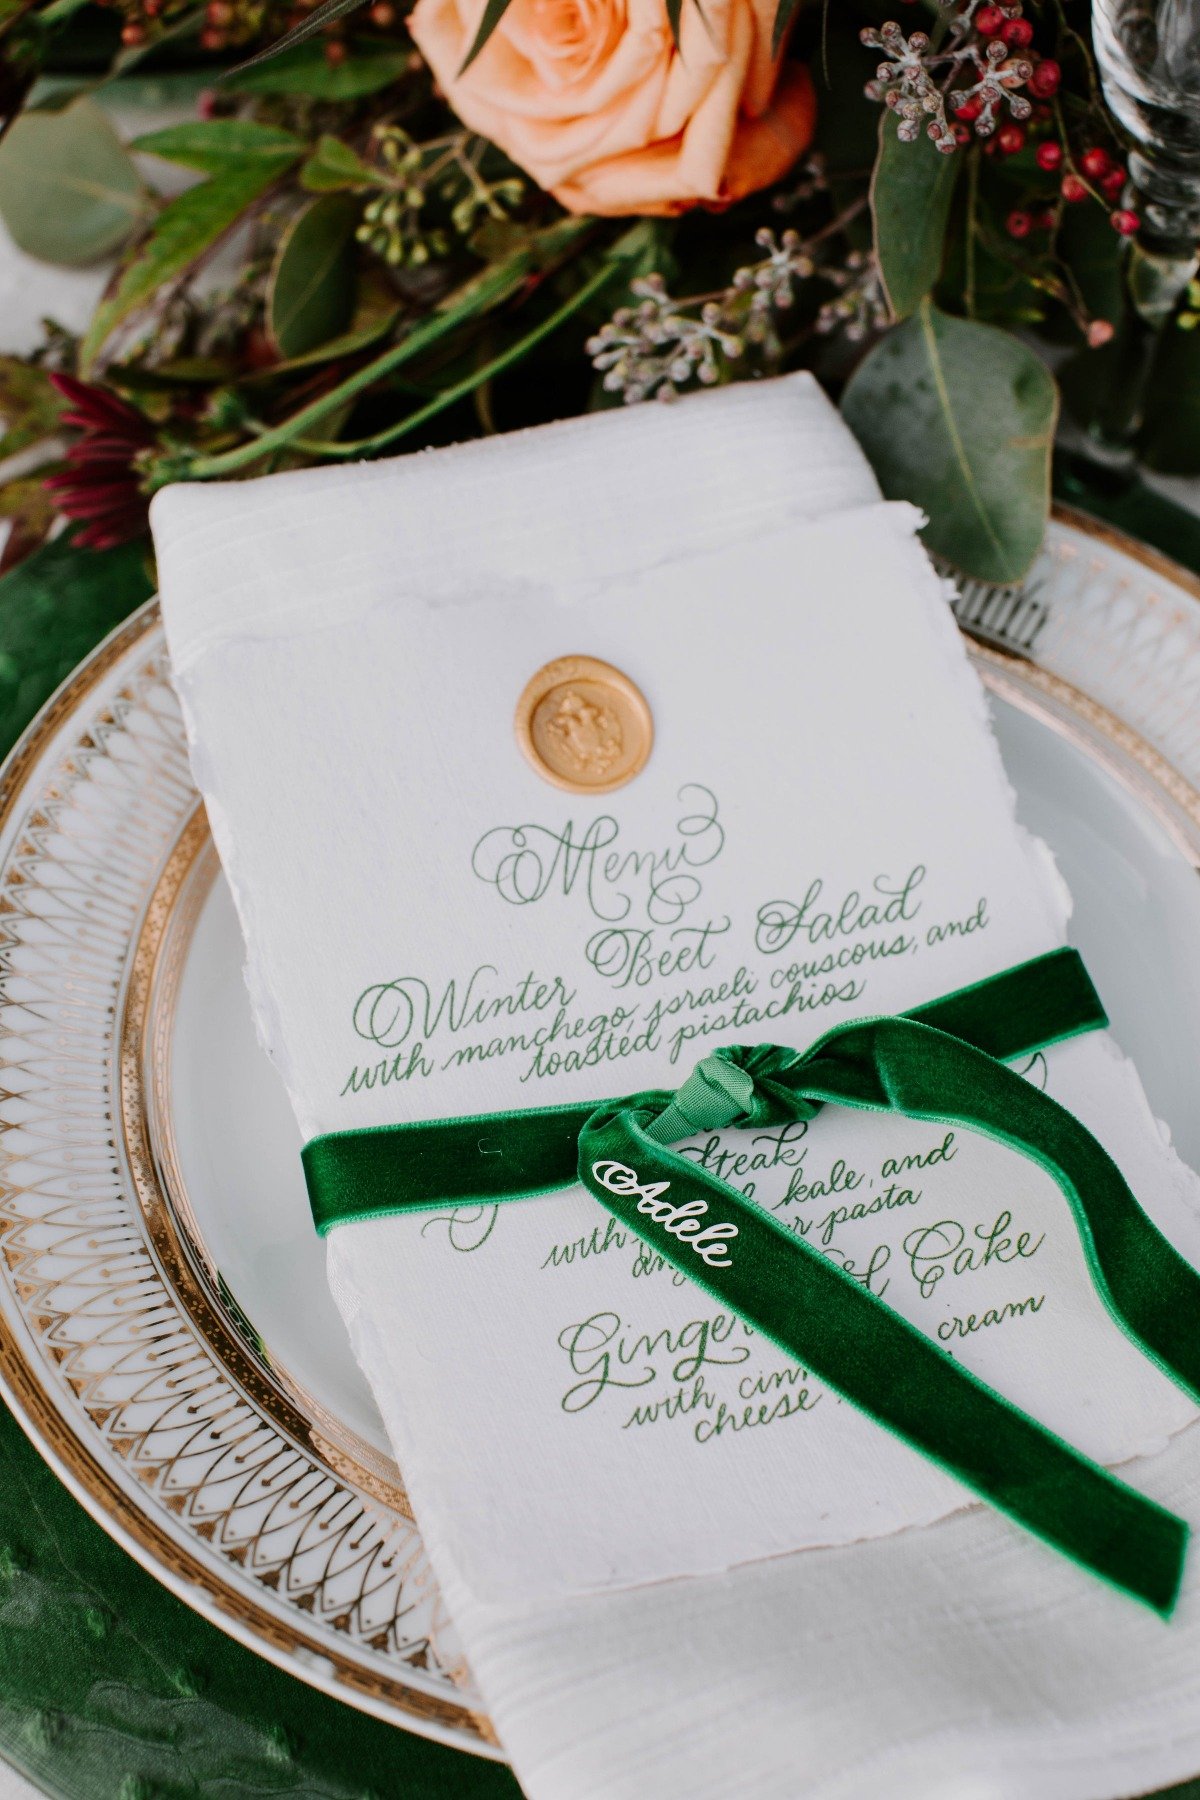
When planning this editorial shoot at Michigan’s War Memorial, Ann Travis of Bash Event Planning & Design wanted to play off of the new jewel tone trends coming to light for 2019. Using the season as their inspiration, the pair pulled a lot of winter-inspired greenery and berries to be featured in the centerpiece and bouquet. Pops of emerald in the chargers, the menus, the ribbon, invitation suite and ceremony urns tied together the ensemble, as well as complementing seamlessly with the gold accents.
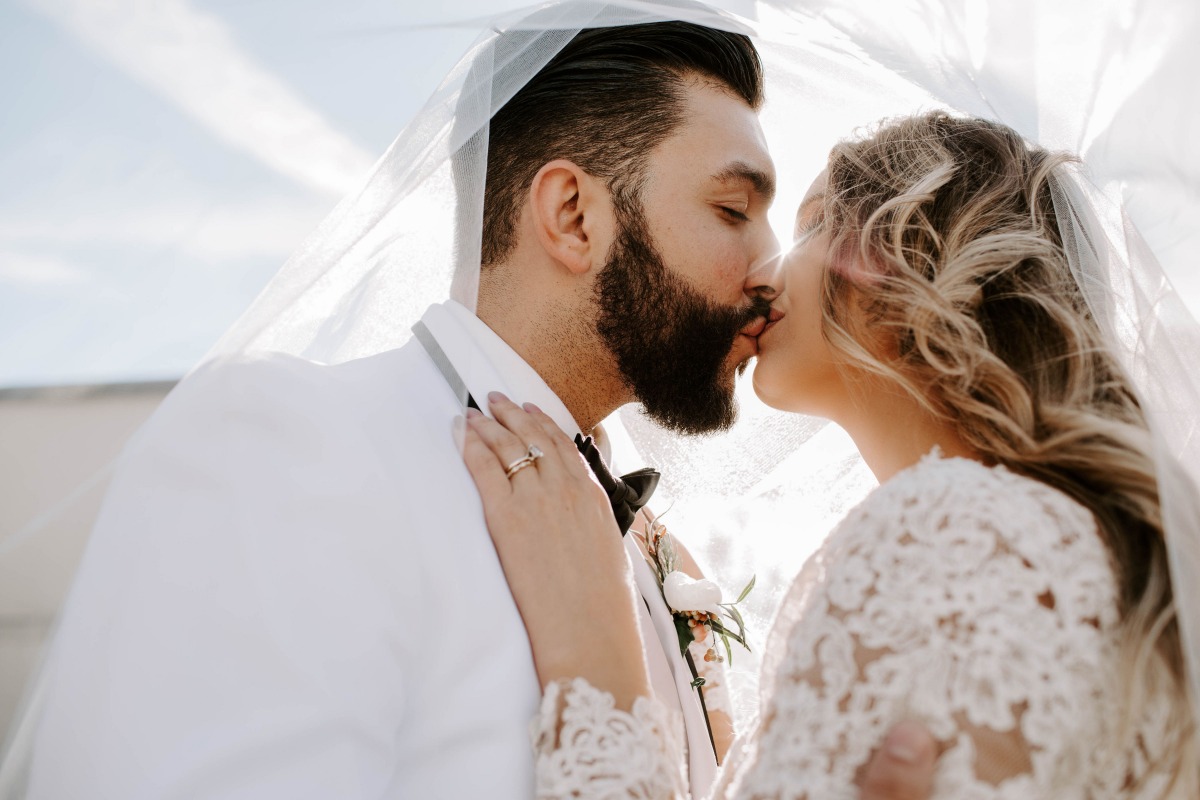

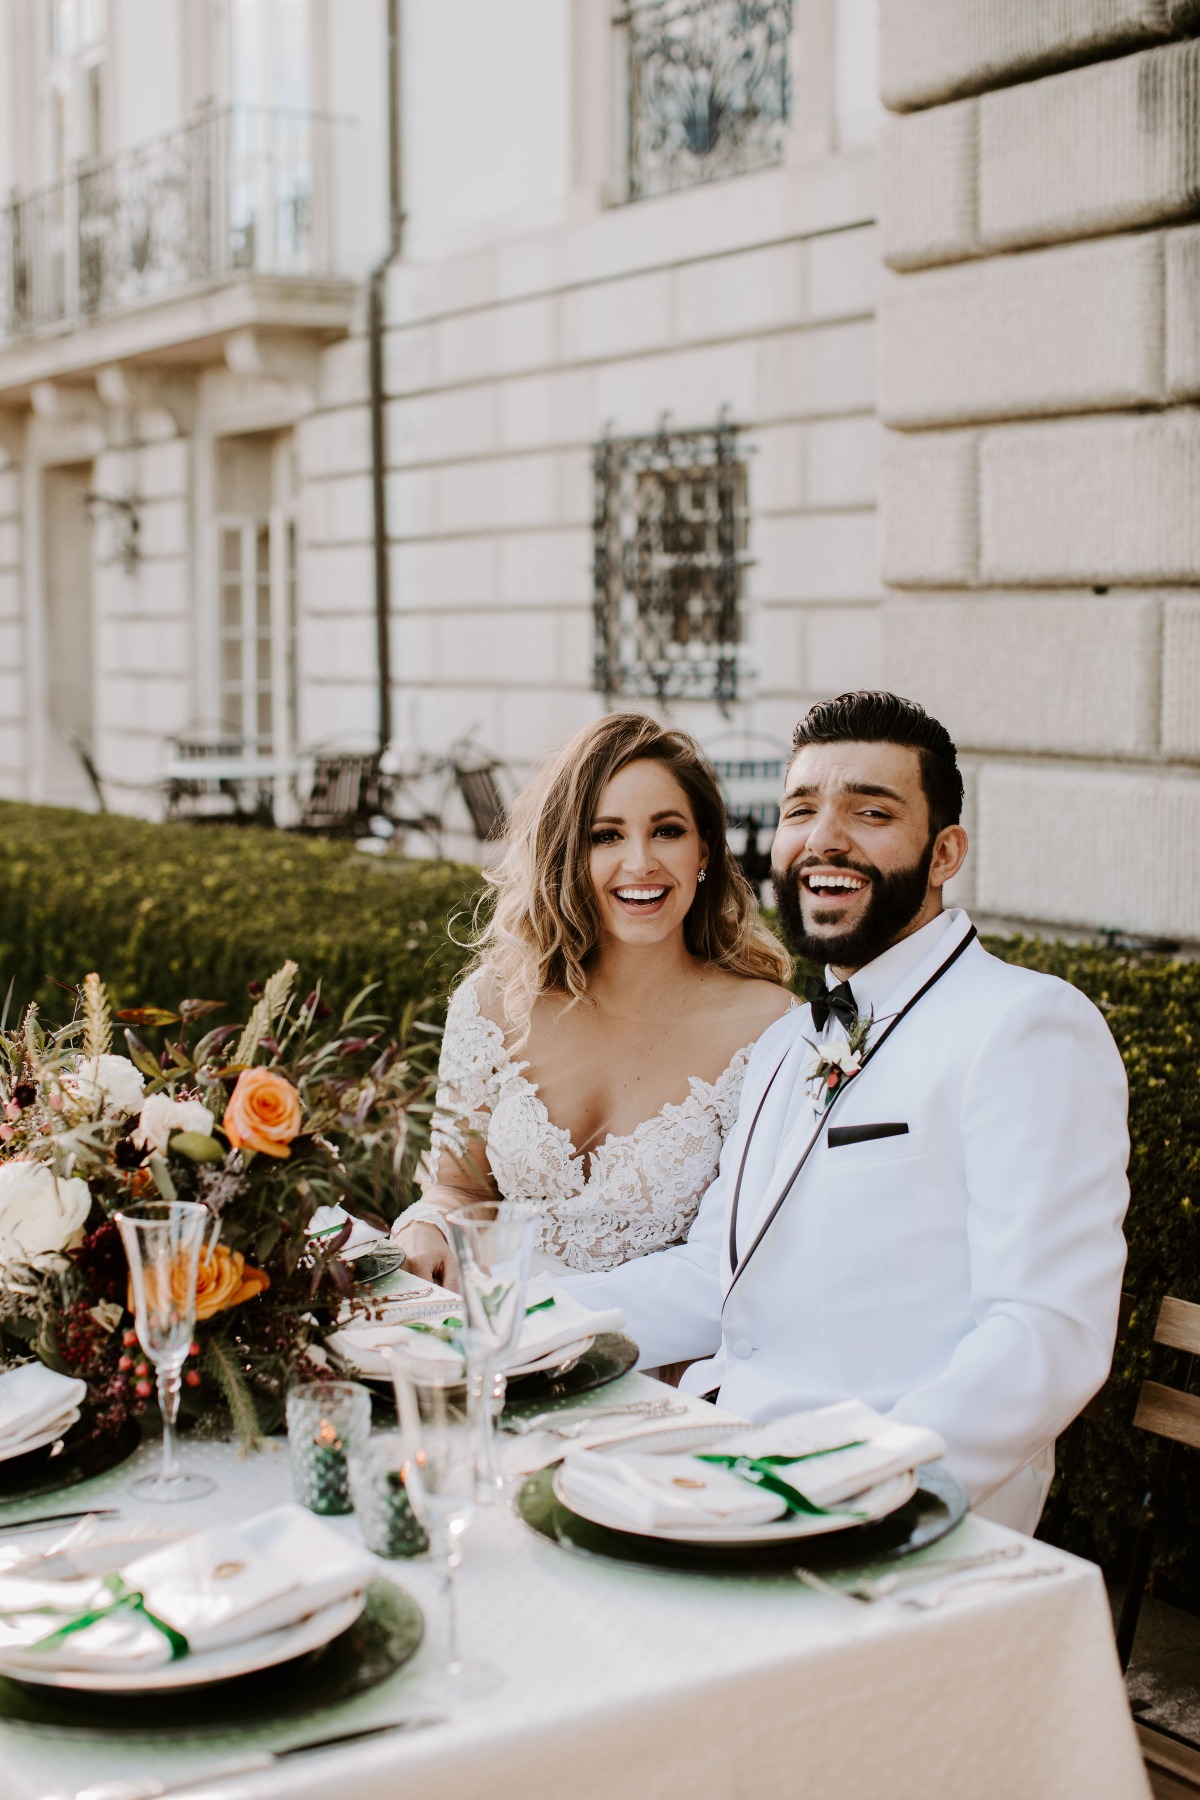
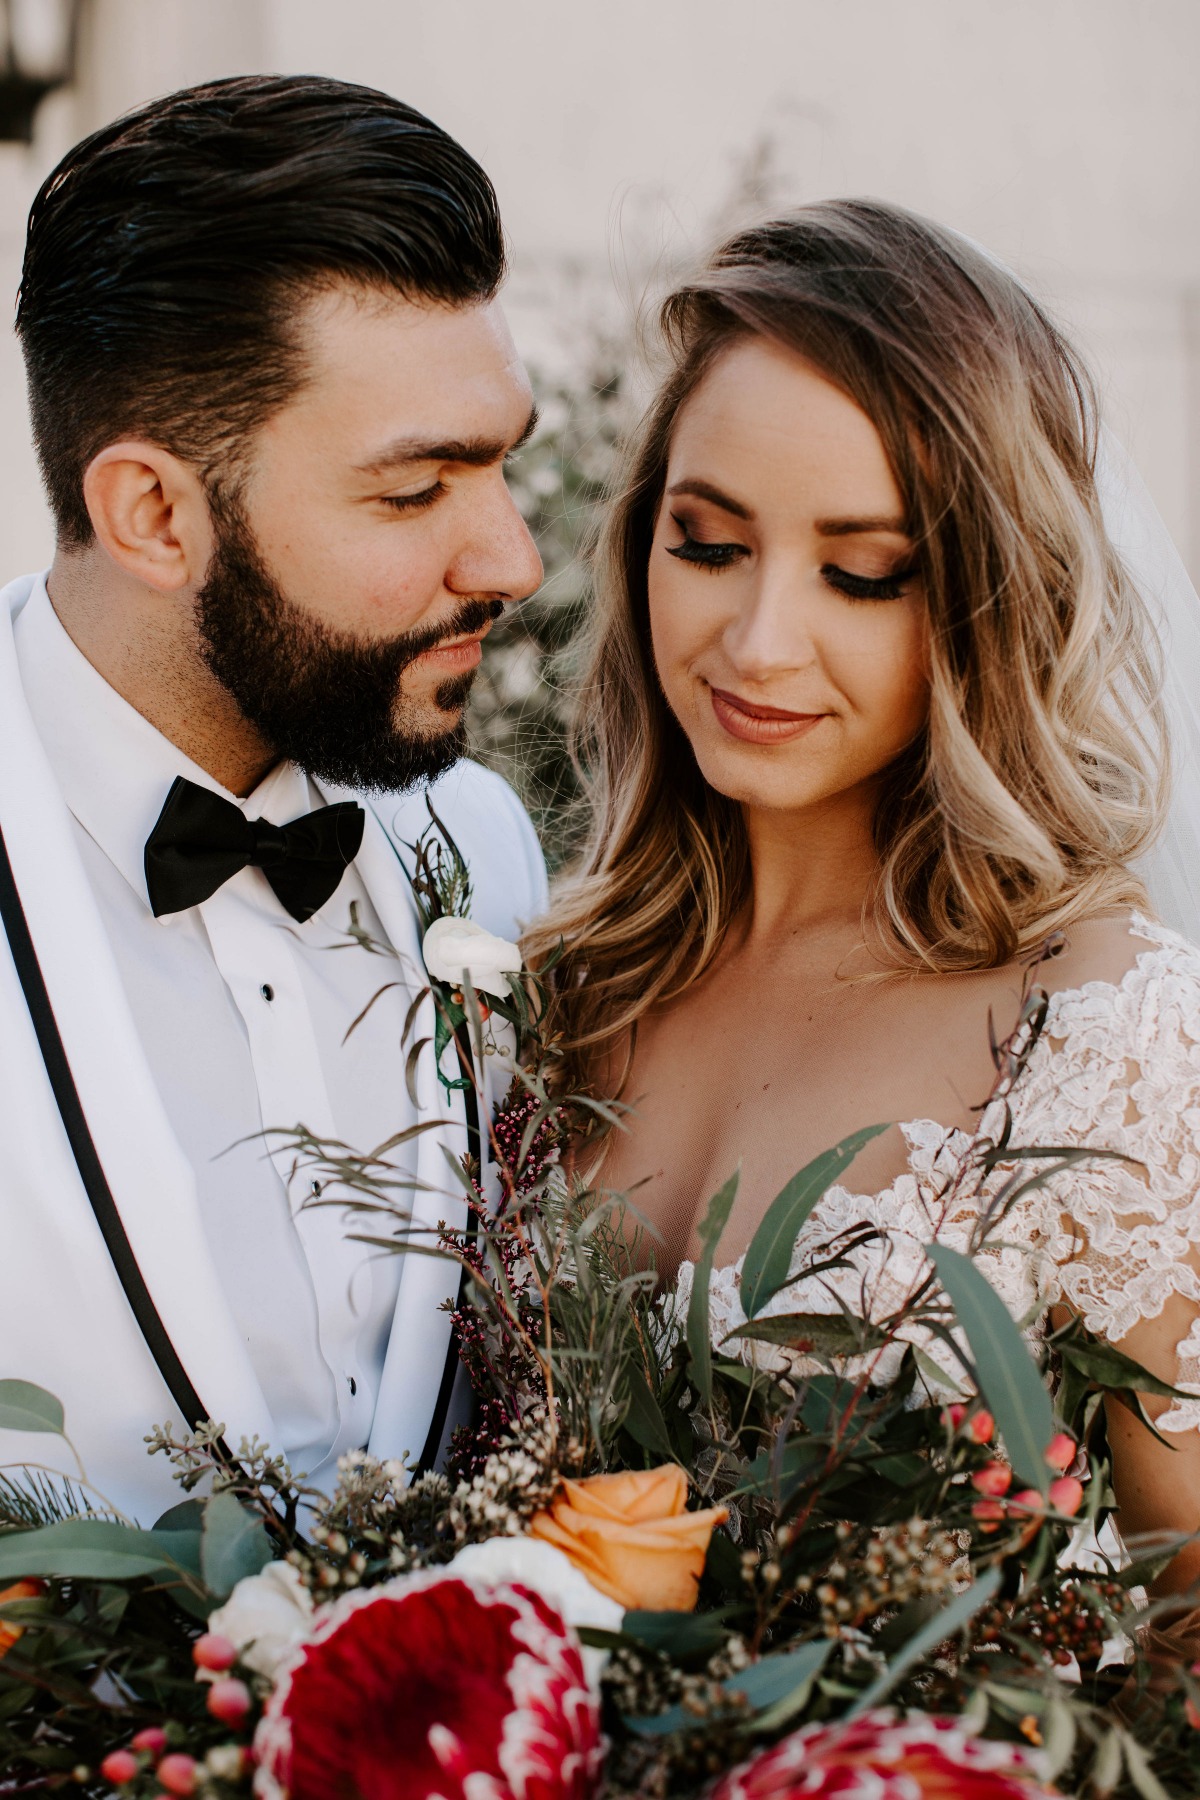
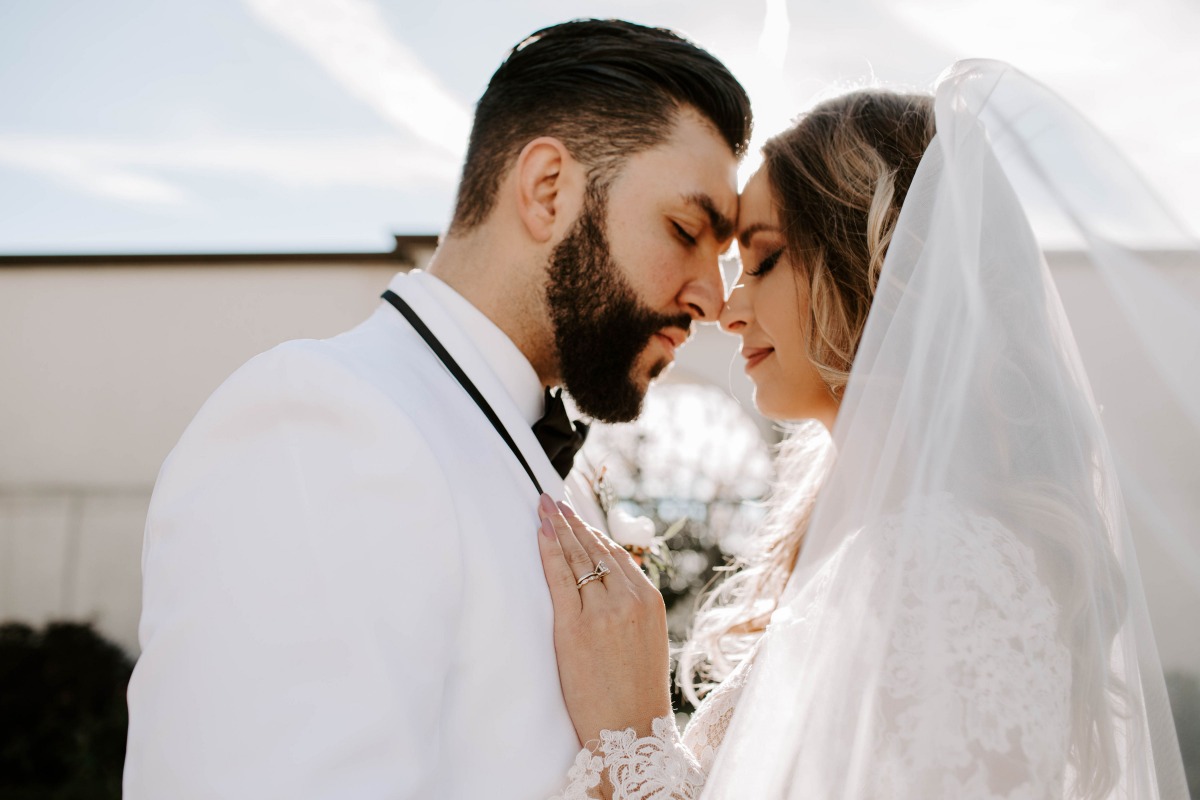
Real life couple
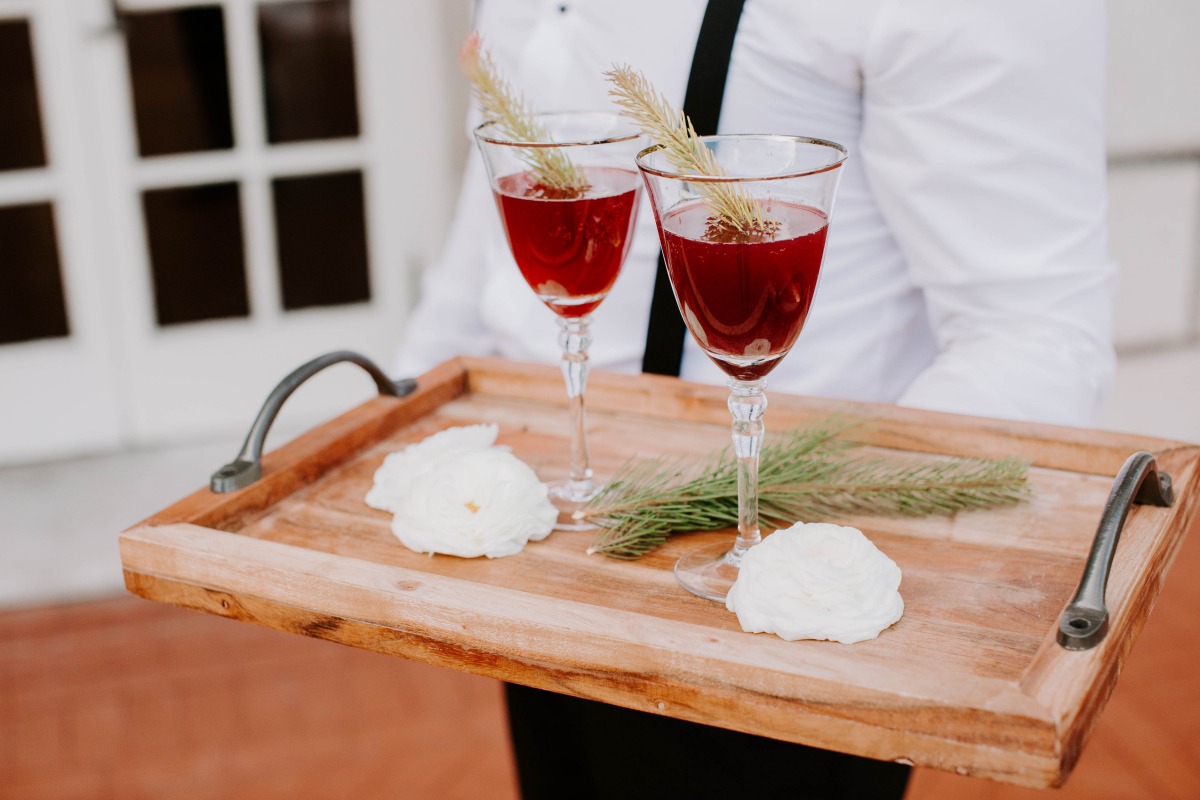
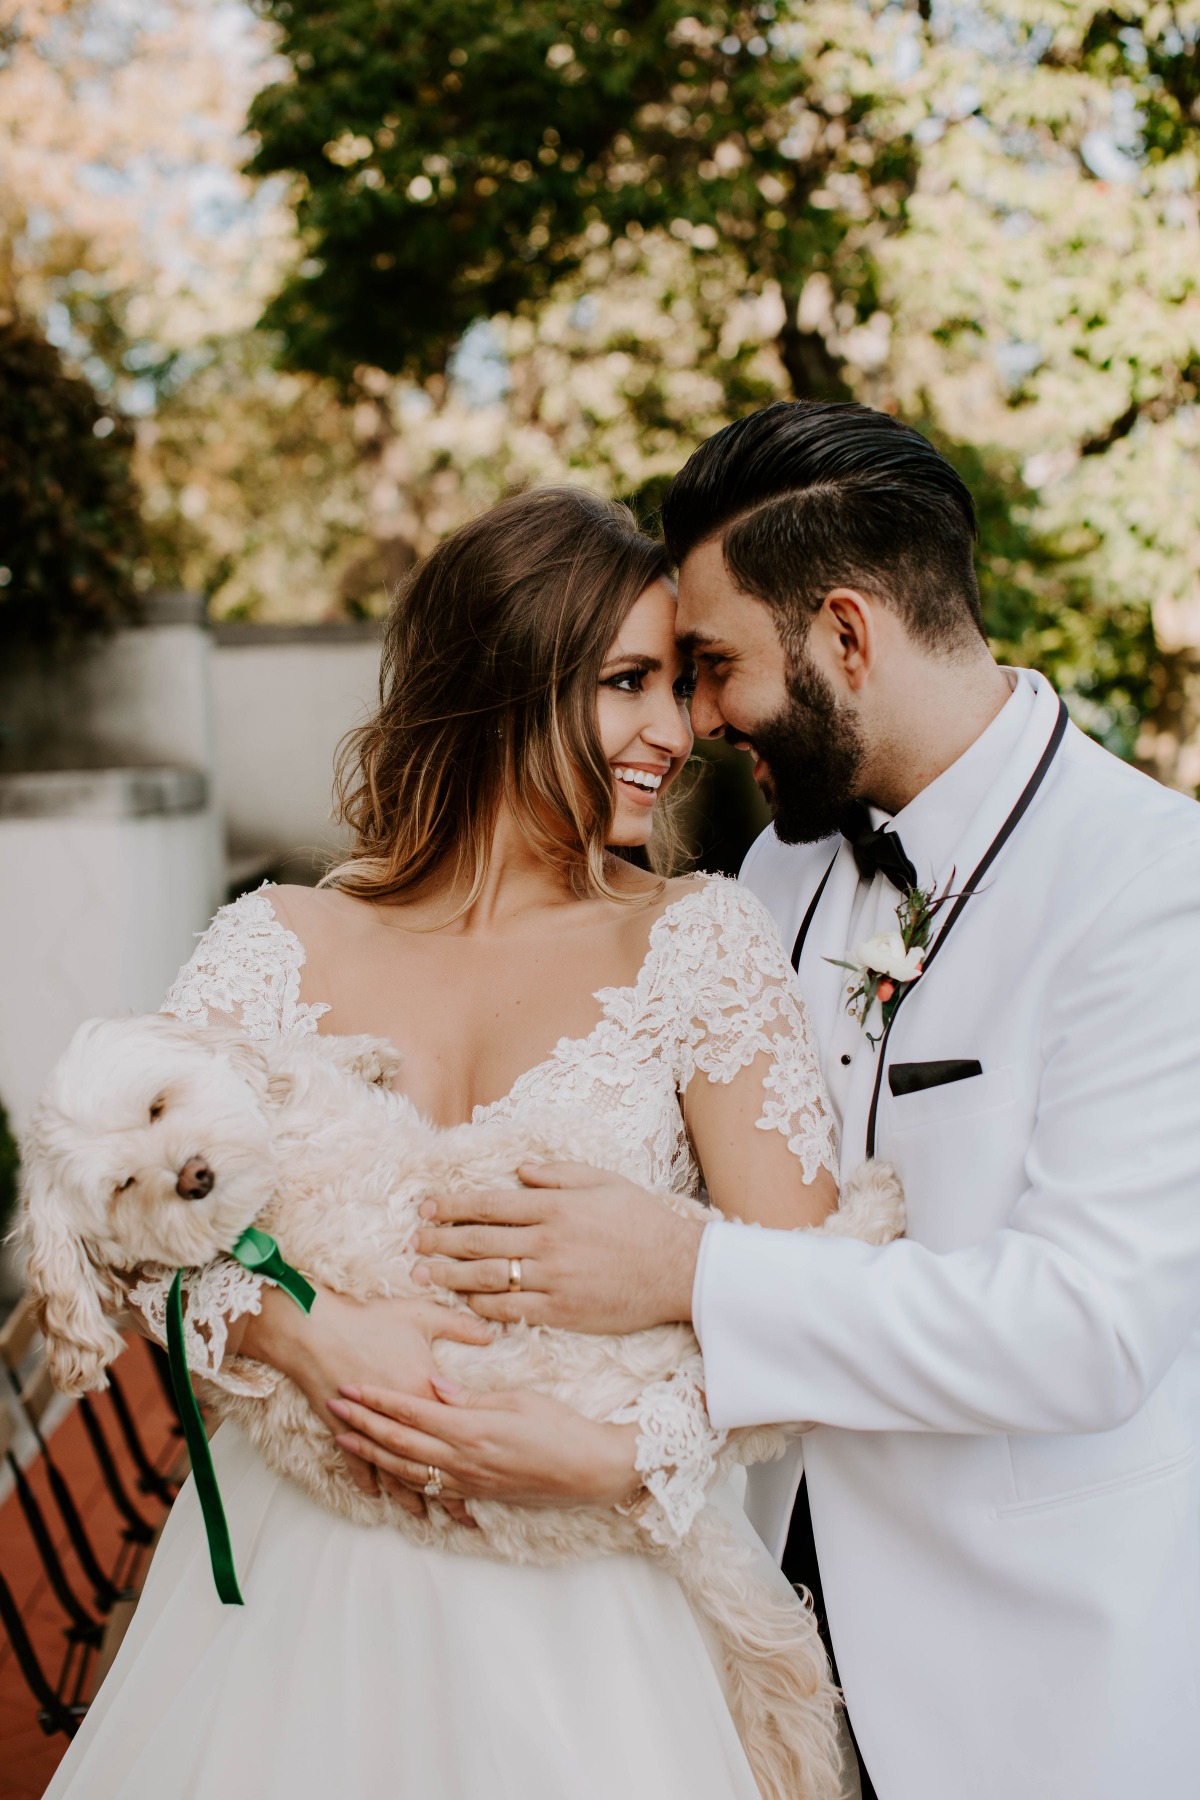
They featured a real, loving couple who had a dream of having their wedding photos redone. Handcrafted festive cocktails made for a lovely spotlight on a wooden tray with sprigs of evergreen for garnishes. To top off the luxurious feel, the sweet puppy even had an emerald ribbon collar!

- Dress & Apparel: Paloma Blanca
- Event Planning & Design: Bash Event Planning & Design
- Bridal Boutiques: The Gown Shop
- Event Planning & Design: Modernly Events
- Hair, Makeup & Beauty: Caidy Marie Beauty
- Models: Lindsey and Kenneth Spear
- Paper Goods & Calligraphy: Cali O’Rourke Calligraphy
- Photographers: Nicole Balsamo
- Rentals: Event Theory
- Venues: The War Memorial