Hair Tutorial | How To Fishtail Braid
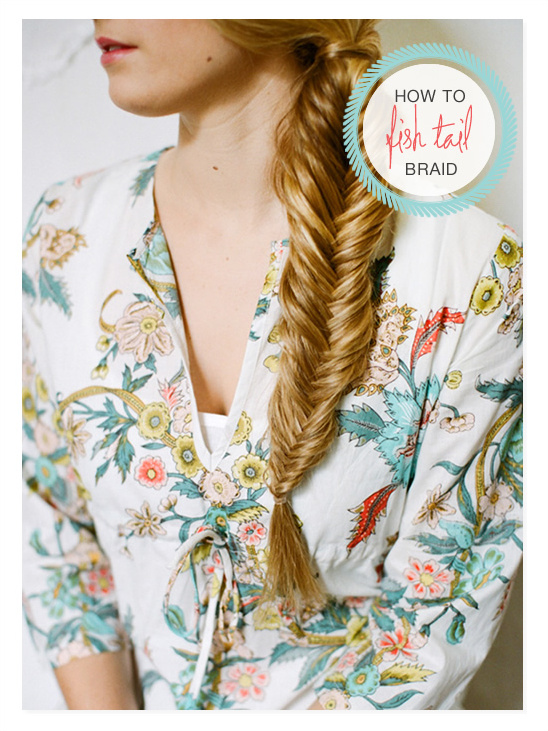
It has been a while since we had a hair or makeup tutorial to share with you. Summer is coming and the weather is warming up we thought a fish-tail braid seemed only fitting. Pair this stylish hair do with your favorite summer sundress, wedges and a little gloss and you are good to go.
Thanks to the Southern California hair and makeup guru Erica of 1011 Makeup + Hair for showing us how to fishtail braid. The pretty pictures of Caitlin were taken by Lane Dittoe Photography and the perfect getting ready robe is by none other than Plum Pretty Sugar. Read on for exact instructions from Erica.
Read on for instructions on how to fishtail braid your hair. Again a special thanks to 1011 Makeup and Hair and Lane Dittoe Photography for sharing this with us.
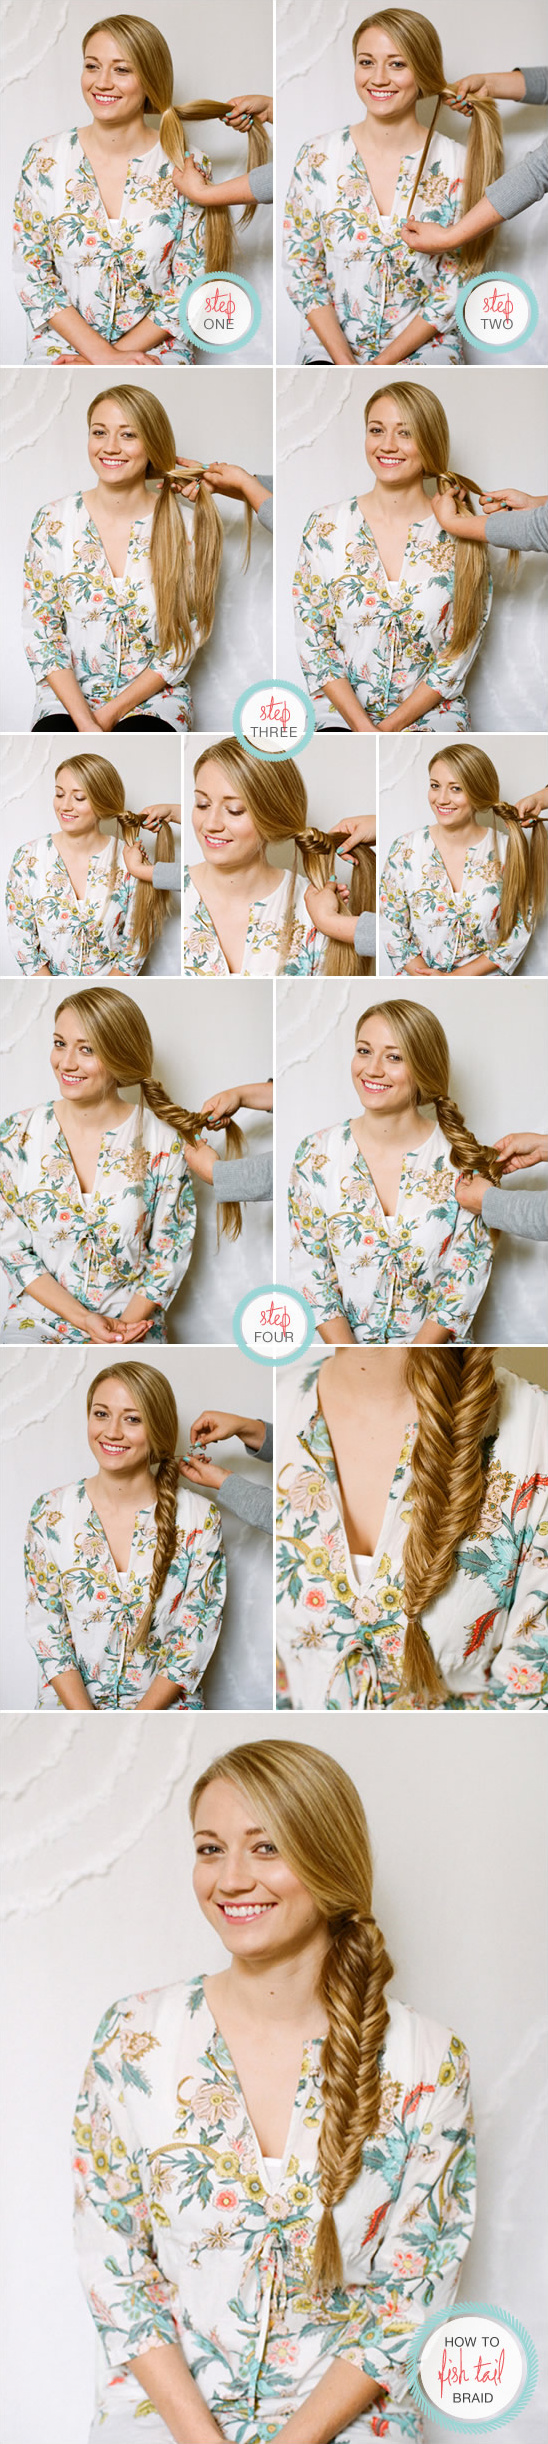
Step one:Gather hair into a ponytail and secure with a clear elastic band. You can either cut the band for a loose braid or you can wrap the band with hair to hide it upon completion.
Step twoDivide the hair in the pony tail into two equal parts. If you would like to wrap the band with hair when finished, leave a small piece aside, separate from the two equal parts, and do not include this piece as you braid.
Step three:Take a small piece from the outside of side one and pass the piece to side two (you can decide which side will be one and two). Next, take a small piece from the outside of side two and pass it to side one. Continue this process. Once you pass each piece over you can forget about them, just let them gather into their new sides.
To keep the braid tight, every so often you can take side one and side two and pull them away from each other. This will help tighten the pieces you have already placed and braided.
Step four:Once you have finished the braid (takes a lot longer than a normal three strand braid), you can secure the ends with an elastic band. At this point you can either carefully cut the elastic at the top of the braid, or you can take the piece you set aside and wrap the band, securing the end with a bobby pin.
For a looser braid, upon completion, you can gently pull the braid apart, helping to separate the pieces a bit, loosening the braid.
For a sleeker braid, make sure to brush through your hair first, and try to keep the braid as tight as possible.
For a "messy/ boho" braid, you can add texture prior to starting the braid by curling your hair or teasing your hair a bit, and don't worry about keeping the braid too tight as you work. This will help the braid to appear a bit thicker and looser. Spray with a light finishing spray.