DIY Glittered Gold Serving Tray
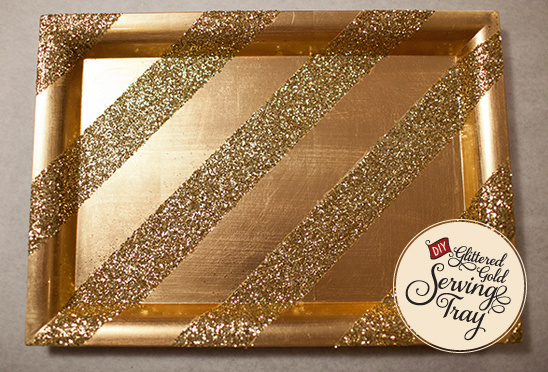
This DIY Glittered Gold Serving Tray is the first of three fabulous DIY projects given to us by the amazingly talented Liz and Ryan to share with you! With it's perfect combination of sparkle and pizzazz, this tray is sure to dazzle your guests no matter the occasion. Continue reading to learn the steps for making one of your own...and get a sneak peek at the entire trio of DIY projects at the end of the post!
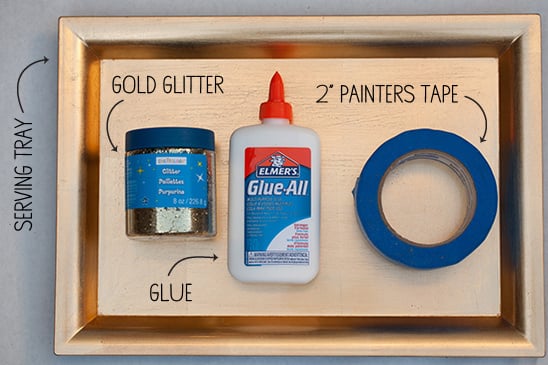
DIY Glittered Gold Serving Tray supplies:
Serving tray, 2″ wide painters tape, gold glitter, glue & a paintbrush (not pictured).
Liz and Ryan found their gold serving tray at Michael’s and picked up the glitter while they were there. Glitter comes in lots of colors and varieties, so feel free to get creative with the different options. The painters tape and paintbrush can be found at any hardware store.
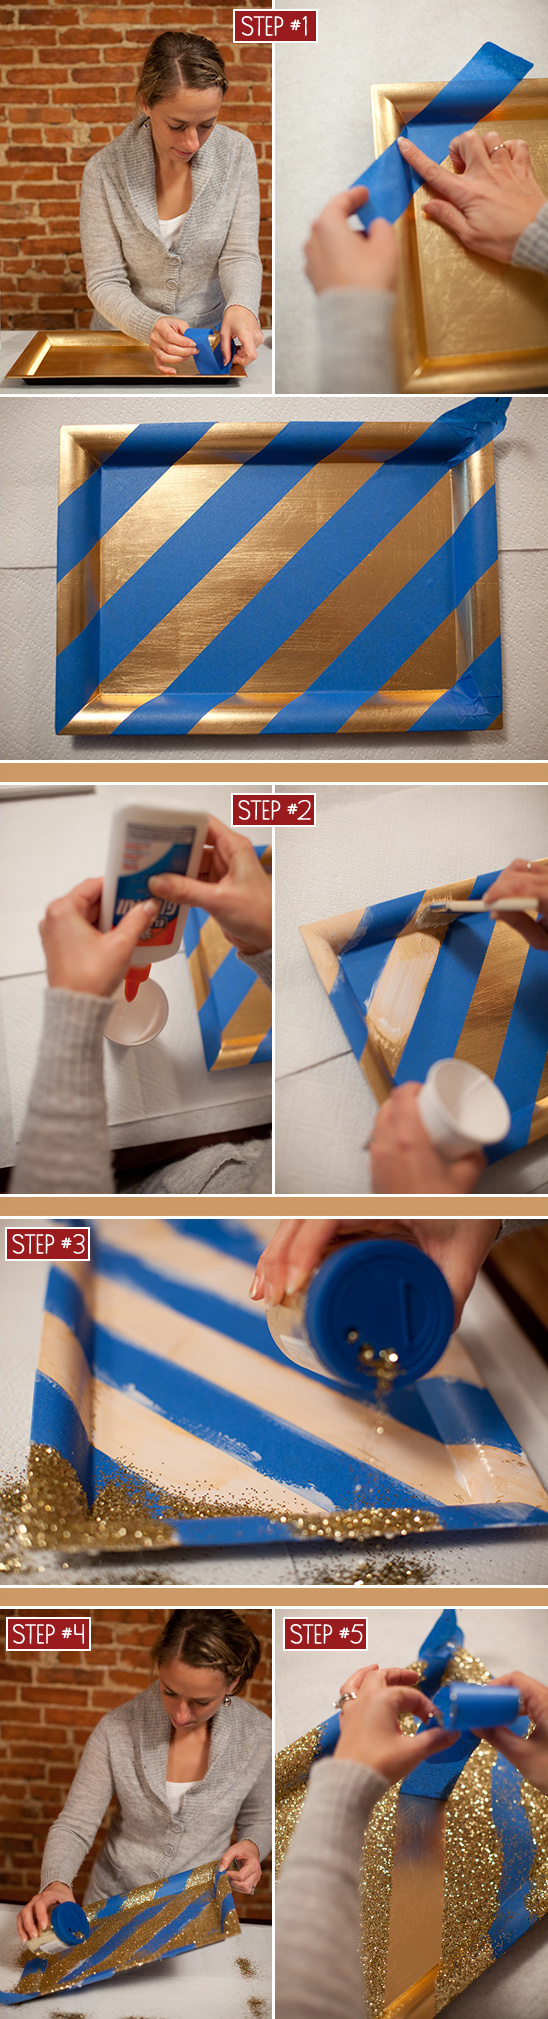
Step #1: Use the painters tape to mask off the area of the tray that you do not want covered in glitter. Liz chose a simple diagonal stripe pattern, but feel free to experiment!
Step #2: When you’re satisfied with your design, pour some glue into a small cup. Using the paintbrush, paint the glue onto the tray making sure all of the non-masked areas are completely covered.
Step #3: Now it’s time to sprinkle glitter over the tray, covering all of the glue-covered areas.
Step #4: Pour excess glitter off of the tray and let it dry.
Step #5: The final step is to carefully remove the painters tape and voilà — your Glittered Gold Serving Tray is complete!
Stay tuned for the next project in this DIY trio from Liz and Ryan — Gold Honeycomb Martini Glasses!