Do It Yourself, or DIY, wedding projects allow you to create your own personalized favors and touches that can be applied in any way you can imagine on your special day, for a shower or party. All you need are some basic items and a little creativity.
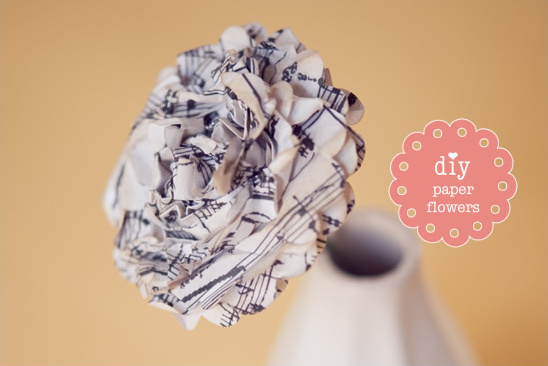
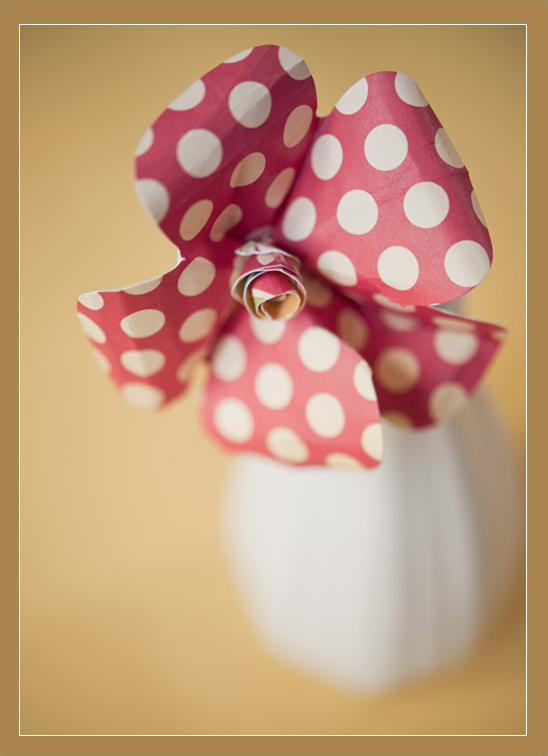
These Do It Yourself Paper Flowers can be easily personalized and you can start today. So simple and tasteful. Be sure to see all of our wedding diy projects.
On to the crafting!
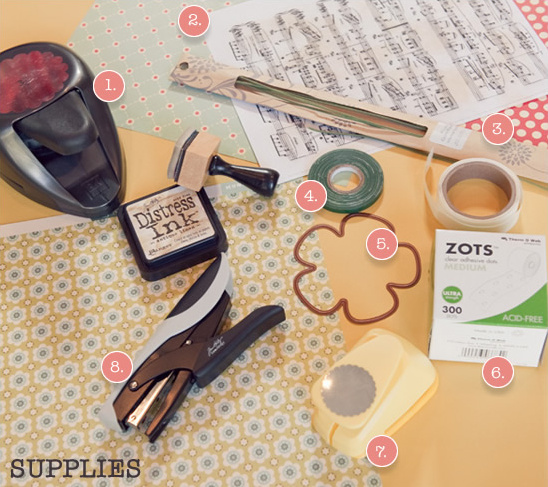
1. 3″ scalloped circle punch
2. Patterned paper
3. Floral stems
4. Floral tape
5. Flower shaped die
6. Glue dots
7. 1.5″ Scallop circle punch
8. Stapler
Large Bud Flowers
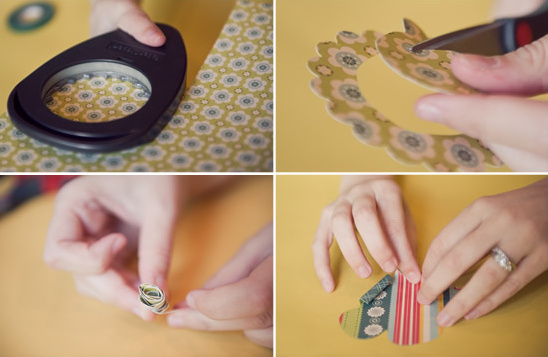
1. Large buds you can use 3 inch circle and a 1.5 inch circle for the small flowers
2. You can use scrapbook paper, newspaper, music paper, wrapping paper. In other words, anything you can think of!
3. Take your scissors and cut the circle into a spiral shape.
4. Put the side of the paper you would like to see face up and start rolling the edge of the spiral all of the way around until you get to the center.
5. Let your bud unravel some to your desired style and place glue in the insides to secure it.
6. Grab flower stem wire and floral tape and tape the end of the bud to your stem.
Large Flowers:
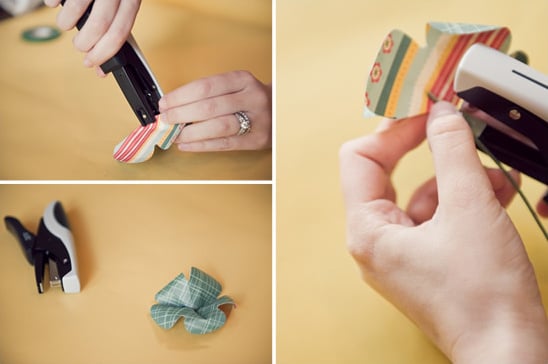
1. Using a patterned paper (just like the buds), cut out a large 5 petaled flower. I used a die cutting machine here, but you can use a template or free hand cut it. Anything will work!
2. Turn the flower over to the side you don’t want to see and roll the edges of the petals in.
3. Then fold the petals in half. This is to make the flower more malleable.
4. Now flip your flower over to the ‘good side’ and start squishing the center until you get a look that you like.
Once you get that perfect look, staple the center of the flower to hold it in that place.
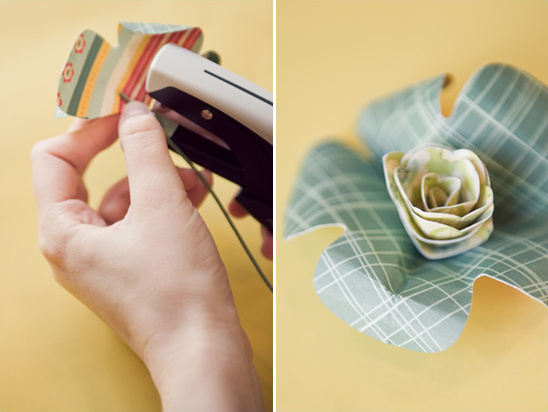
5. Then staple the flower to the floral stem.
6. For the last step add glue to the center of the flower and adhere a bud of your choice to the center.
Poofy Flowers
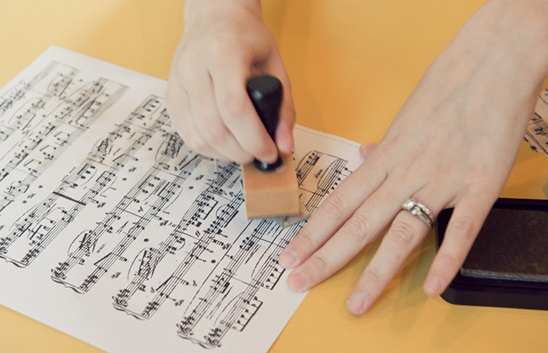
1. For these flowers it is best to use a lighter weight paper like computer paper, newspaper, book print, magazines, etc. Here I printed out some music from my computer and aged it with some ink.
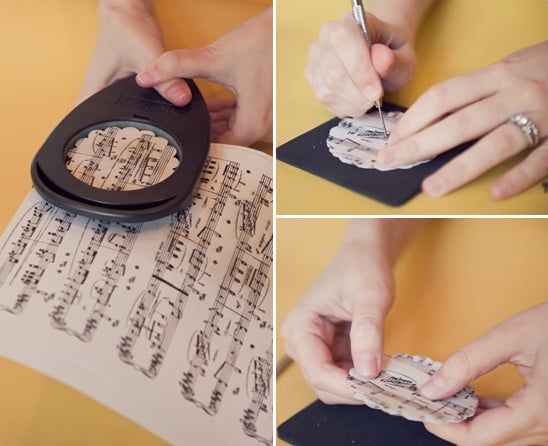
2. Punch 8 circles of any size (here I used a 3 inch circle).
3. Layer the circles on top of each other and poke a hole through the center
4. Put a brad through the center. Any office brad will do, as it won’t be seen.
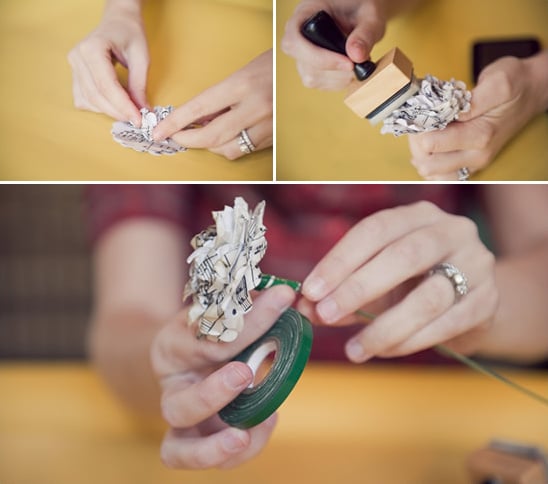
5. Scrunch the layers starting with the top one. For the last layer, bend it down the other way so you can attach it to the floral stem wire.
6. Fluff out the layers to your desired look. I like to add more distress ink here to really show the edges of the flower.
7. Use floral tape to adhere the bottom layer to the floral stem.
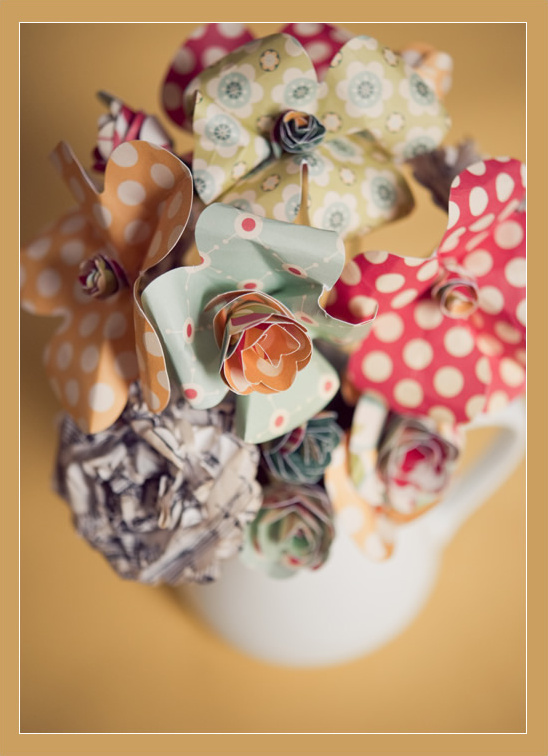
Putting the arrangement together:
Pick out a vase of your choice. Here I used a white creamer that I got at Home Goods for $2.99. I thought it was a fun look. Add floral foam or clay to the bottom of the vase and then add beans or beads to the vase. This is so you can arrange your flowers. Stick your flowers in. Make sure to do different heights by trimming your floral stems. Arrange it until you are happy!
Thanks to Lawn Fawn for her incredibly craftiness and a special thanks to Chenin Boutwell for being so talented behind the lens.