Hair Tutorial | How To Halo Braid
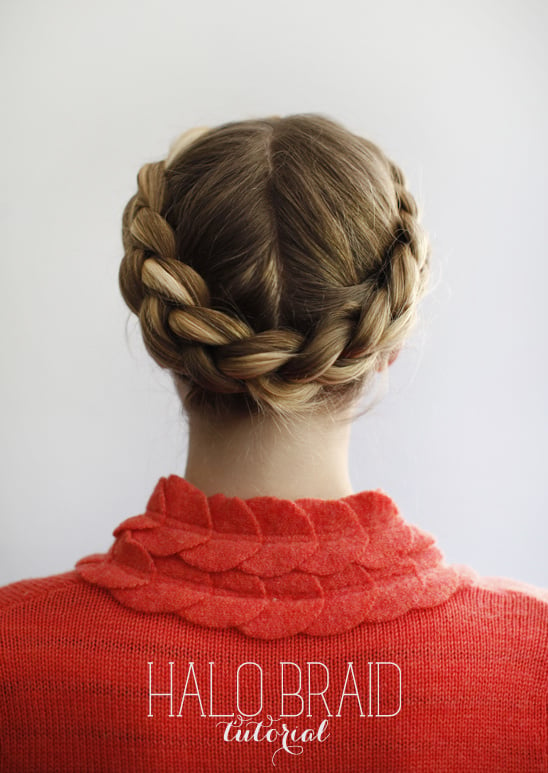
Brought back into fashion by celebrities such as Sienna Miller and the Olsen twins, the halo braid is drawing interest from many woman for its organic and natural look as well as the timeless beauty of the style. For that reason, it is becoming a popular choice for women who are preparing to say their nuptial vows at the altar. The problem is that a halo braid isn't exactly easy and even women who have braided hair their whole life may have difficulties achieving a flawless halo for their wedding day. With this in mind, the following ultimate wedding halo braid guide will walk you through the potentially tricky process and make sure that you are able to create the perfect halo for one of the most important days of your life instead of a frazzled look that will be immortalized in your wedding photos The big secret to having a perfect halo is starting with the right hair. Trying to get a great halo with wet hair is not simply hard – it's almost impossible! Wash your hair with a dry shampoo or one that has volumizing effects for the best possible starting point. Use a towel and hair dryer to get rid of any moisture that will add difficulty to the process. Don't worry about the little bit of frizz that may appear – it will be dealt with later.
Read on for exact instructions on How To Halo Braid. A special thanks to By HairstylesDesign.com for providing instructions. Southern California make and hair artist, 1011 Makeup for making this fun wedding hairstyle come to life. We cannot wait to see all you boho-chic brides rocking the Halo Bride in their wedding photos.
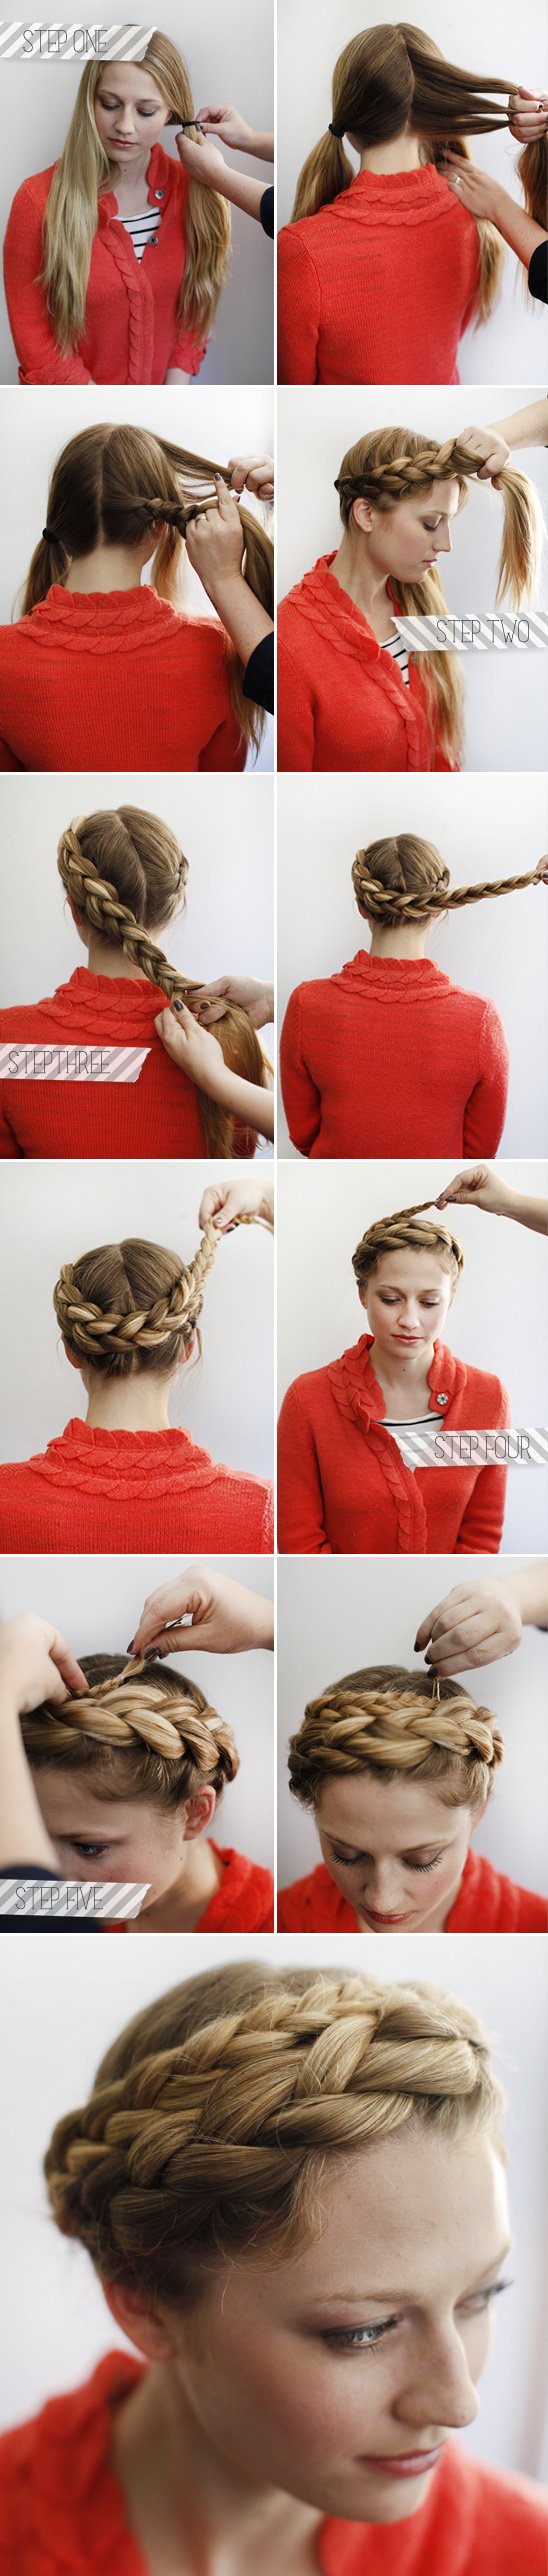
1. Clip the sides and back of the hair into place, leaving the longer hair clipped and trailing down the neck and back. You can use simple clips and this area can look messy as the main focus will be on the braid.
2. Pulling the hair up from the ear, it can be divided into a normal French braid of three sections and woven across the front of the forehead. As you work with the braid, more pieces of hair can be incorporated to keep the halo firmly in place.
3. As you cross the opposite ear from where you started, it is time to start bringing the clipped hair into the braid and it can be secured with well placed and hidden clips, bobby pins, and other tools.
4. Coming full circle around the head, you will need to pin the last bit of hair to the first part of the braid. If done correctly, this will create a seamless appearance and the point where the braid starts and ends will be completely hidden from view.
5. At this point, there will probably still be a decent amount of frizz. To finish the look, simply add a healthy dose of hairspray and fluff up the halo using the fingers. The frizz will fall in place and you can choose to either go with a natural halo braid or a more polished and glamorous look.
As with many other things, remember that practice makes perfect and you should ask your hairdresser to go through a dry run to make sure they are able to deliver the exact halo braid that you are looking for. This should be done a few weeks before the actual wedding to make sure you have time to make last minute changes or switch to a different hairstylist, if needed. It may seem tricky at first, but the halo braid becomes easier to perfect with each successive try. The benefit of having a classic and timeless look on your wedding day will definitely be worth the effort.
By HairstylesDesign.comAbout Contributor: HairstylesDesign.com is a community dedicated to the beauty of hairstyles! Browse the huge hairstyle galleries, read up on the latest fashion trends and get useful beauty tips. Make sure to check out our Facebook page for regular content updates.