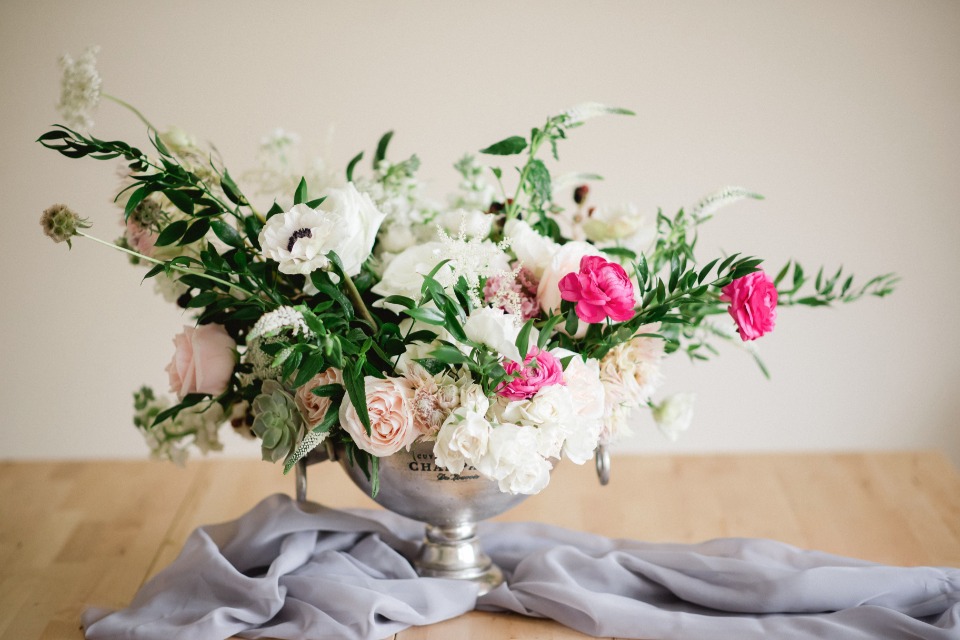
Gorgeous DIY Compote Arrangement
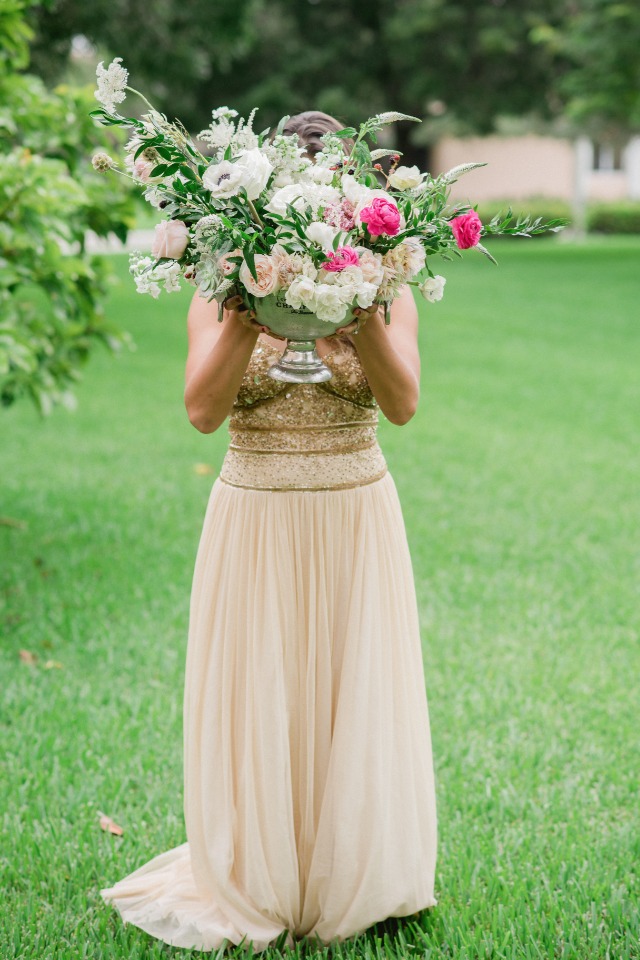
For all you DIY enthusiasts out there, we have the perfect centerpiece for you sent to us from Sandrine Boisson Francis and beautifully captured by Vanessa Velez Photography. With just a few supplies and your favorite blooms, this easy DIY comes together in just 5 steps and offers helpful tips and tricks on how to recreate this stunning look for your special occasion.
Need centerpieces for your wedding? Make it social! Grab your girls and have a centerpiece diy party complete with a bottle of bubbly! Whether you make this for your wedding, birthday or gift for a friend, this gorgeous arrangement will certainly impress. Keep scrolling to learn how you can make your very own compote arrangement. Enjoy!
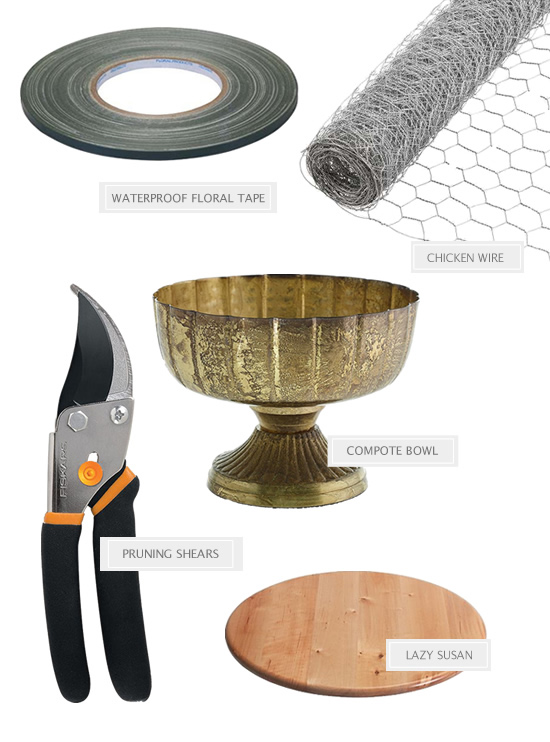
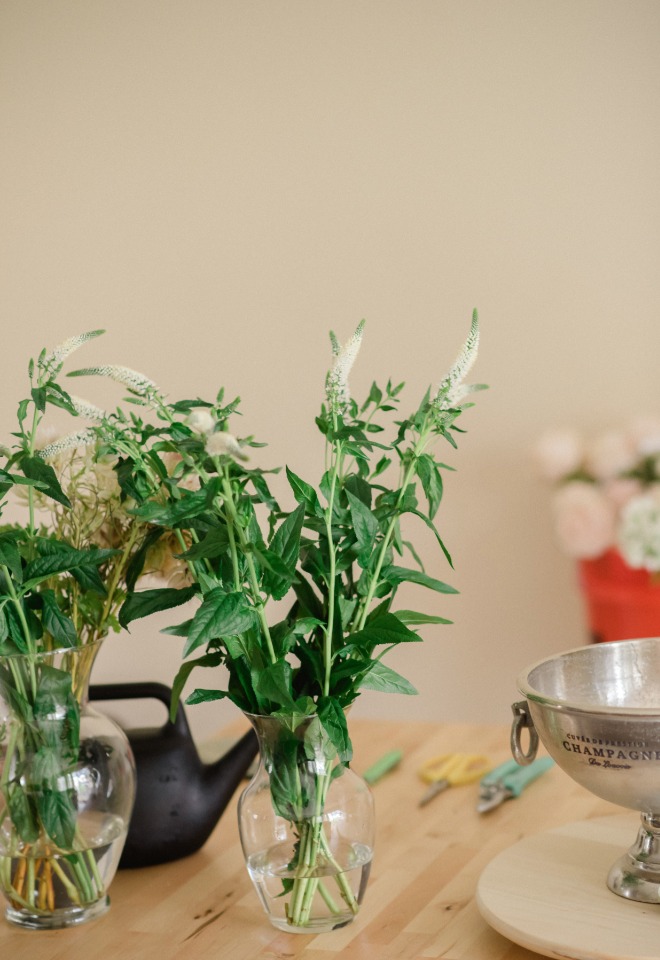
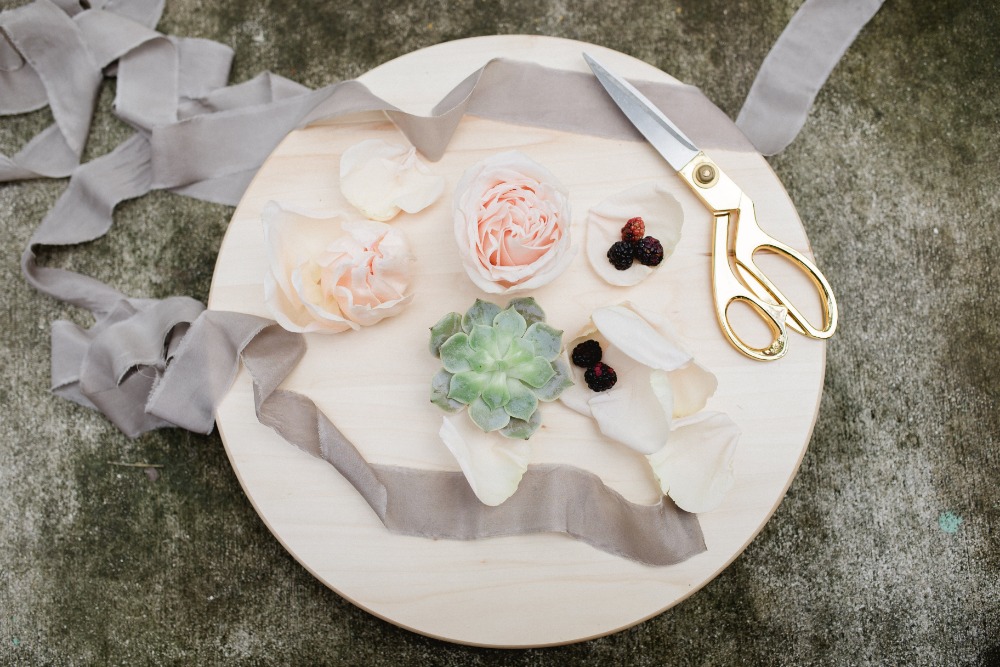
Materials needed
Footed Compote Bowl, Chicken Wire, Waterproof Oasis Floral Tape, Pruning Shears Floral Knife (Optional), Lazy Susan (Optional) + Mix of Blooms like Garden Roses, Roses, Ranunculus & Italian Ruscus.
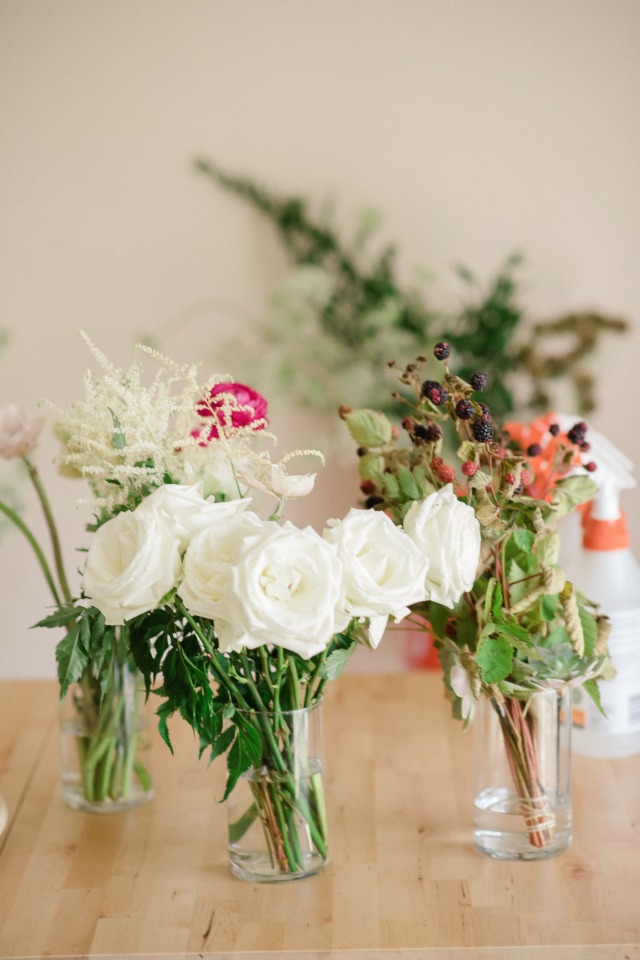
Prepping your flowers
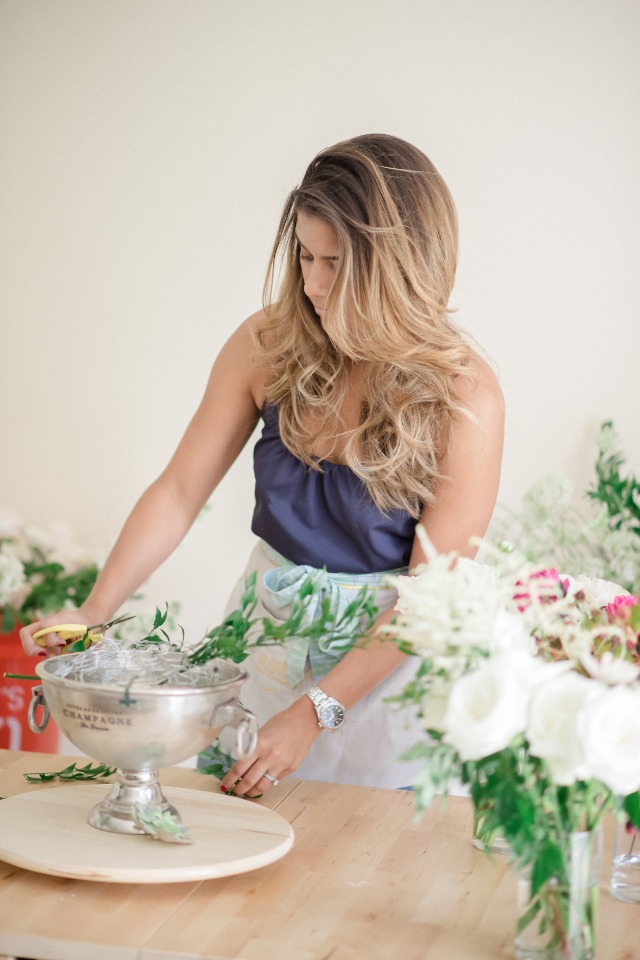
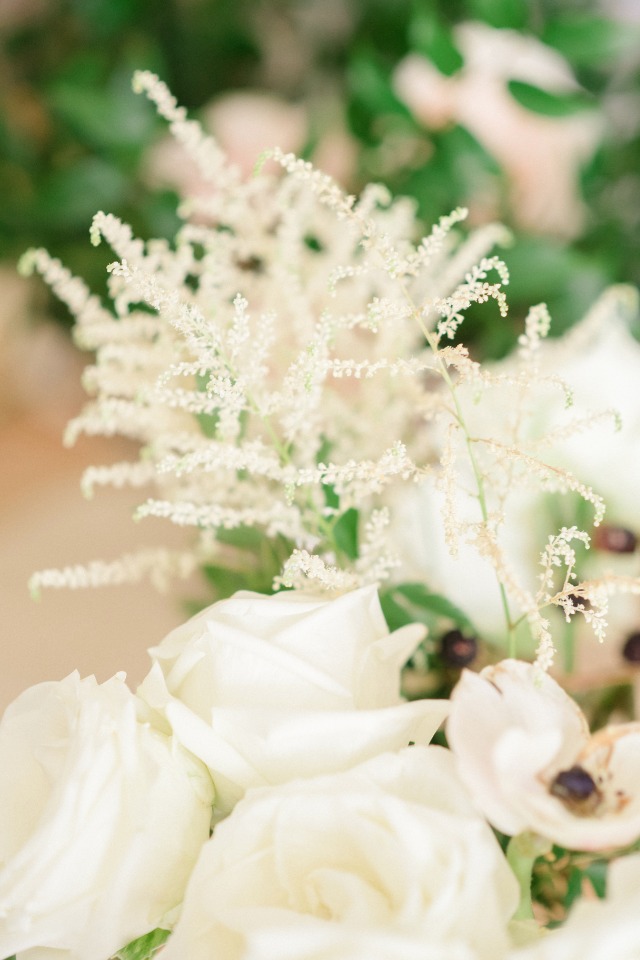
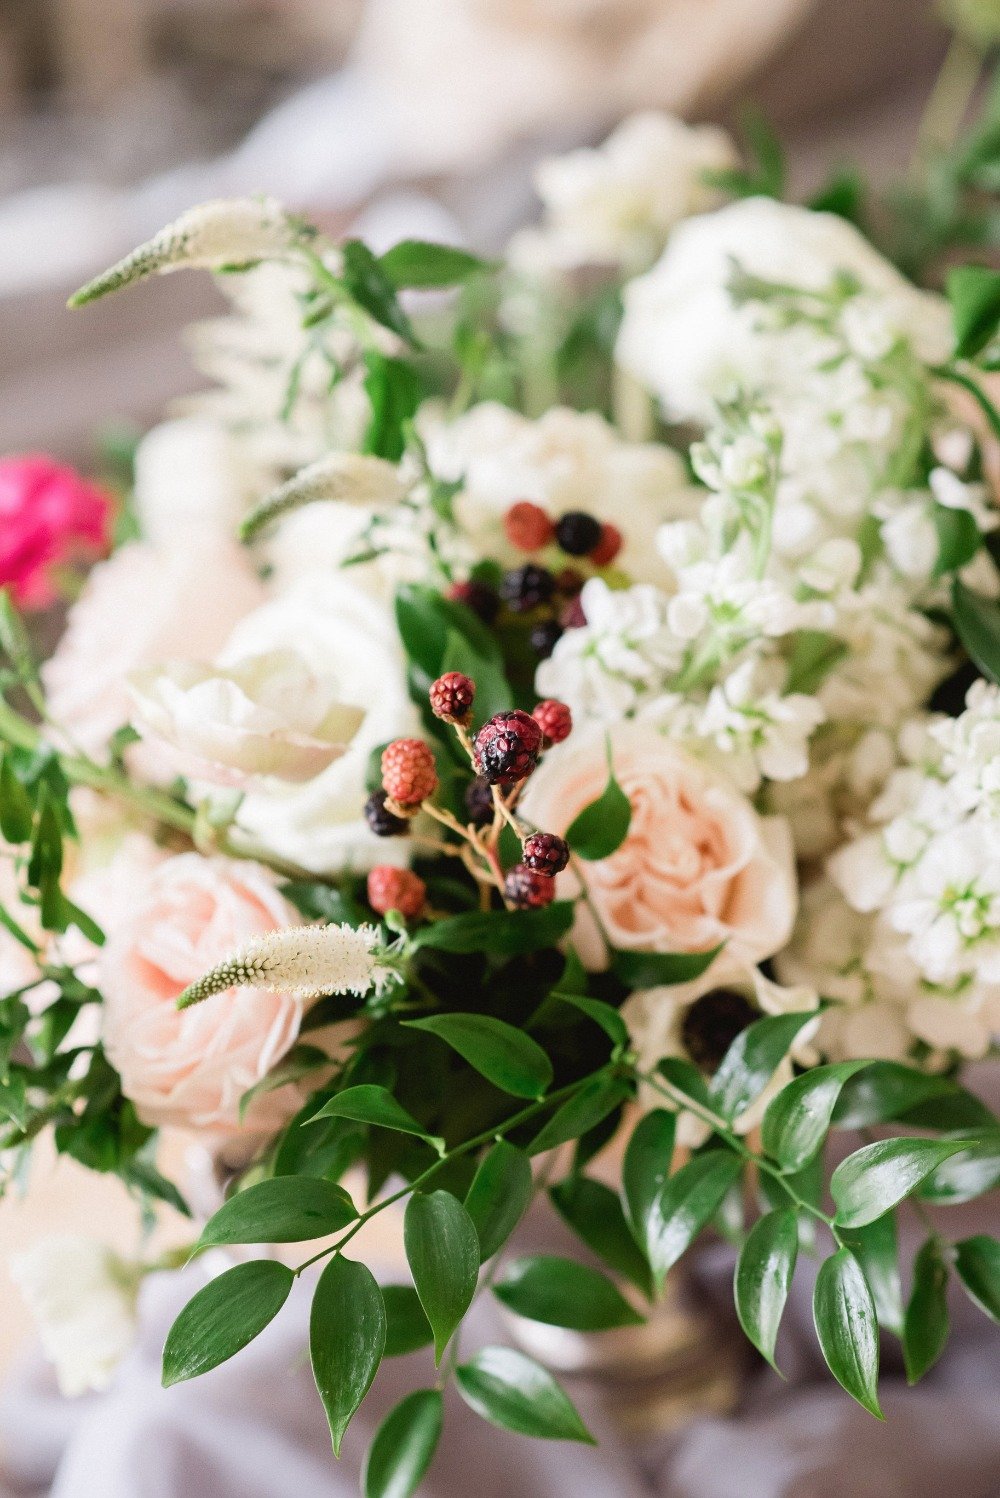
Step 1. Once you get them from your supplier (flower market or Trader Joe’s, whichever you fancy), make sure to give them all a fresh cut with your shears, removing all greens which would fall below the water level and place them in fresh water for a few hours or overnight. Here we used garden roses and roses.
A little tip to make sure they open nice is to remove the outer petals. Also, blow quick and hard at the center of the rose to help open it up. Now we’re ready to start designing!
Create: Once you prep your materials
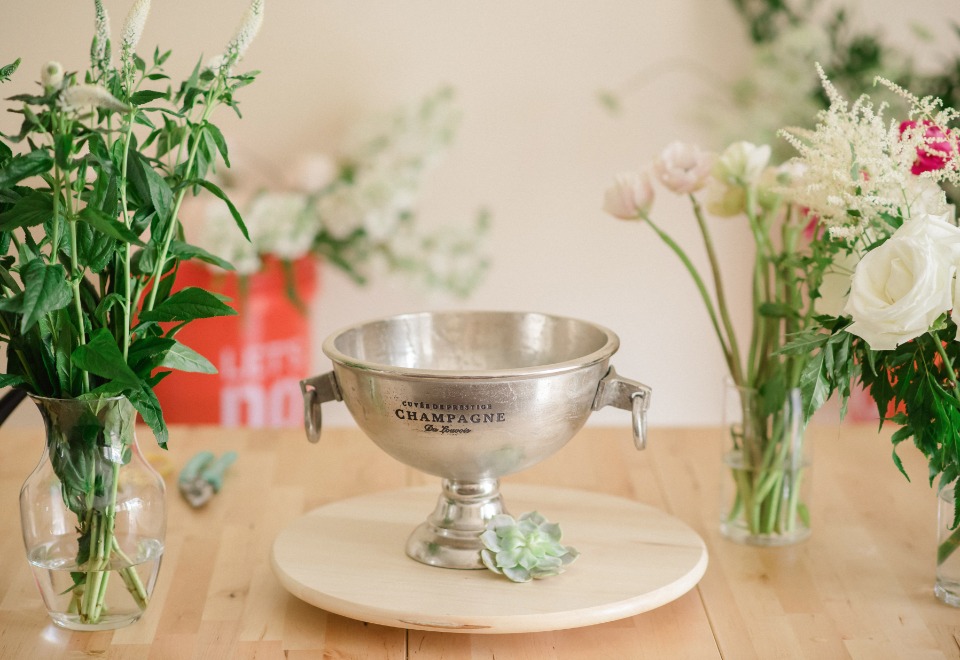
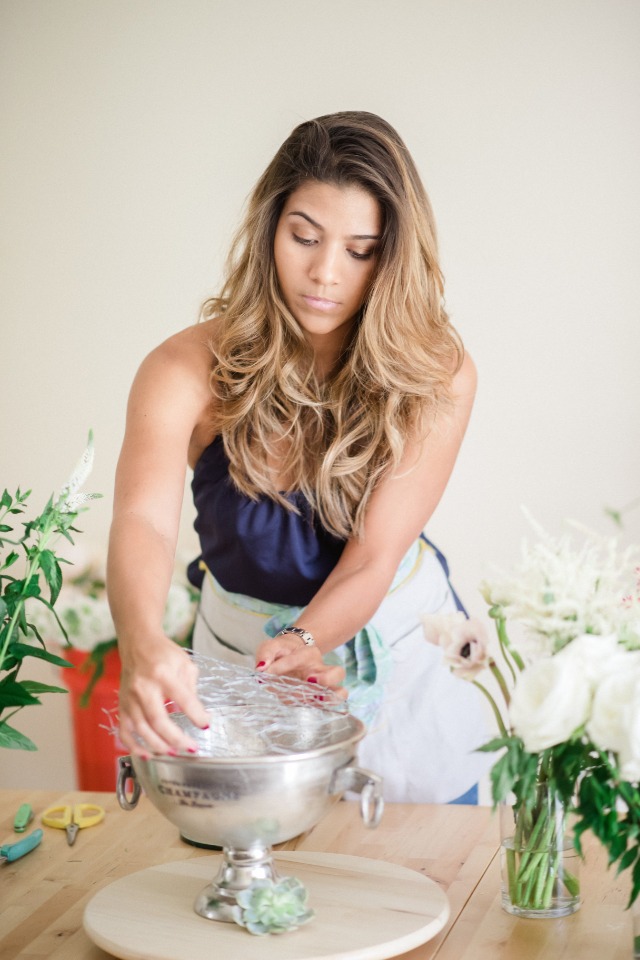
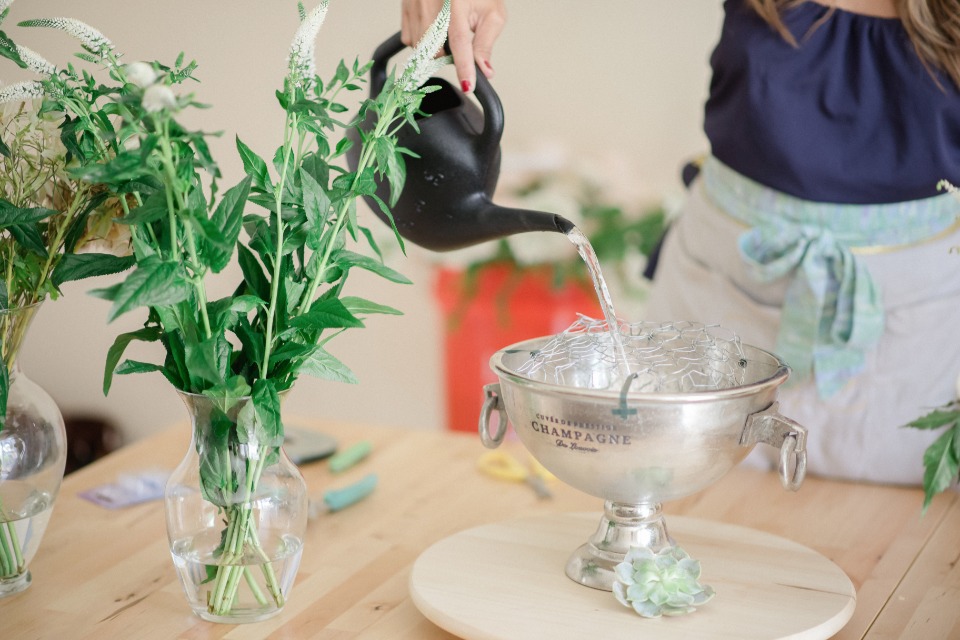
Step 2. To start, choose a clean, deep vessel. Now, we use a large hole chicken wire. Cut a piece proportionate to the size of your vessel. We will fold the wire over twice and place floral tape where the ends meet. This will look kind of flat, so the next step is to pull the top and bottom sides away from each other so the chicken wire can take up the entire depth of the vessel in a sphere shape.
Tuck in the ends of the wires towards the inside and seal with floral tape. One you place it in, go over the lip of the vessel with tape, thus securing the sphere to the compote. Make sure you place it completely inside to hide the mechanics. Proceed to filling up your vessel with fresh water.
Start adding greenery
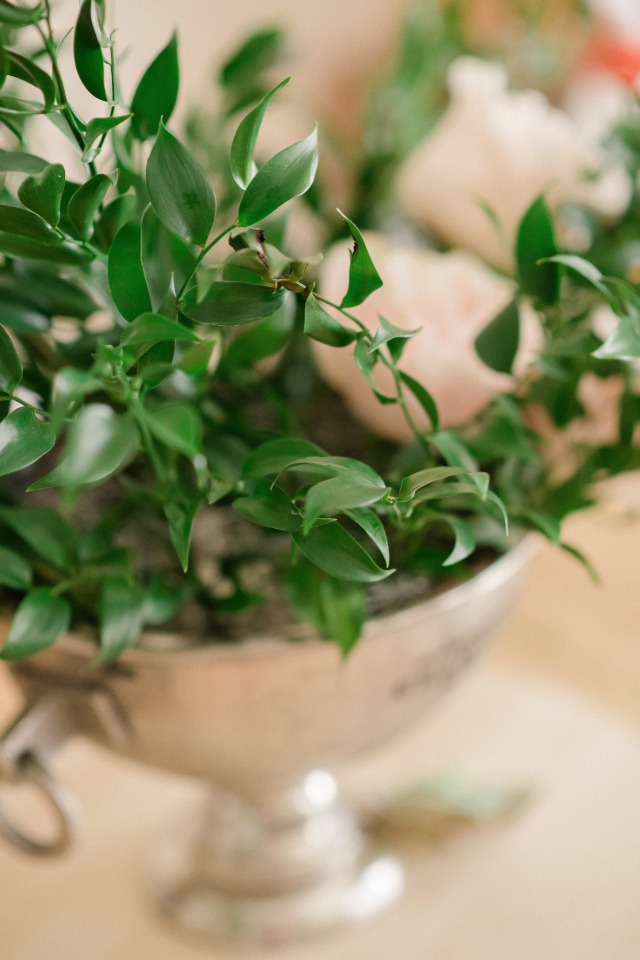
Step 3. For this design we wanted sturdy but still arching stems for a romantic flair, so we went with Italian Ruscus. Cut your foliage stems to your desired length. You can go super long for a more dramatic effect, or keep a little shorter for a more modern clean look. One great thing about using chicken wire is you’re not “stuck” with the placement of your stem, you can easily move them.
Create a first layer of greens, which will not only serve to hide your mechanics but also create a grid. Their interlocking stems will help when placing your blooms so they don’t wobble and dislodge later on, and you don’t lose the shape of your arrangement. Once you feel like you have established an overall shape and you are happy with the height and width, go ahead and start placing your blooms.

Build your foundation
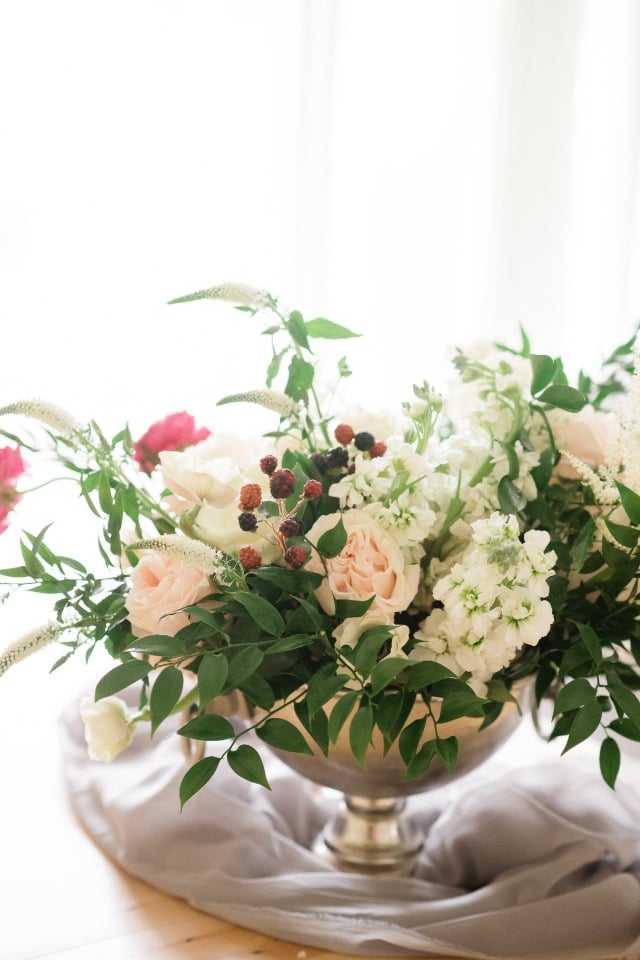
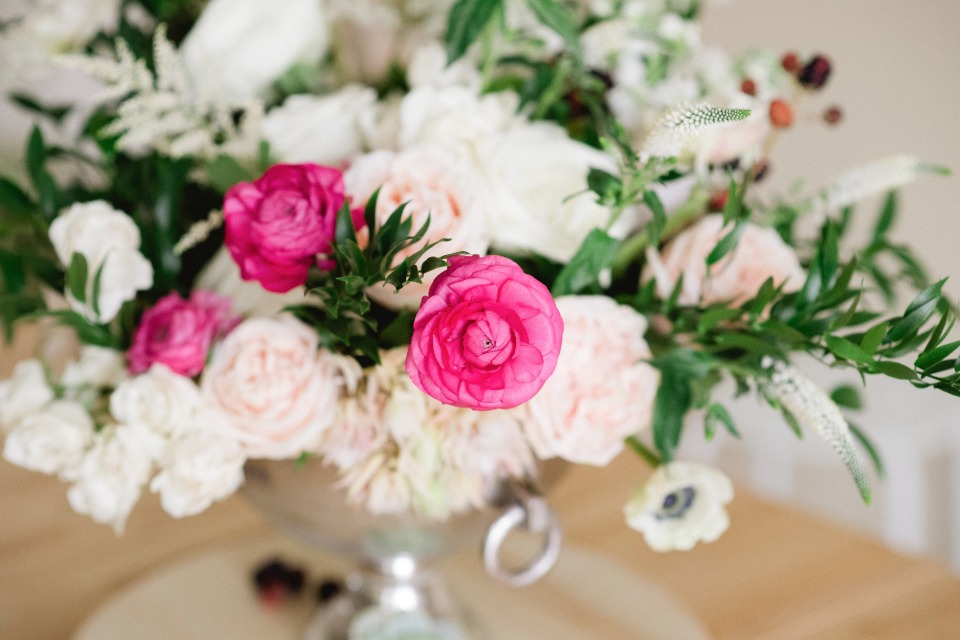
Step 4. Always begin with your larger blooms and create the base, place several at the bottom, which will be sort of a cushion for taller, daintier blooms to float above. Place blooms in all directions and sides. Cut flowers to have some blooms going in deeper than others, and some with their heads coming out further than others to create depth and give dimension.
Once the larger blooms are placed, we can proceed to our smaller blooms to thread in color and interest. Start adding in the smaller more fragile blooms, such as anemones and ranunculus in clusters (odd numbers are my favorite) to create impact.
Add in unusual blooms
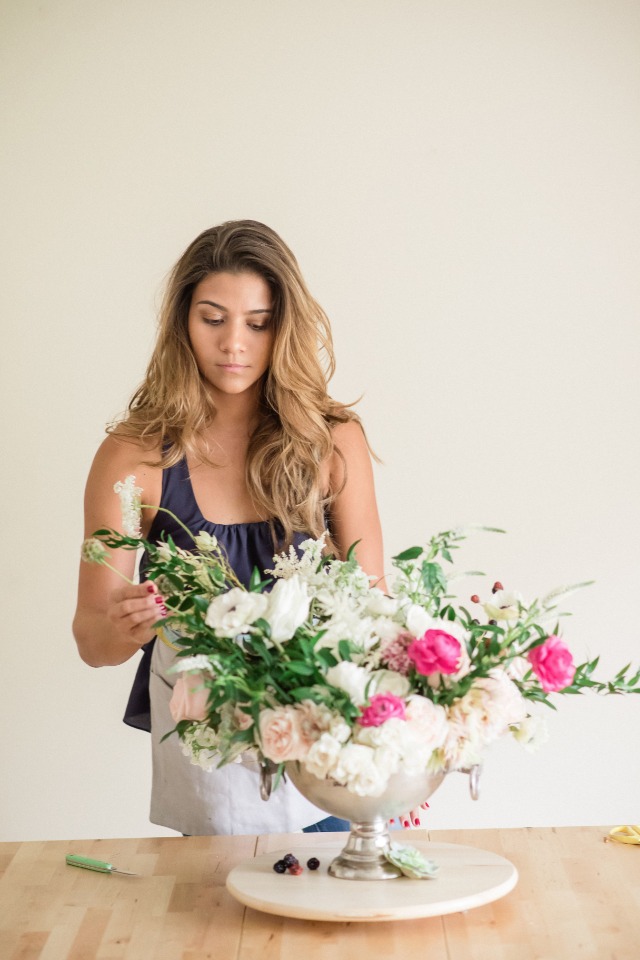
Step 5. The icing on the cake is weaving in these interesting and unusual blooms in strategic areas where you may have empty space, or where you feel you need texture and movement. As we go through this, make sure to step away every once in a while to contemplate your creation as your guests would. Check for any spots where you feel you might need to add in your airy accents.
Do not limit yourself to the center of the arrangement! Place delicate blooms reaching outside of the overall shape for added delicacy.
Take a break and come back
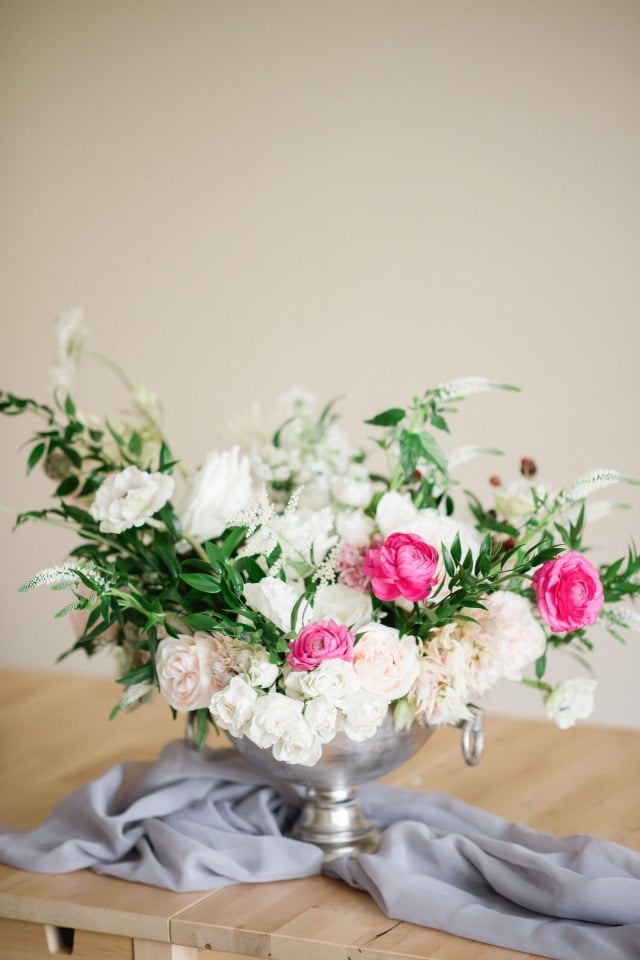
Take a break, clear your mind and return wish fresh eyes to contemplate your arrangement from all angles. Once you spin your arrangement around and feel your heart’s content, you are now ready to place your arrangement! Put it at the center of your table, on your bar or welcome table. It is yours to enjoy!
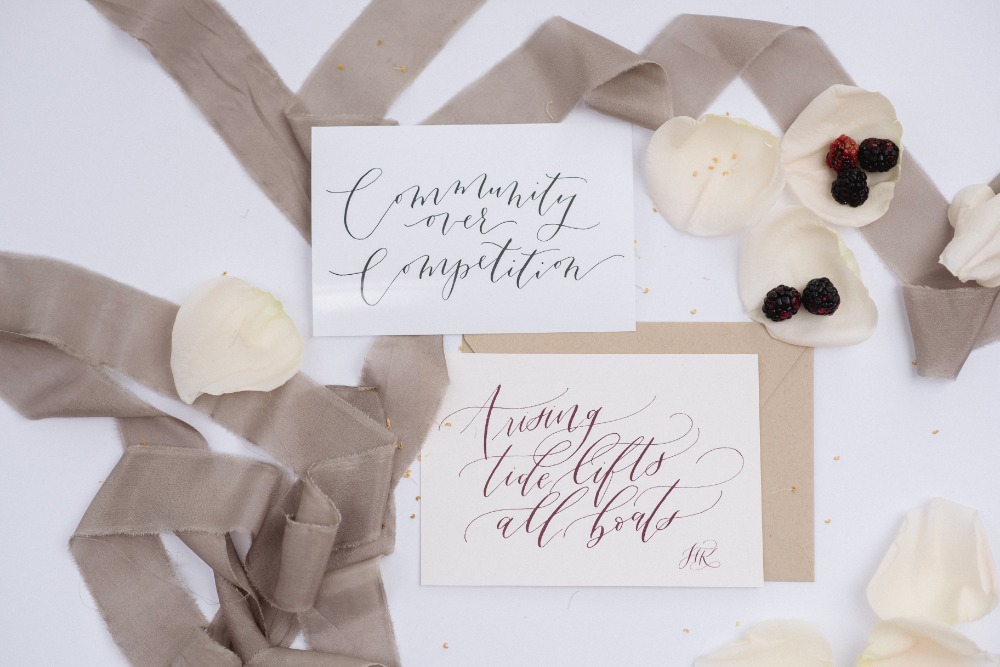
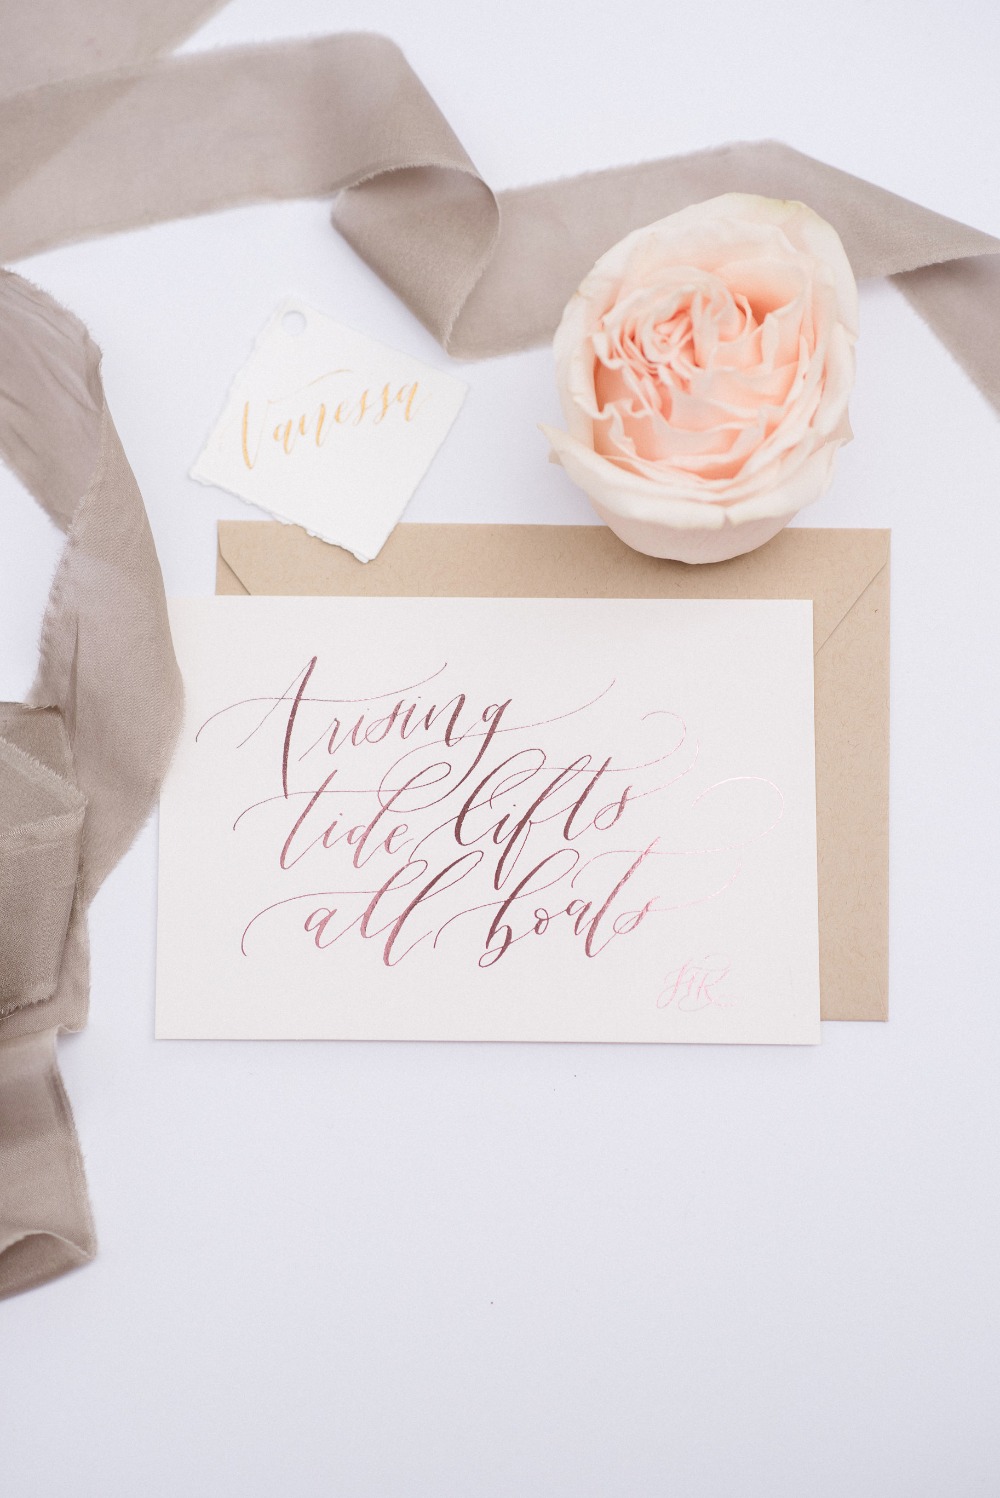
Left over blooms? No problem! If you have any left blooms use them to style beautiful calligraphy notes as we did or place cards for your dining table and ribbons. You can also place some fabric and ribbons on the bottom of the centerpiece to create drama.

- Favors & Gifts: Honey Silks & Co
- Flowers: Sandrine Boisson Francis
- Paper Goods & Calligraphy: Papel N Co
- Photographers: Vanessa Velez