DIY Vintage Glam Bouquet From Afloral
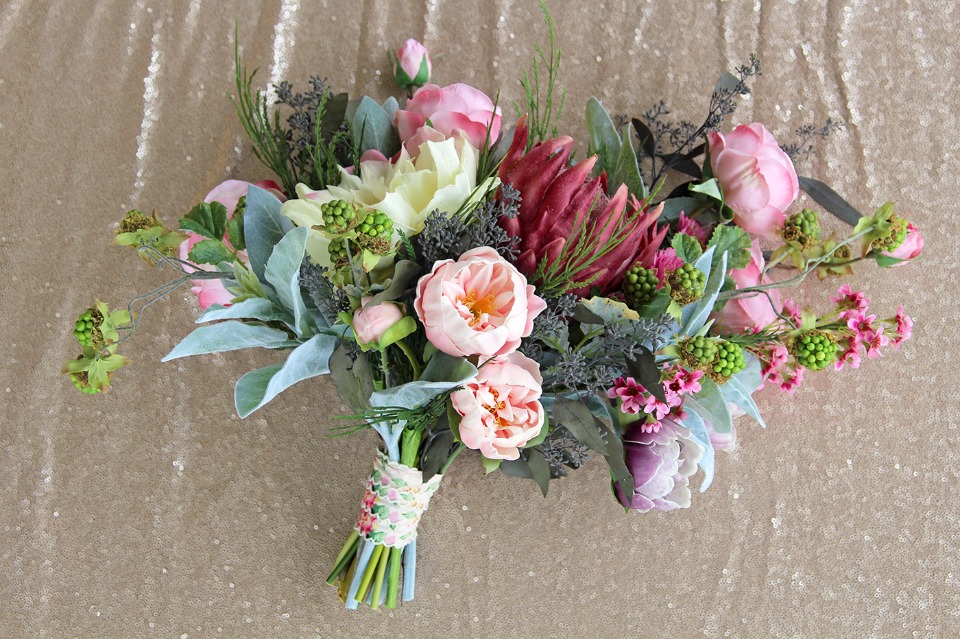
Surprise! This gorgeous DIY bouquet is made entirely of artificial flowers! Could you tell? We couldn't, and that's why we LOVE this DIY Vintage bouquet designed by Southern Girl Weddings sent to us from Afloral.com. Not only does this make for a beautiful keepsake bouquet, but you can also repurpose it later as decor in your home or office.
Below you'll find a list of flowers that were used in this bouquet, however feel free to mix it up! Pick out your favorite blooms to match your colors and theme, and remember to just have fun with it. Bonus! We also included the DIY matching boutonniere. Happy arranging!
Supplies & Assembly
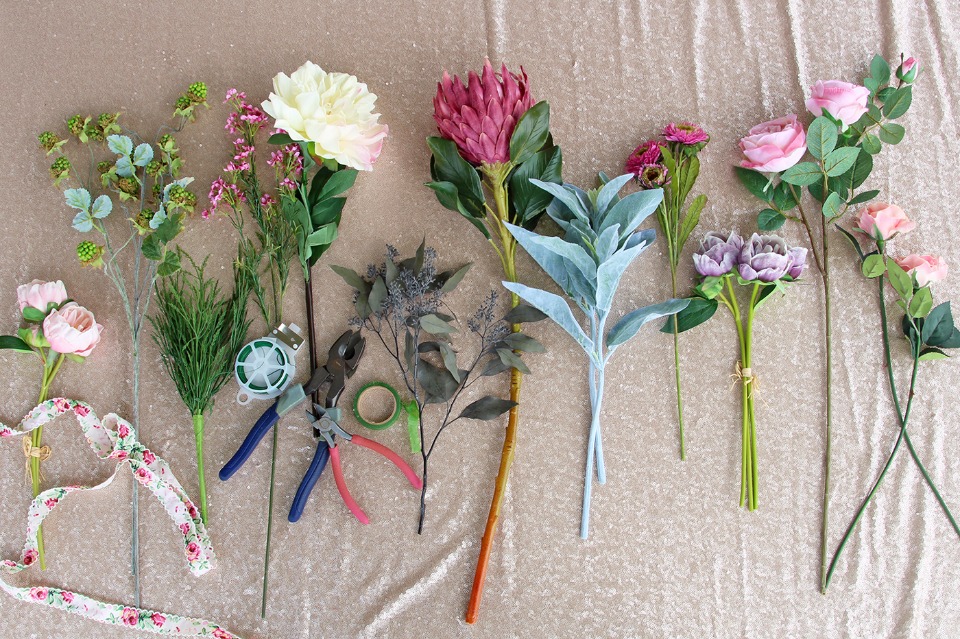
Wire cutters, floral tape, hot glue gun and vintage ribbon.
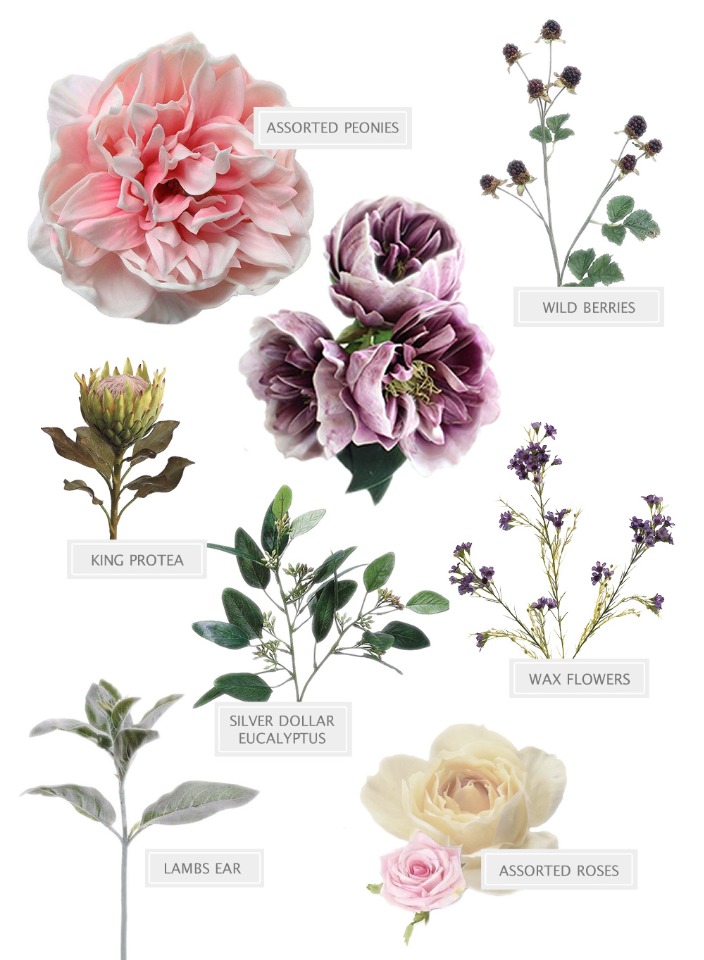
Flowers: Peonies, Filler flowers like wild berry spray, wild raspberry spray in green and white and purple wax flowers, Filler greenery like seeded eucalyptus and flocked lambs ear, Roses like cabbage rose spay, and sweetheart rose.
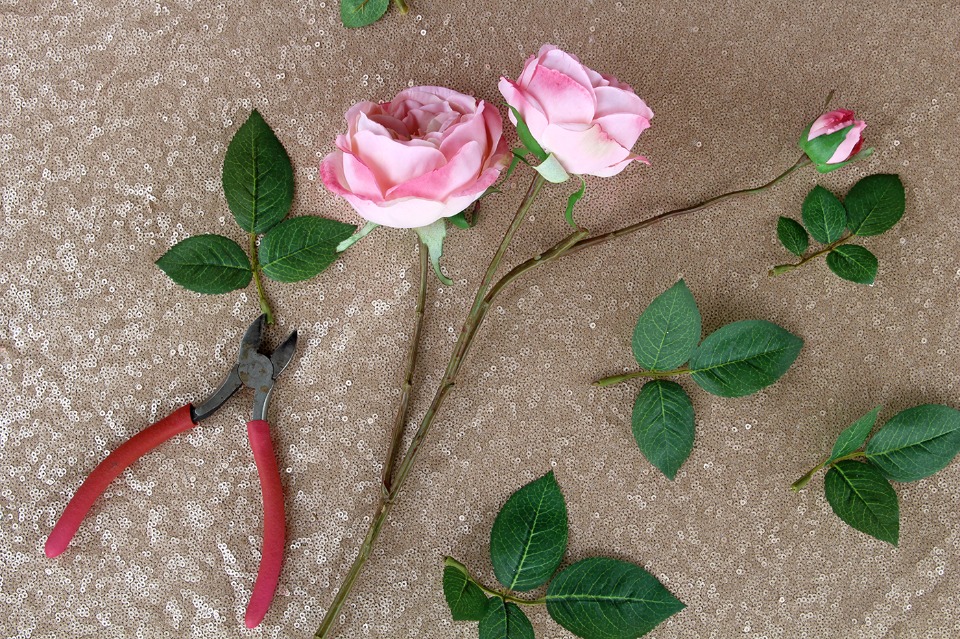
Step 1: Use your wire cutters to trim any leaves from the stems.
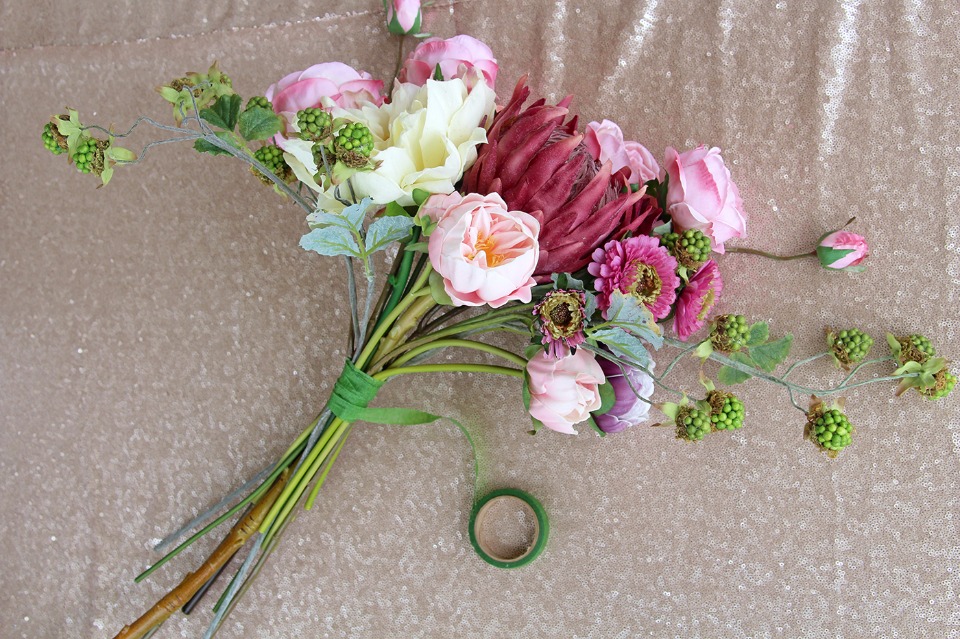
Step 2: Starting with the larger flowers, arrange them in the position you want. Start adding in the medium and small flowers next. Secure in place with floral tape as you go. Add the berries in last.
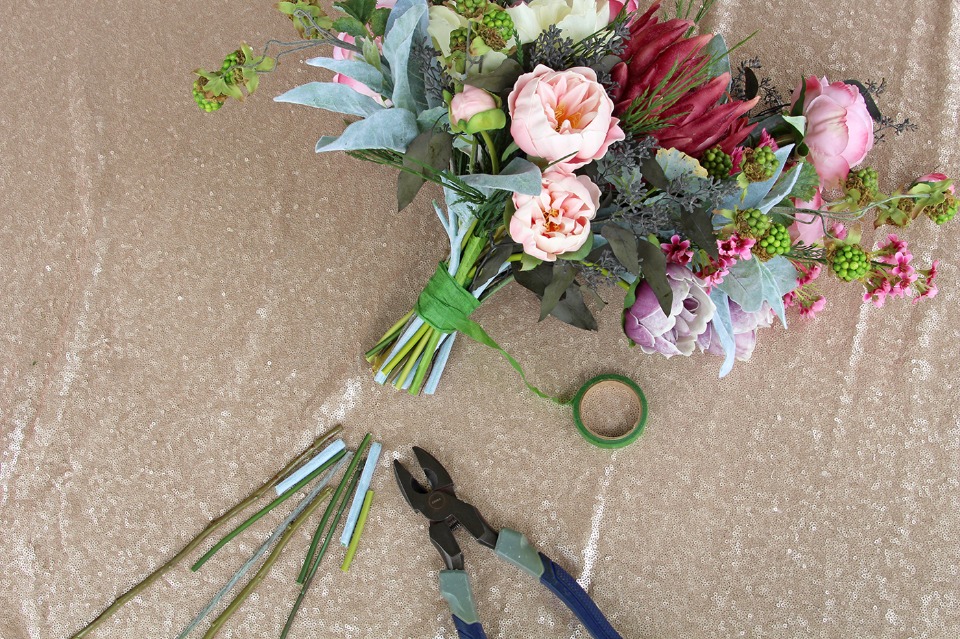
Step 3: Now that the bulk of your blooms are in place, it's time to add the greenery. Fill in any gaps in the arrangement with greenery and extra flowers. Once done, secure the entire bouquet with floral tape and trim the stems with the wire cutter.
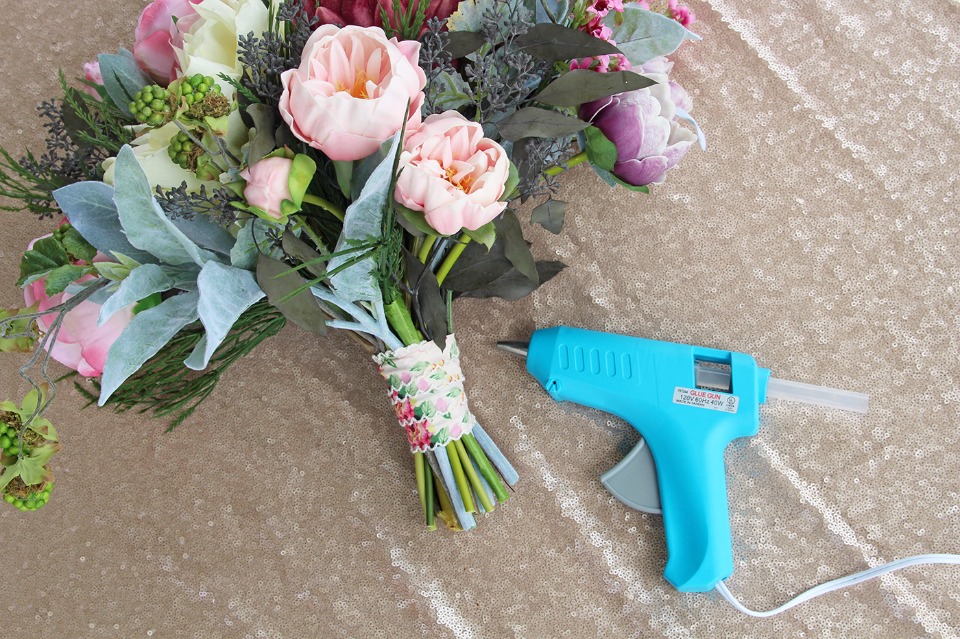
Step 4: The vintage floral ribbon adds a pretty accent to the bottom! Start at the top and wrap the ribbon downward, then secure in place with a dab of hot glue.
Matching boutonniere
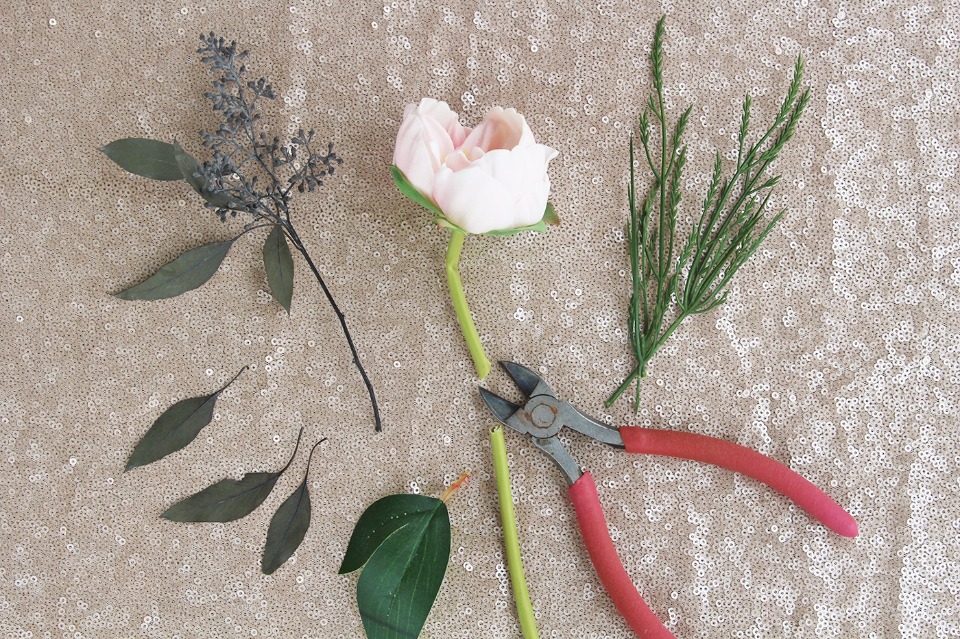
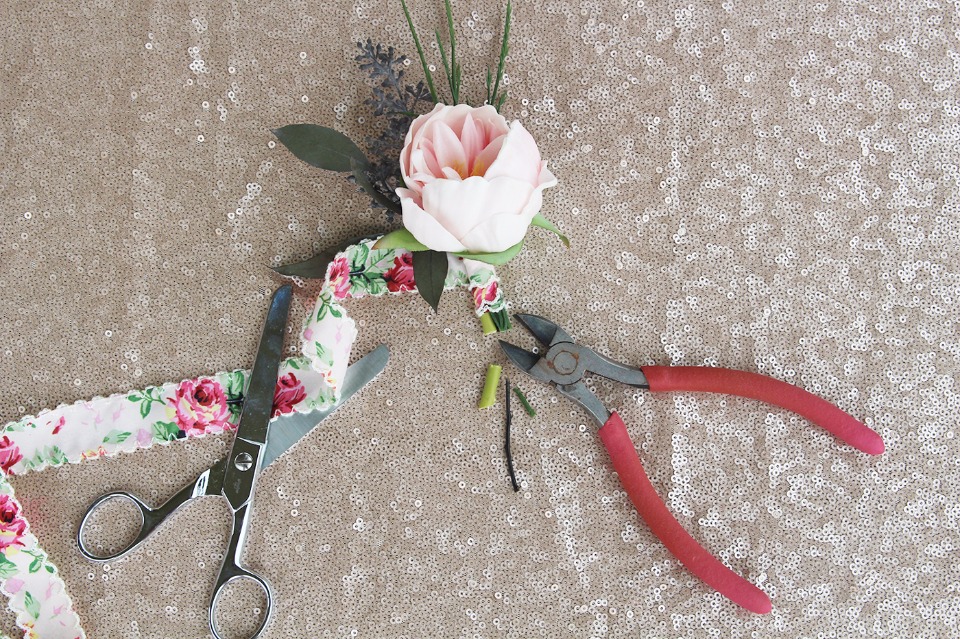
Step 1: Using the same supplies as above, cut the stem to the desired length (you can trim off any extra later) and trim off any excess leaves.
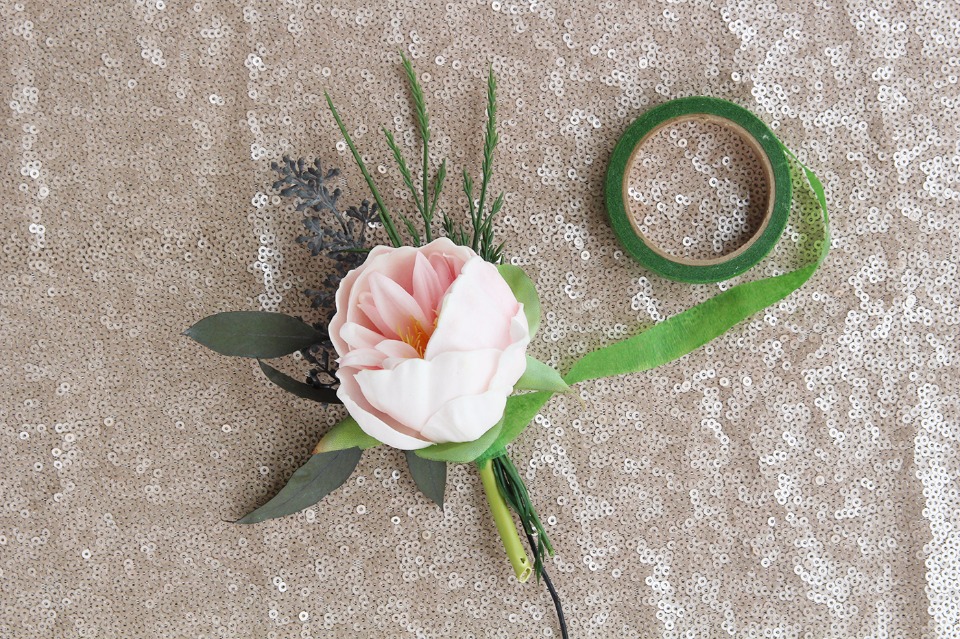
Step 2: Add in greenery and secure in place with floral tape.
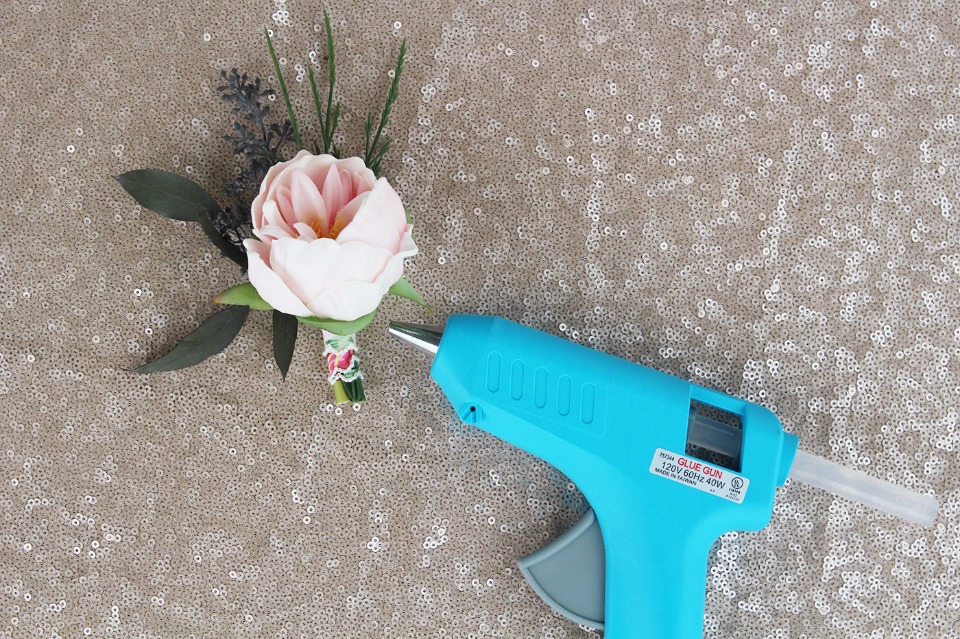
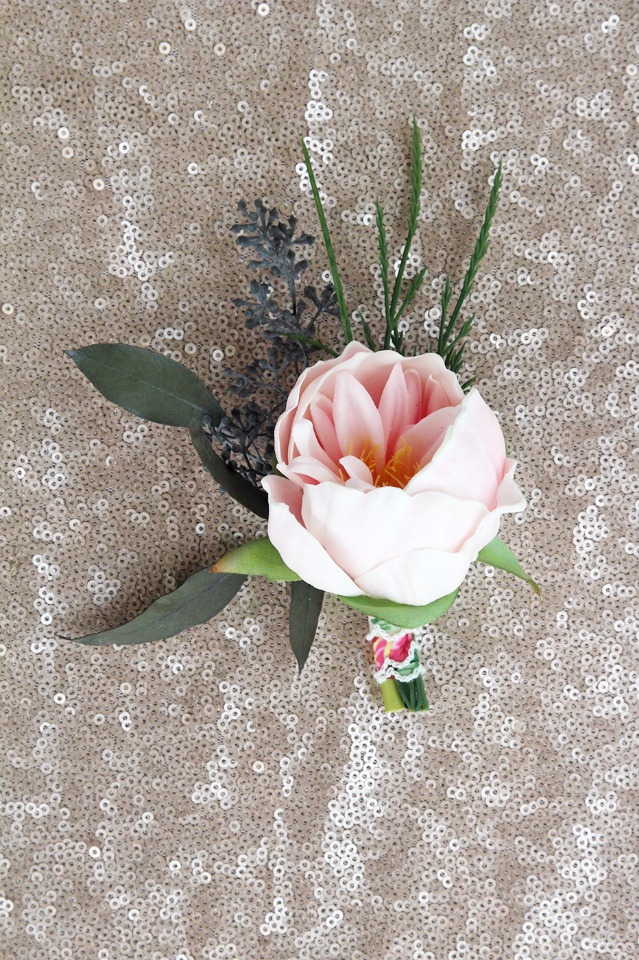
Step 3: Finish off with ribbon of your choice and a dap of hot glue.
- Flowers: Afloral
- Designer : Southern Girl Weddings