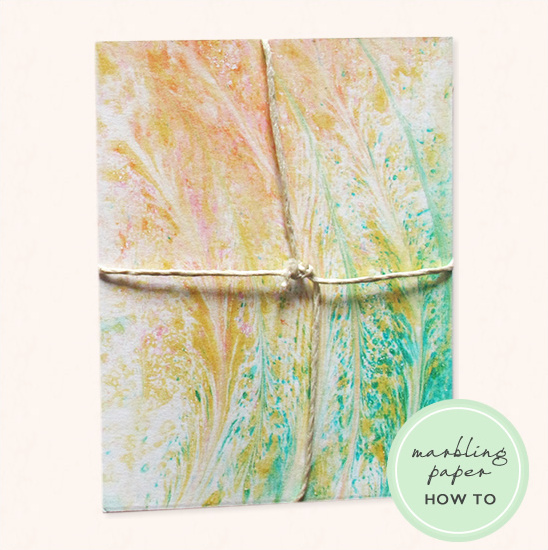
DIY Paper Marbling
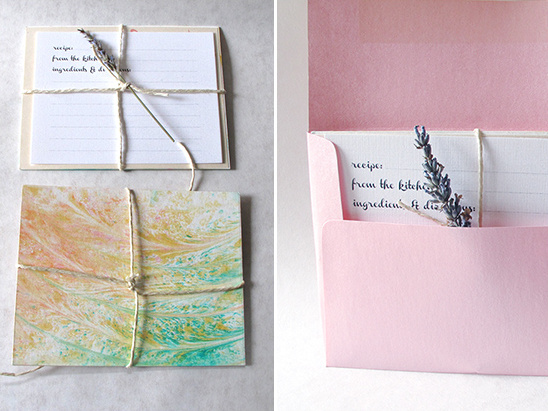
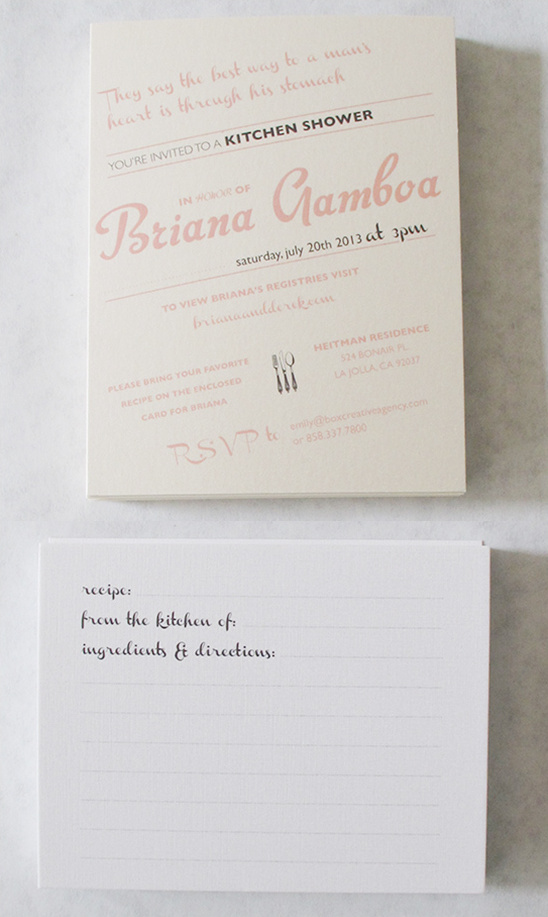
We've got another DIY project to share with you! Emily from Flower Box Event created marbled paper for a Kitchen-Themed Bridal Shower invitation and was kind enough to share the simple steps. For their event, Emily adhered the marbled paper to a digitally printed invite which she then packaged up with a recipe card for the soon-to-be-bride and a sprig of fresh lavender.
So cute! The marbled paper would also work well for escort cards, table number signs, place cards or tags for your wedding favors — the possibilities are truly endless! Continue reading to learn all the steps for DIY Paper Marbling at home.
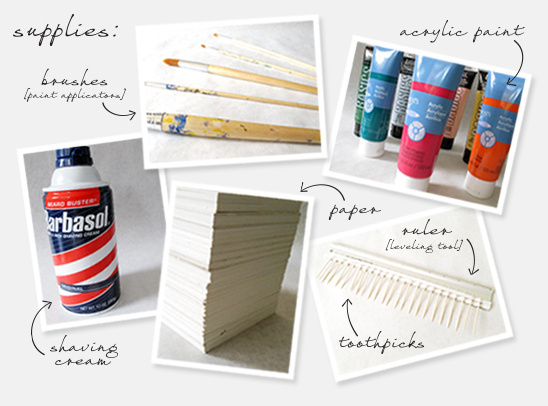
To marble your own paper at home you will need a large, shallow container that is okay to get stained (not pictured), shaving cream, a leveling tool (such as a ruler), acrylic paint, paint applicators (paint brushes, toothpicks, straws, spray bottle, etc), paper and toothpicks. Emily's favorite paper to marble is a heavy weight cotton based stock, but feel free to experiment with different textures, weights and materials!
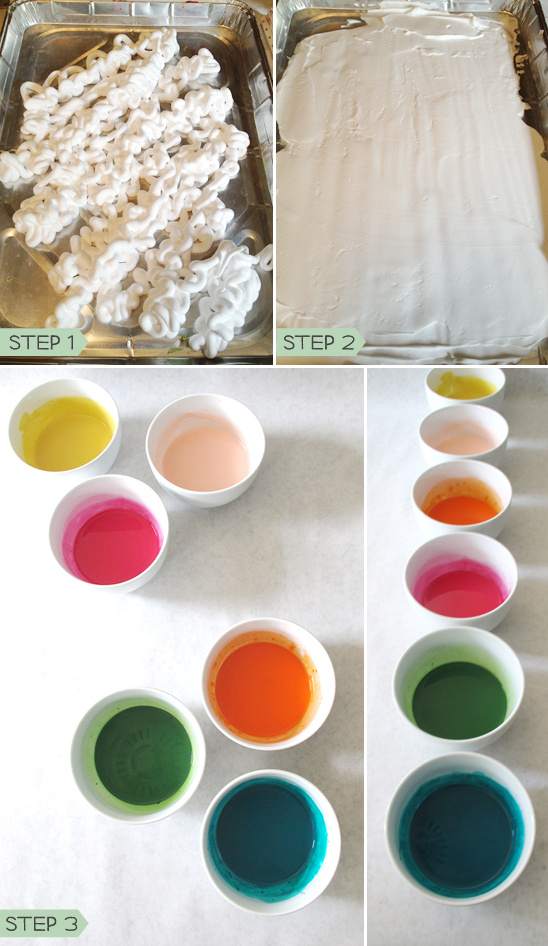
Step 1: Emily began by covering the bottom of her container with a healthy amount of shaving cream.
Step 2: Next she used a ruler to smooth out the shaving cream, creating a flat surface that covered the entire inside of the container.
Step 3: She then selected the colors she wanted to use and mixed them with water. Stir the paint and water mixture until you have a milky consistency.
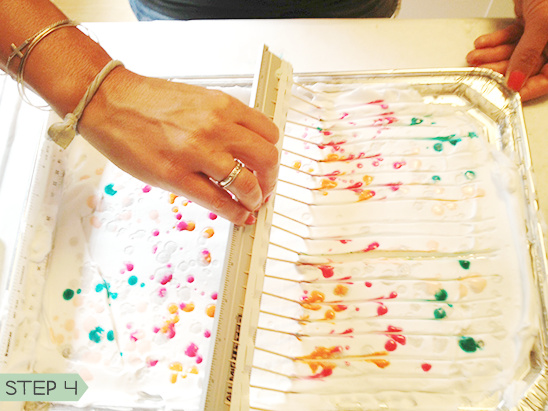
Step 4: Once you've gotten all of your colors selected mixed it's time to apply the paint to the shaving cream surface. Using the paint brushes (or other paint applicators) lightly drip your colors onto the shaving cream, applying one color after the next until all of your colors have been added. Emily says using light drops of paint lends to a more delicate pattern.
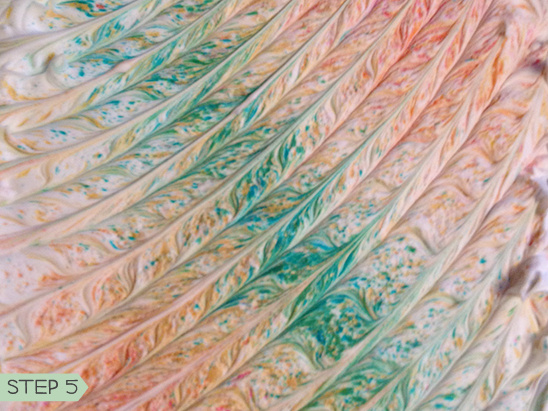
Step 5: Now it's time to decorate your paper! Yay! The idea is to pull your paint through the surface of the shaving cream. Emily created a homemade rake by taping toothpicks to a ruler and was very happy with the outcome, but there are lots of ways to do this step — so feel free to get creative. After you're happy with the colorful design gently press your paper, printing side down, into the shaving cream.
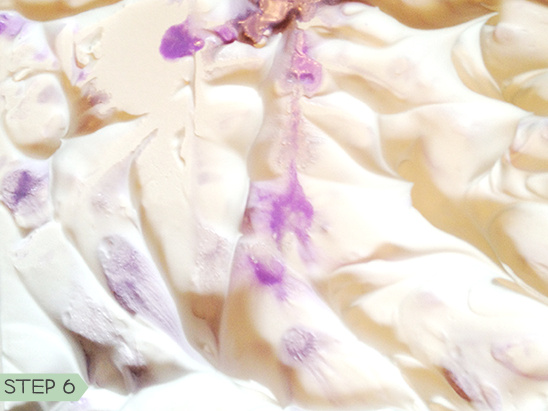
Step 6: Finally, gently pull the paper up from the shaving cream. There will be excess shaving cream on the card, which you can use your ruler to gently scrap off the excess foam. Then lay the paper on a flat surface to dry — just make sure the design side is up. Once the paper is a bit dry to the touch, feel free to wipe any existing remnants of foam with a paper towel. Emily suggests mixing the foam up after each print and using the same batch of shaving cream about 5-7 times.
Step 7 [not pictured]: Continue creating more marbling masterpieces by repeating Steps 1-6. As you see the final result is utterly adorable and can be used for any occasion, these particular cards were used for a bridal shower.