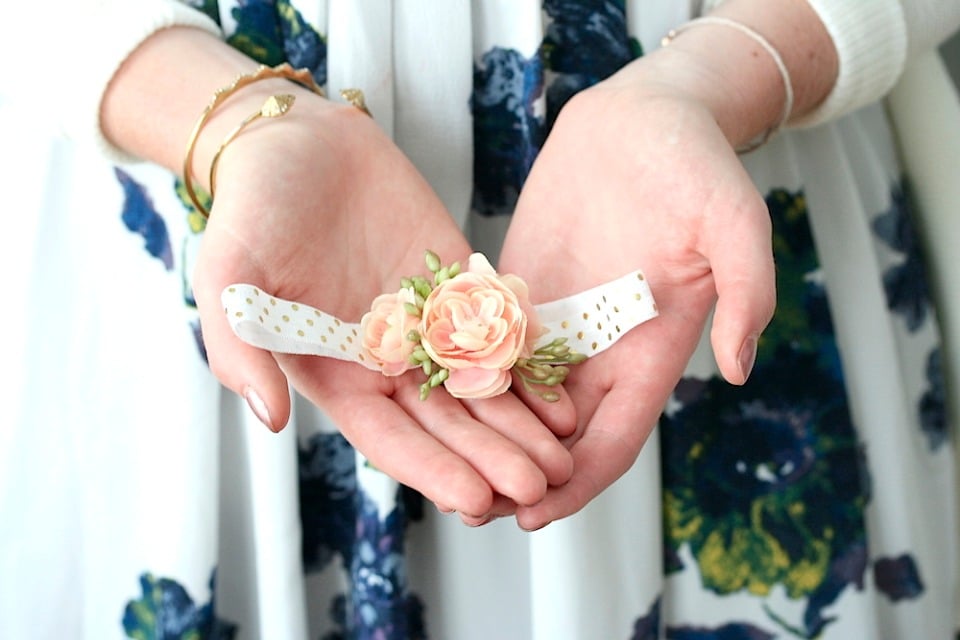
DIY NoSew Bridal Garter
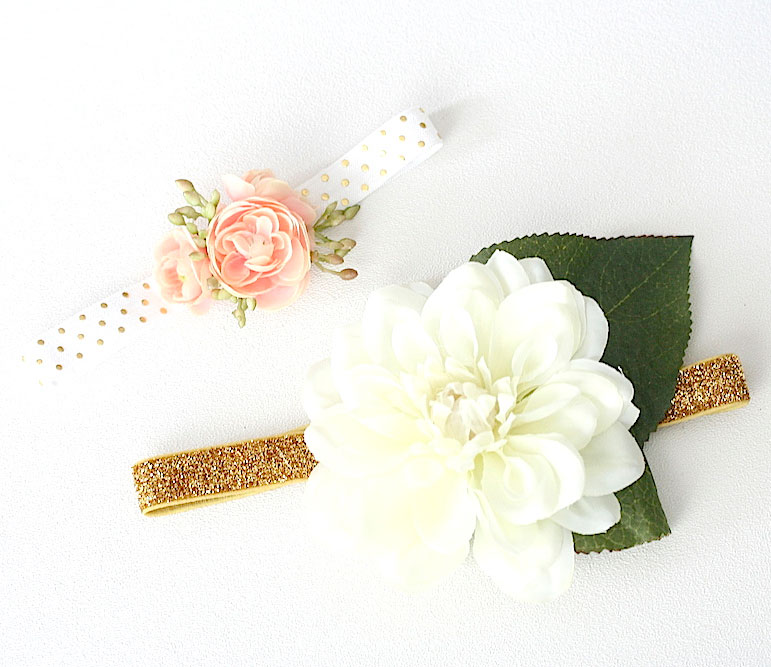
It doesn't get any easier than these adorable DIY no sew garters sent to us from Julianne Smith of The Garter Girl. With just a few supplies you can find at your nearest craft store, you can easily create the garter you've always wanted at a fraction of the cost! Keep scrolling to see just how easy it is to make your own wedding garter!
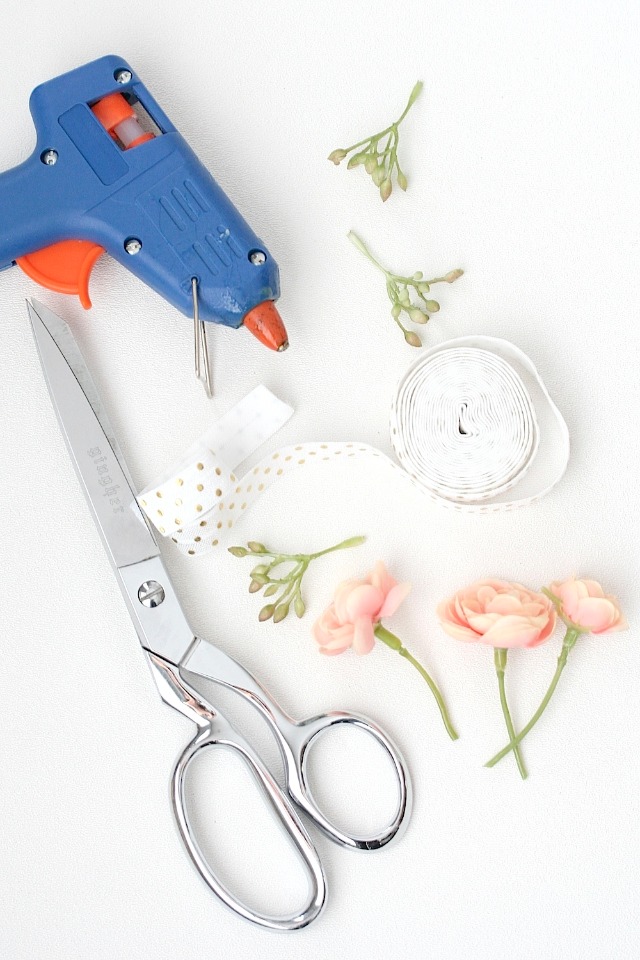
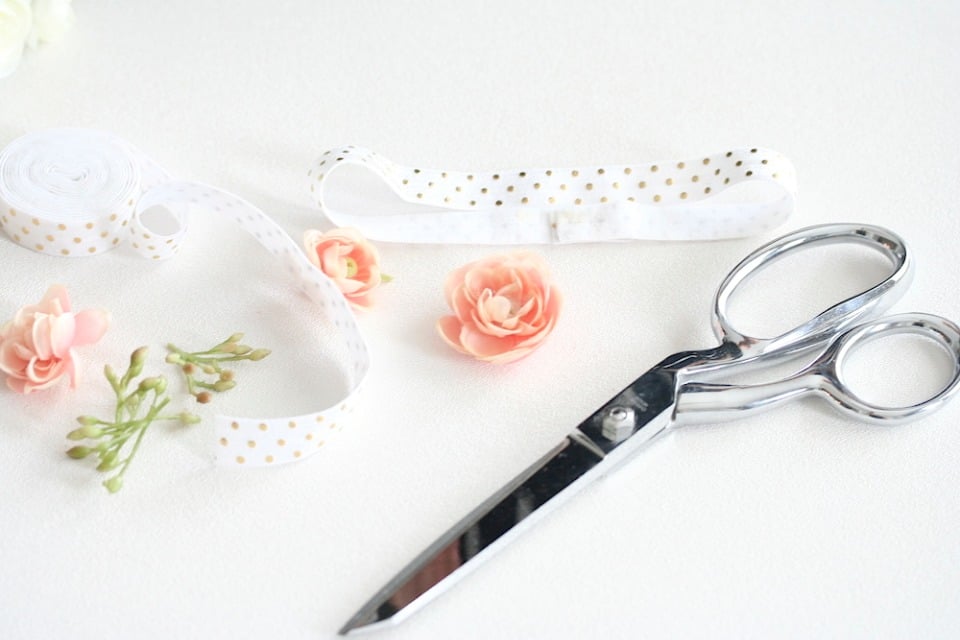
SUPPLIES
- Decorative elastic, such as lace elastic or glitter elastic
- Glue gun and glue
- Scissors
- Silk flowers and greenery
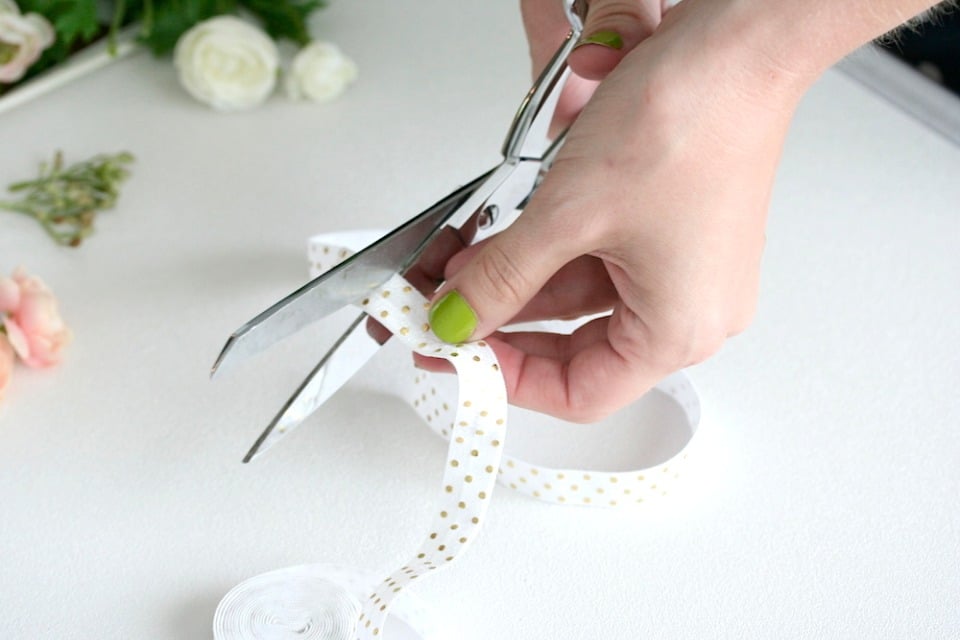
MEASURE + CUT
Using the elastic, measure around where you want to wear your wedding garter. Stretch the elastic as you wrap it around so that it is snug and secure around the leg, but not too tight that it will be uncomfortable. Cut the elastic 1 inch longer than you want it to be.
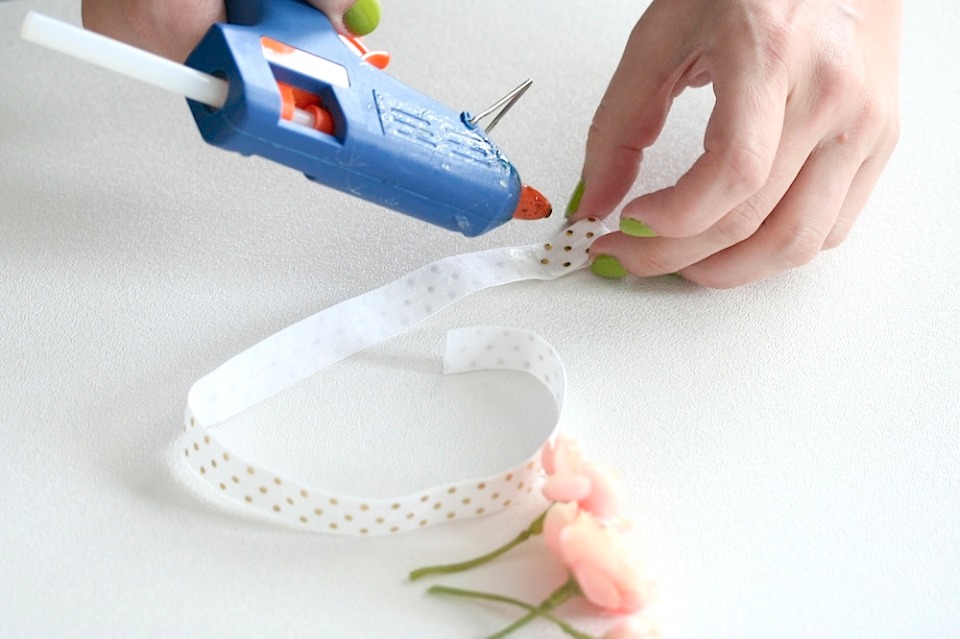
MAKE THE GARTER
Lay the cut piece of elastic wrong side up on a flat working surface. At one end of the elastic, place a small amount of glue about 1/8 inch from the edge. Fold the cut edge of elastic over on top of the glue, about 1/4 of an inch creating a little flap and a nice, non-cut edge to the elastic. Hold the flapped piece down until the glue dries.
Next, with the wrong side of the garter still facing up, place a small amount of glue on top of the flap that you just glued down. Bring the other cut end of the elastic over to meet the flap creating a circle with the elastic. Turn the elastic and place the right side of the elastic edge that you just brought around on top of the flap with the glue and hold until the glue dries. This will create the circle for the garter itself.
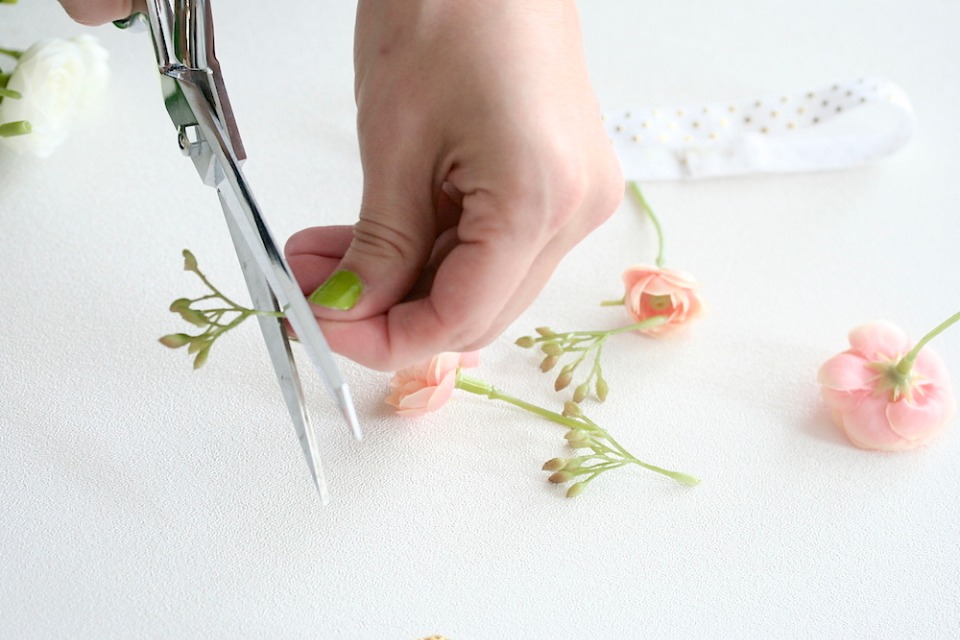
CUT YOUR FLOWERS
Most silk flowers come with the plastic stems attached. Sometimes you can pull the flower or the leaf from the stem or you will need to cut it off of the stem. You'll need to remove the flowers and greenery from the stems before attaching to the garter.
Cut as close to the base of the flower where it meets the stem without cutting the flower itself. Be careful not to cut the flower and try to leave the plastic pod at the base of the flower in tact. This little pod holds the silk petals together and cutting too closely could cause the flower to fall apart, unless you want to cut the flower apart to use the individual silk petals in your design.
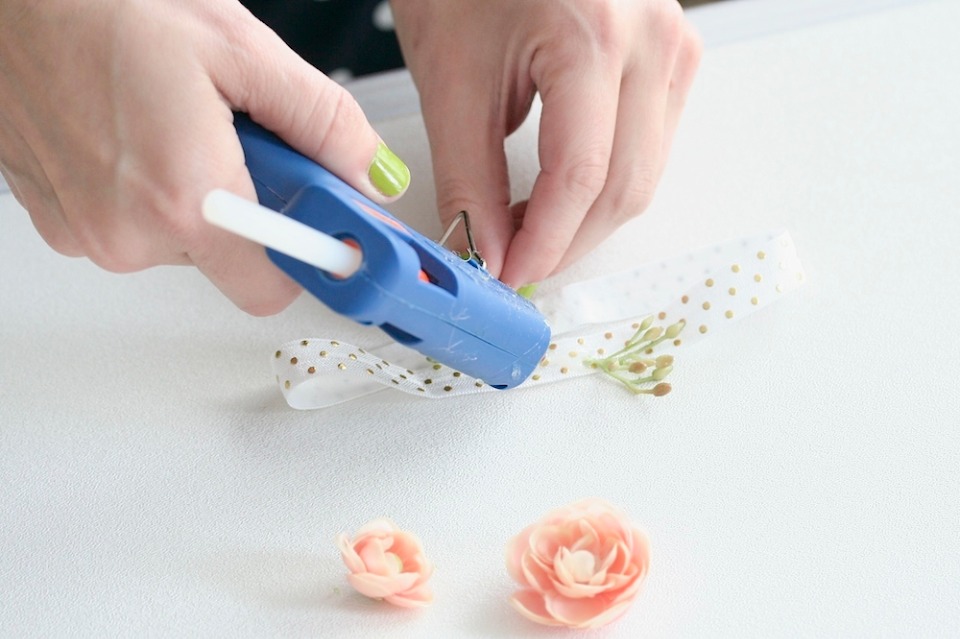
DECORATE YOUR GARTER
Before your glue anything, lay your flowers and greenery out in a pattern or your desired arrangement. Play with different designs and layouts and start to glue once you know that pattern you'd like to make.
To glue, start with the flowers or greenery that will be on the bottom, or closest to the garter itself. Place a small amount of glue on the garter in the center and then place your leaves or flowers on top of the glue. Hold each flower or leaf down to allow the glue to dry before you add another piece. Work from the inside out, placing the leaves and flowers on top of each other with small amounts of glue.

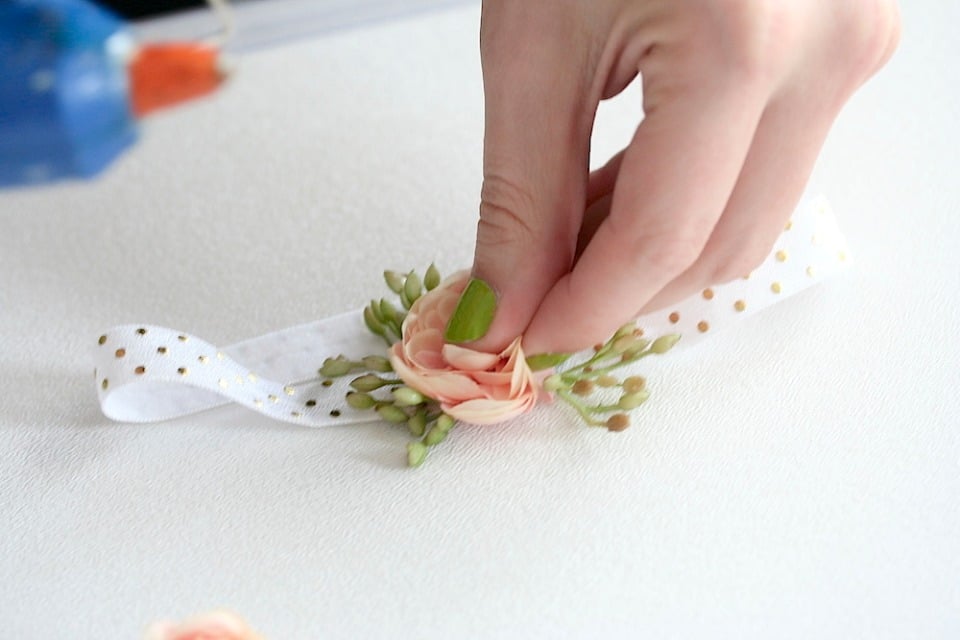
Let Glue dry
Once your pattern is finished, hold your garter up to check for any pieces that need a little extra support and glue. You might need to add extra glue around the edges and under the leaves or in between flowers and petals to secure your decoration to the garter and give your design more stability. Allow the glue to dry completely before trying your bridal garter on.
- Flowers: Afloral
- Elastic: The Ribbon Retreat