This next bride was super savvy about how she spent her wedding cash, not only did she DIY a good portion of her big day, but she was able to turn it around and make a profit on most of it afterward! Keep reading to find out how!
And don’t miss the budget breakdown and a list of more DIY’s from this blue gold and peach romance wedding below. Plus you can see even more of these fabulous photos from Allyson Wiley when you visit the full gallery here.

To Coordinate Or Not To Coordinate
Even though I was very cost-conscious, I would recommend having a coordinator. We had ours do month-of coordination as well as negotiating our rentals.
Our coordinator was AMAZING. Having been in the business far longer than I have, she recommended vendors within my budget without sacrificing anything. She also got us a discount with our rentals, with this alone, she paid for herself!
Turning A Profit On Your Wedding
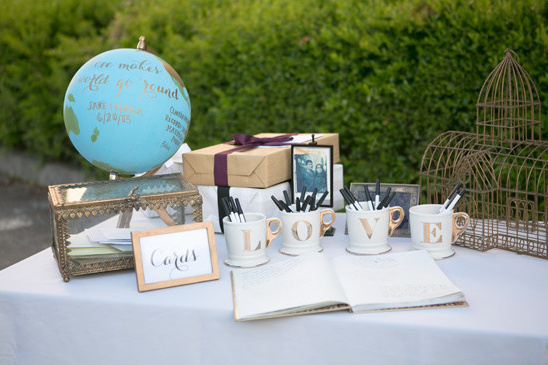
All of my decor items were bought from the salvage yard, Home Goods or Craigslist (I hate paying full price for anything!) I did not spend much money on my paper crafts, construction paper, paint, glue and crepe paper were mostly used with coupons from Michaels and JoAnns.
I think I spent about $300 on decor (not including the real flowers). After the wedding, I sold most of my decor on Craigslist and made a profit!
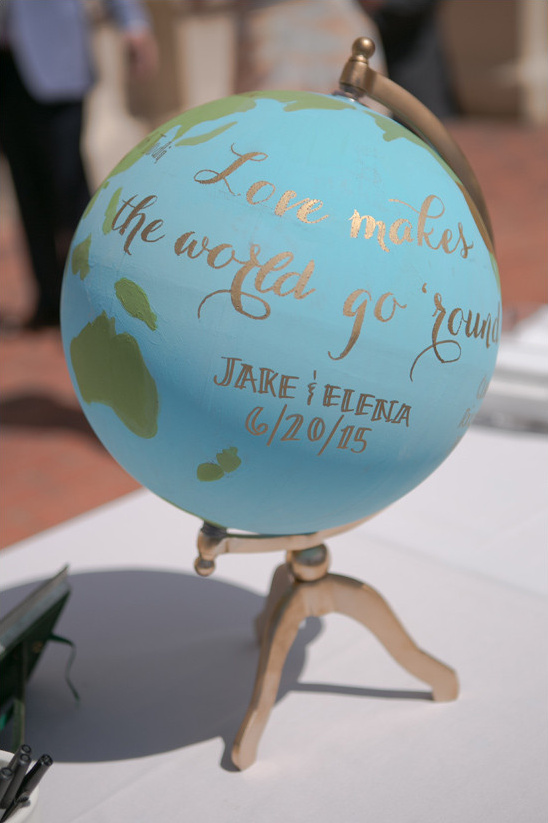
Save Your Cash & DIY It
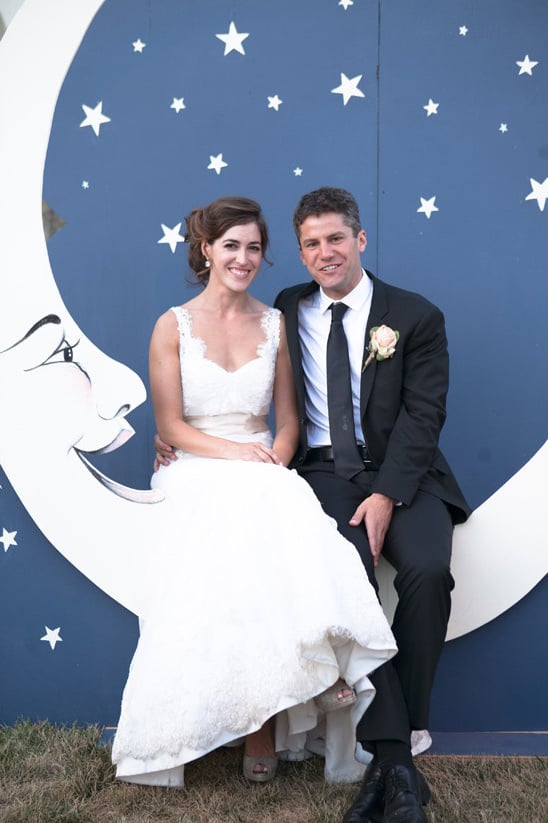
I had been obsessed with a vintage paper moon for months prior to the wedding. I saw one at a rental company that cost $700 and that was only after spending $5000 minimum on their other items, none of which I felt necessary. I decided to make one myself!
I had help with the construction of the bench, but I painted the face of the moon. The whole project cost $160, for the wood and the paint. I am thinking of renting it out for the future, but I am tempted to keep it!
Read on to see how much this blue gold and peach romance wedding cost. Please note that costs change as the years go by, and prices are subject to change. This is just one couple’s breakdown to give you a rough estimate on how much a wedding like this may cost you.
Budget Breakdown:
Catering: 20.2%
Photographer: 11.2%
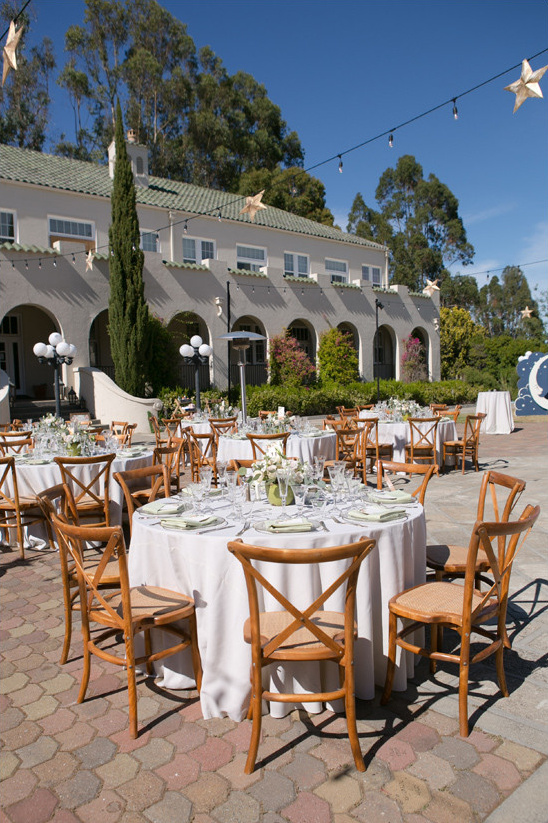
Venue: 6.7%
Rentals: 27%
Dress: 4.5%
Coordinator: 5.4%
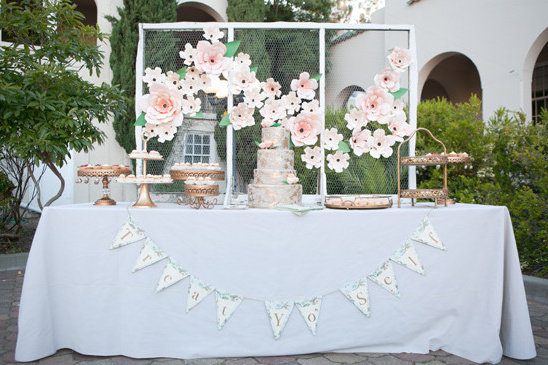
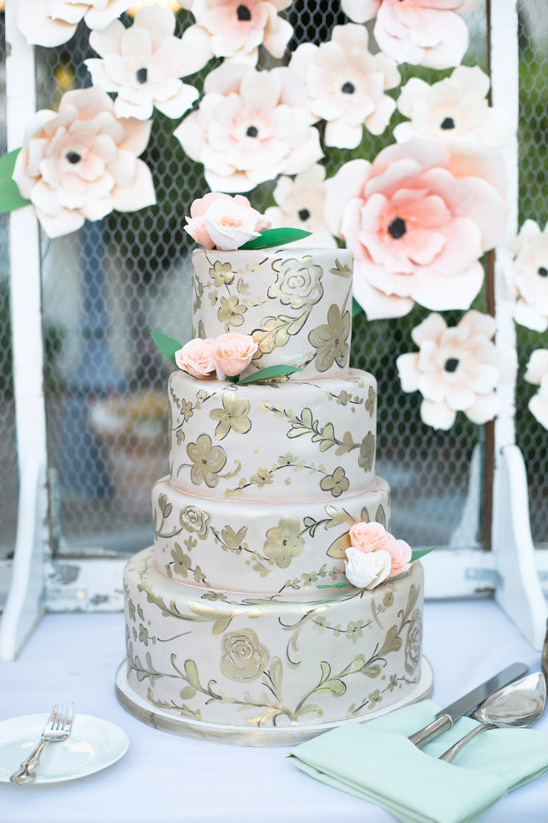
Cake: 1.8%
Flowers: 6.7%
Dj: 2%
Alcohol: 6.7%
Lighting: 5.4%
Invitations: 1.1%
Misc. Decor: 1.1%
DIY Details:
I DIYed almost everything for the wedding. I had so much fun doing it, but I underestimated how much time it would take!Somethings were not worth doing! Do a lot of research before you sink your time into something difficult logistically! Think about your resources in friends and family when you are planning! My brothers played music as I walked down the aisle. Free and touching!
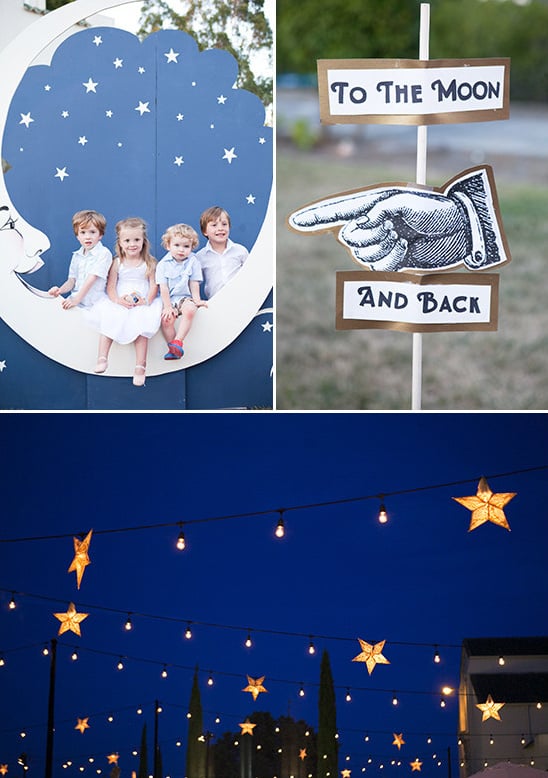
My biggest undertaking was the paper-lanterns that hung on the string lights strung across the courtyard. How many weddings have those Japanese globe lights? Way too many. I wanted something different. I decided to make star lanterns, not because I had an affinity to stars, but because I was living on the East Coast at the time and needed to create something that would pack flat and be assembled at a later time. I made the star lanterns out of construction I painted, and poked tiny holes in an intricate paisley pattern. I had made three different sizes, and turns out only the largest size fit onto the lightbulb. This is definitely a cautionary tale I wish I could tell other brides. Figure out the logistics before you dive head-on into a craft! I ended up with 30 large star lanterns, I couldn’t use the other 40 that I had made! I also wish I hadn’t done so much detail, the gorgeous detail of each one was missed purely by how high the lanterns were hanging!
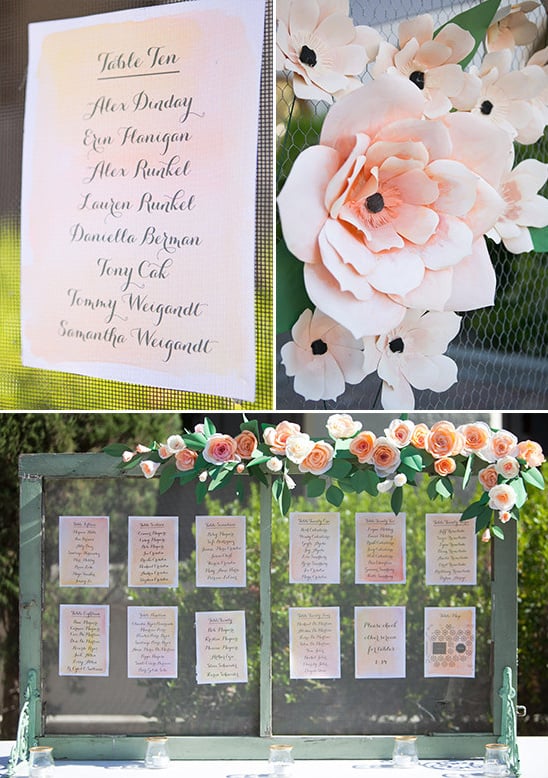
I also created paper flowers, out of construction paper and crepe paper and decorated everything with them. I had bought several window frames at a salvage yard and used them to create “display walls”, (I had found it hard to create decorations without any height) and used a large one behind the cake display, and used two for table assignments with crepe paper garland. I had created another garland around the wrought iron easel, mostly because I hated the curly-q’s on the easel!
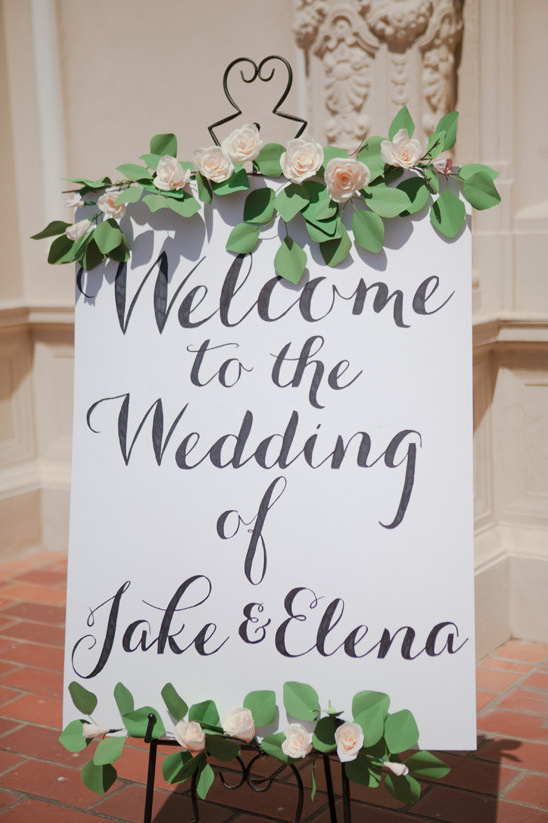
I also painted signs to direct my guests around, framing them in salvage-yard found window frames. I bought a font off the internet and used them to make a template to recreate the look of hand-lettering.
I had some help creating the moon back-drop, (after all, it needed to hold the weight of adults!) I had the idea in mind for a few months but it materialized only in the last month. What was amazing was post-wedding, a photo surfaced of my late-grandfather sitting on a paper moon backdrop as a child! I loved that it tied in the theme of “moon and stars” and seemed both whimsical and vintage!
Also -use your resources! My brother works on a dairy farm and he had access to small glass jars (for free! -yay!) which I painted the lip gold and we used them as votive holders. We also used them as holders for our favors (M&Ms, both initials for our last names!)
But BY FAR, the best and cheapest detail we did was the hand-written notes to each guest that we had sitting at their seat. We took time prior to the wedding to think about each guest and write them a thoughtful note about what they meant to us. This was the kind of personalized detail that hardly costs a thing, and it makes each guest feel special. The goal of the ceremony was to marry Jake, but my goal of the reception was to get the love in the air and all around our guests!