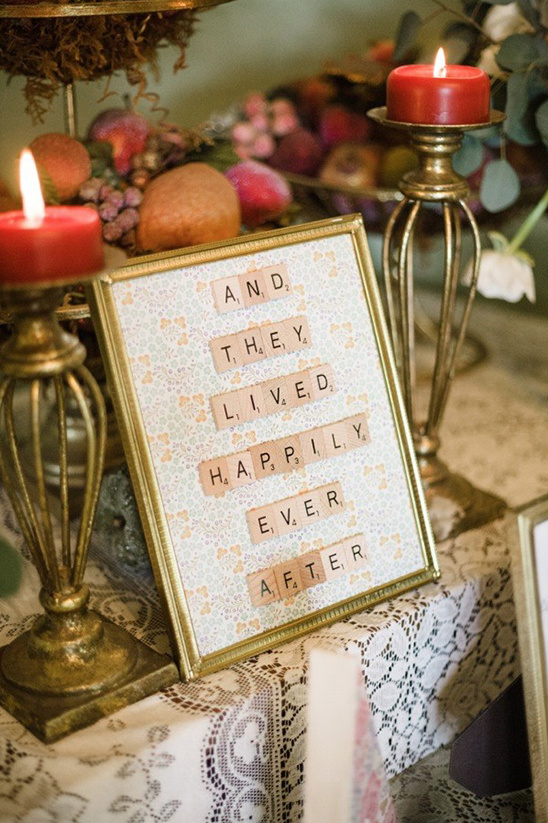
Shabby Chic Bridal Shower
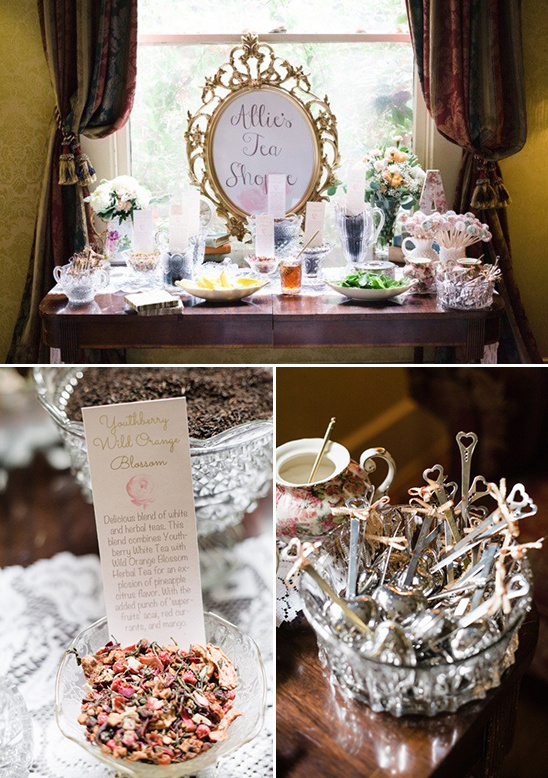
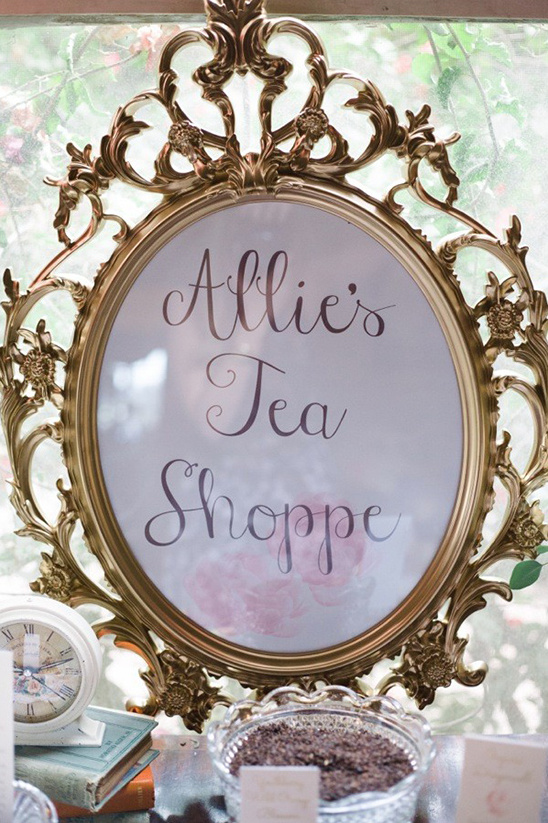
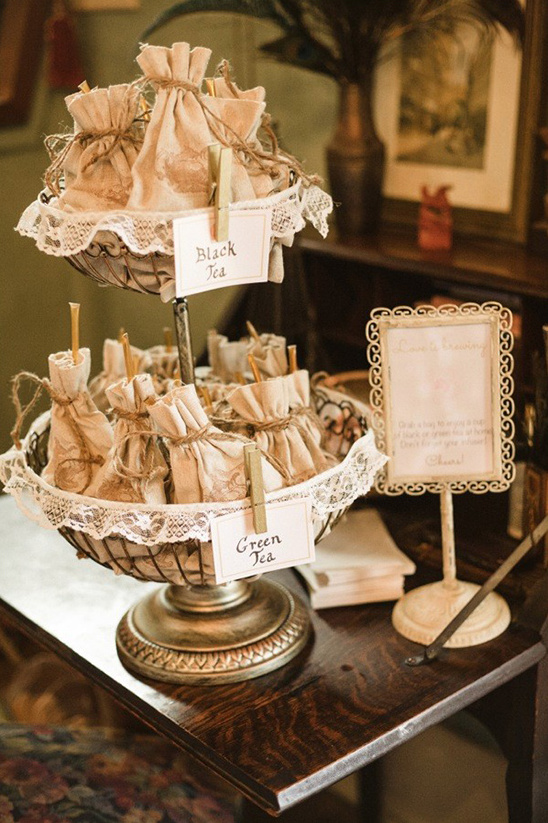
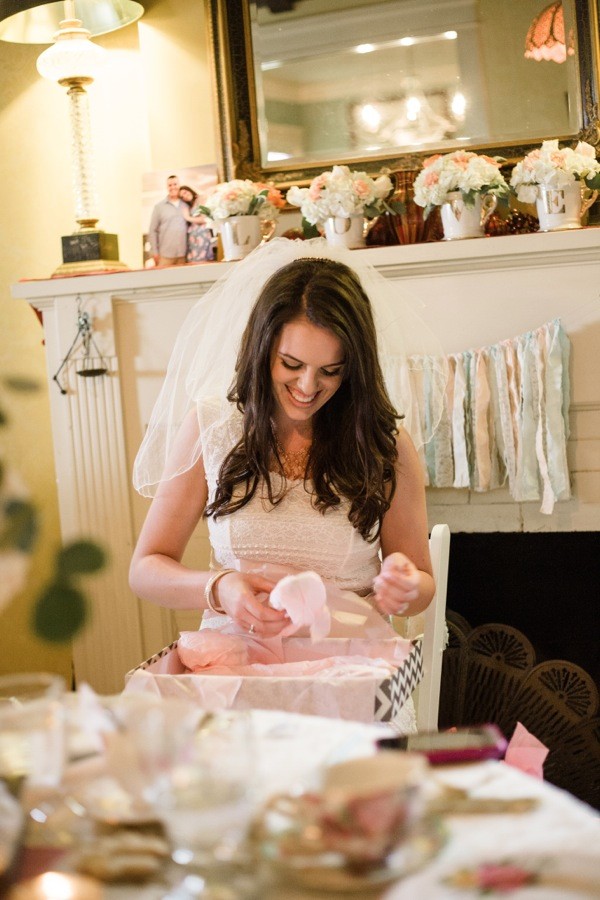
Allie knew from the beginning that she wanted a shabby chic bridal shower that had "high tea" theme. The French Estate provided the perfect setting, just for that! As guests entered the estate they were greeted with a tea bar.
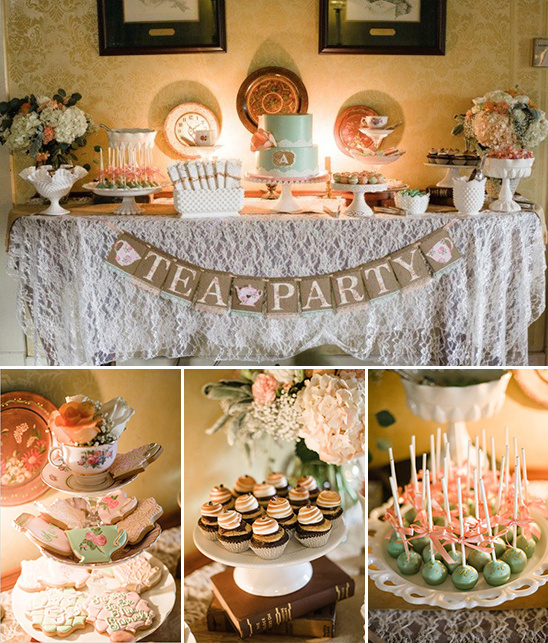
There were many DIY elements, which included the rag tie and bride chair banners, flower stir-sticks, and favor bags. The day was a beautiful celebration while sipping tea and enjoying girl time. Keep reading for instructions from A Sweet Occasion on how to create the DIY elements for your own day. And, of course, stop and take a peek at the full gallery here, captured by Ambre Williams Photography.
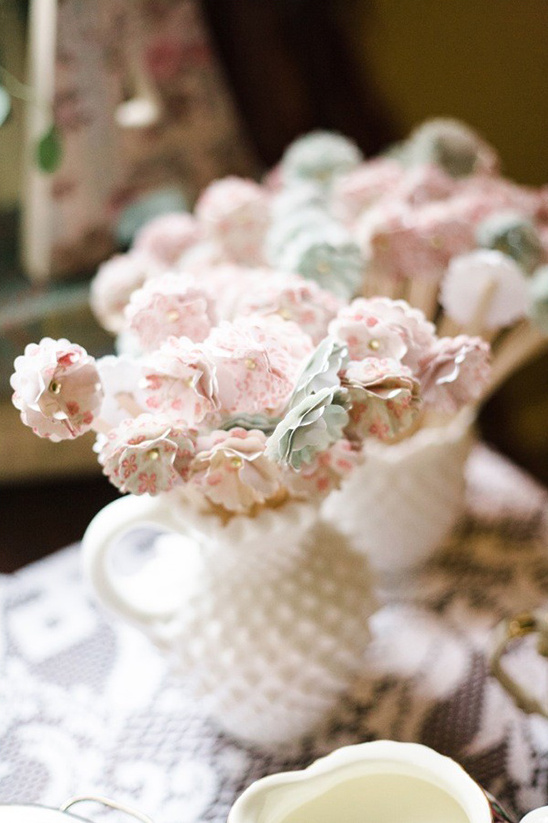
DIY flower stir-stick
These little guys are so fun to make, and are both practical and pretty! These can be adapted into place cards by just adding a tab (perhaps of washi tape) under the flower with the persons name on it and so much more!
What you need:
-Scrapbook paper (the more the merrier just keep a color scheme)
-A large flower punch, Fiskars seal of approval squeeze punch in large
-Tiny metal brads
-Xacto knife or something to punch a tiny hole
-Coffee stir sticks or popsicle sticks (Ask your neighborhood barista who might be more then happy to give you a bag, especially if you spend $4 a day on a drink there)
-Glue dots, tape or your adhesive of choice
1. You first start by punching out four flowers from one of your scrapbook papers
2. Stack your four flowers on top of each other, and be careful not to poke yourself. Push the Xacto knife all the way through and place and secure your mini brad into your flower.
3. Next, fold up and curl the flower layers starting from the top until all four are done to give it dimension. You can even crunch the layers a little in your fingers to give it more life.
4. I had glue dots on hand so that’s what I used to attach the flower to my stir stick, by just placing one on the top of the stir stick and pushing the flower on to connect them. A piece of tape would work just as well.
5. Step back and admire your work! Now repeat, repeat, and repeat!

Words from A Sweet Occasion
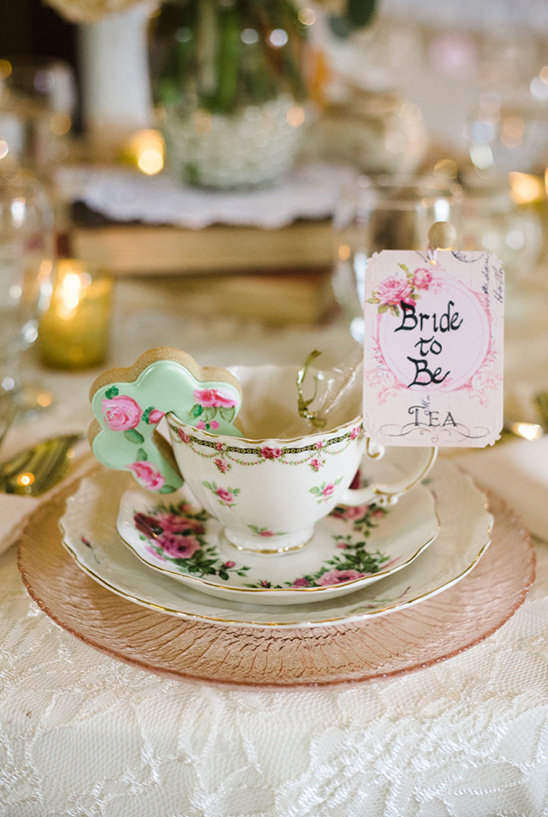
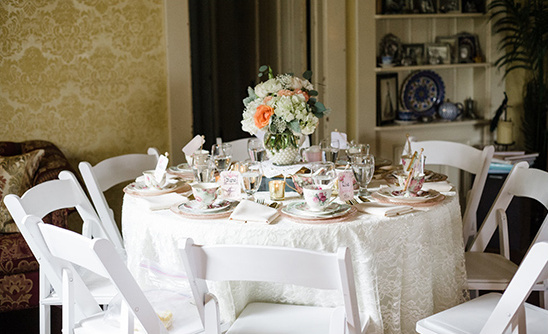
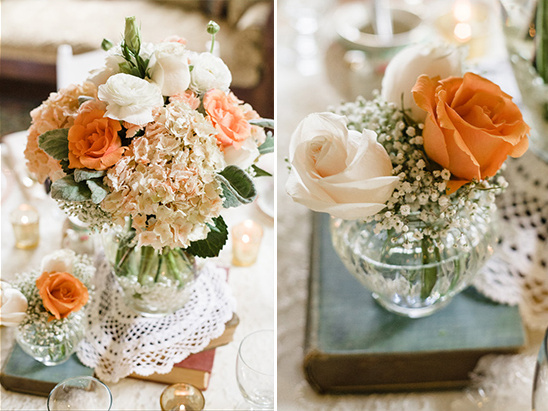
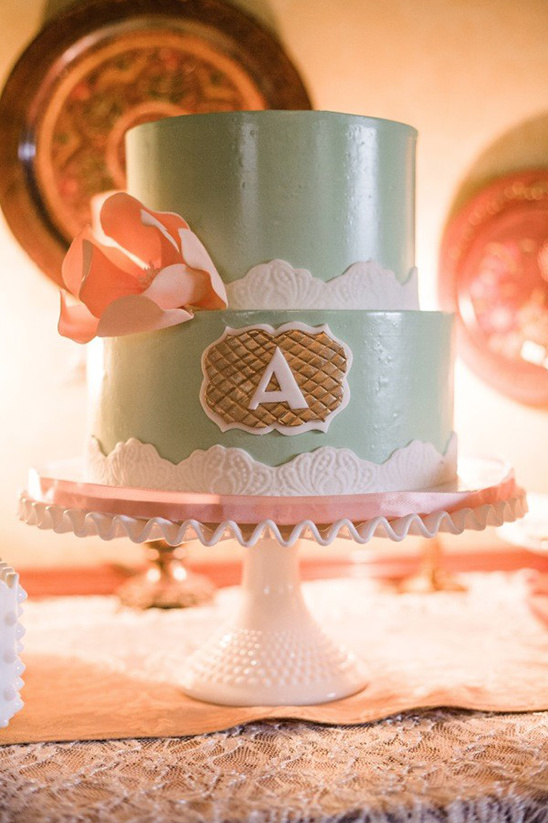
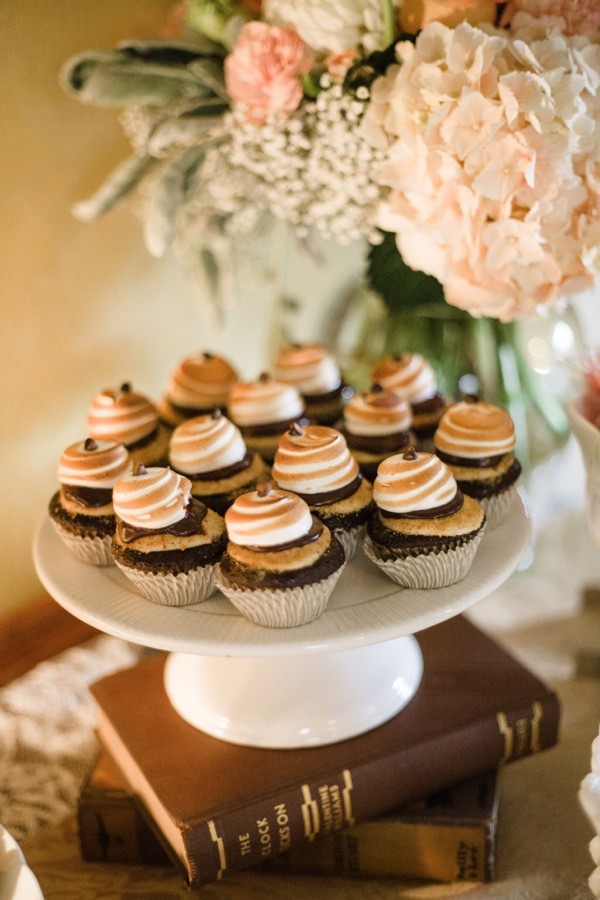
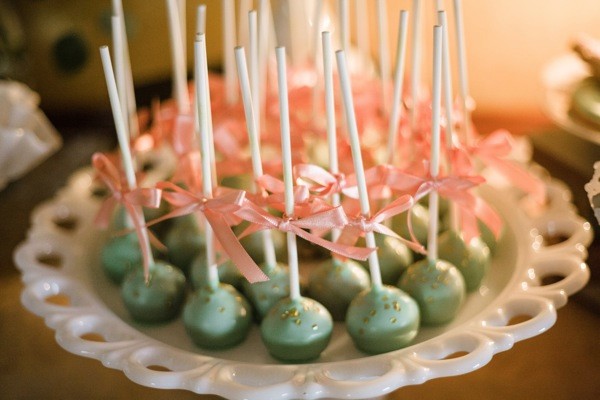
The tables were centered around beautiful floral arrangements in pearl-filled vases mingled with vintage books and mercury glass votives. Ivory lace overlays, pink Depression plates and milk glass were incorporated for the vintage element. Assorted floral teacups held the ornate place tags that were attached to honey stir-sticks. Of course, the sweets table was a hit with a cake and mini-cupcakes by Sweet and Saucy, cake pops, macaroons and stunning custom cookies.
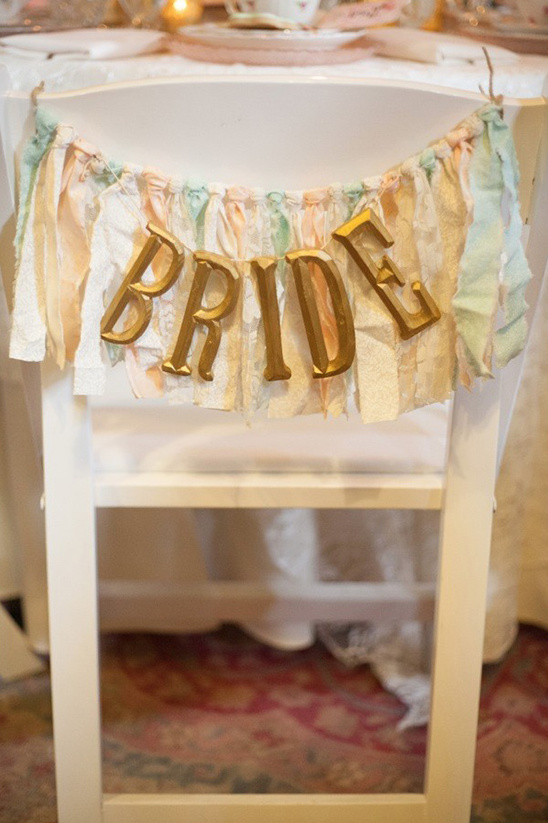
DIY Rag tie banner
These banners are so easy to create and make such an impact at any event!
What you need:
• 3-4 different fabrics about 1 yard each
• Twine
• Scissors
1. Take your first yard of fabric and cut about a 1.5 inch slit in the fabric. Now rip the fabric into a strip. Repeat this down the line of the fabric until your yard is all gone. You might have a bunch of stray strings on your strips and the perfectionist in me just pulls or trims them all off, but I’m sure it would be fine either way.
2. Repeat cutting your strips for the remaining 2-3 different fabrics you purchased and clean up the stray edges if desired.
3. Once all of your strips are cut, figure out how long you want your banner to be and cut the twine. Be sure to add at least 6 inches on each side for room to hang.
4. I find it easier if the string is suspended on something at each end so you can get a real feel for how your banner will look, as you work. I usually start at one end of the twine, but some people start in the middle for tying on the strips.
5. To begin attaching, take a strip of fabric and fold it in half with the closed, folded end facing you (looks sort of like a loop). Put this over the twine and pull the two open ends under the twine and through the fabric loop you created and pull to tighten. This should attach the fabric to the twine in a nice neat knot.
6. Now repeat with the rest of your fabric strips, alternating between the different fabrics until you reach your desired banner length.
7. You might want to trim the strips at the end so that they are all the same length or leave as is for less contrived feel.
Enjoy your new banner! Put on a dessert table or use as a backdrop, whatever your heart desires!


- Wedding Photographers: Ambre Williams Photography
- Cake Pops: Kat Rose
- Cakes & Catering: sweet and saucy
- Event Designer: A Sweet Occasion
- Paper Goods & Tea Shoppe Sign: Photos by Ambre W
- Perfectly Steeped Tea Print: Lettered and Lined
- Place Card Tags: The Porcelain Rose
- Rentals: Baker Party Rentals
- Tassel Balloons: Tuck and Bonte
- Tea Cup Tiers: Tiers From Time
- Tea Party Banner: Penny Line
- Venue & Furniture: The French Estate
- Vintage Teacups, Saucers &Teapots: Rent A Tea Party