How To Make Your Table Numbers Shine
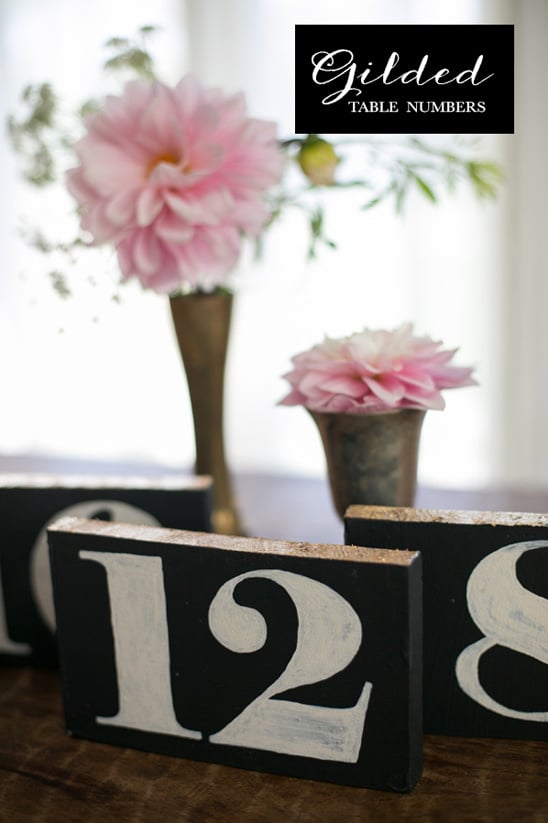
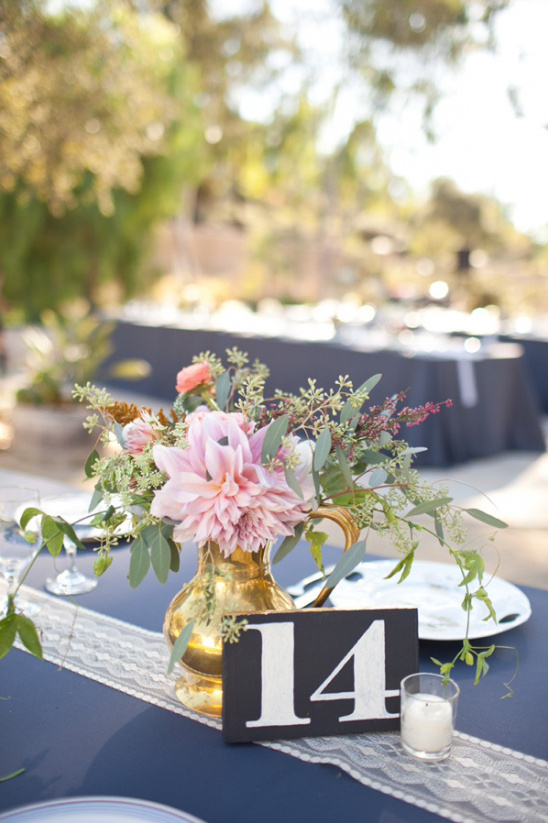
We have seen lots of creative table numbers over the years, and people never cease to surprise us with new and creative ways to highlight these novel numerals; but how do you have fun table numbers without spending too much? Easy, you make them yourself! You might have spotted these adorable gilded table numbers in our Handmade Details To Make Your Wedding Pop post. Lucky for you, the bride sent us all the steps on just how she made her eye popping table numbers. Sweet!
From the Bride:Handcrafting is a passion of mine so for our wedding I prepared as many pieces as time would allow with the table numbers at the top of my list. This set of painted and gold leaf table numbers can be recreated in any color, finish, or font for any style of event.
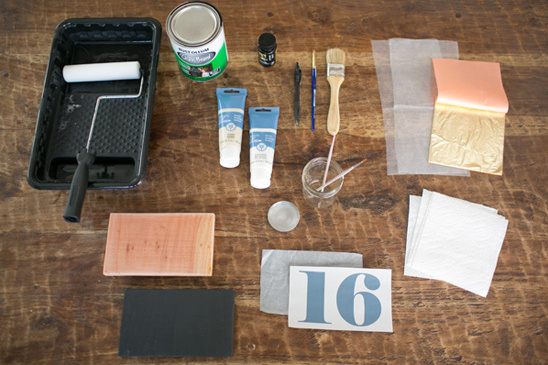
Table Number Materials:
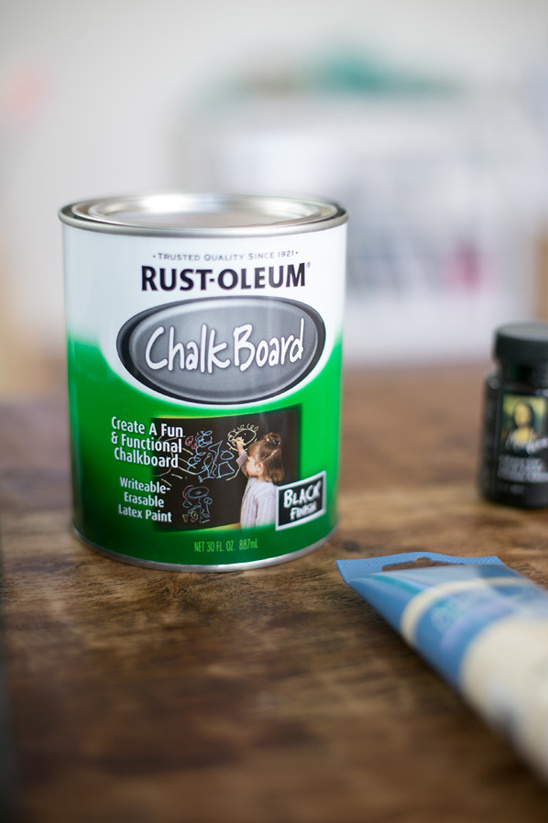
wood plank sand paper paint roller black chalkboard paint Table Number Steps:
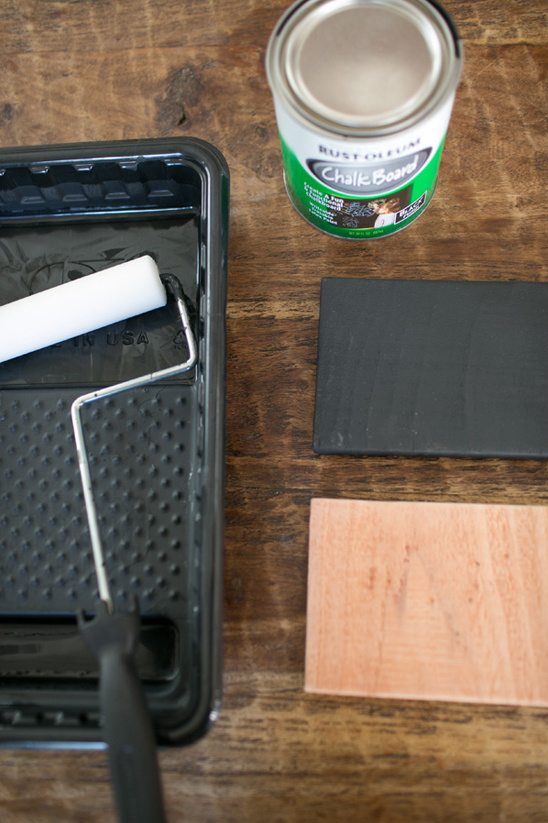
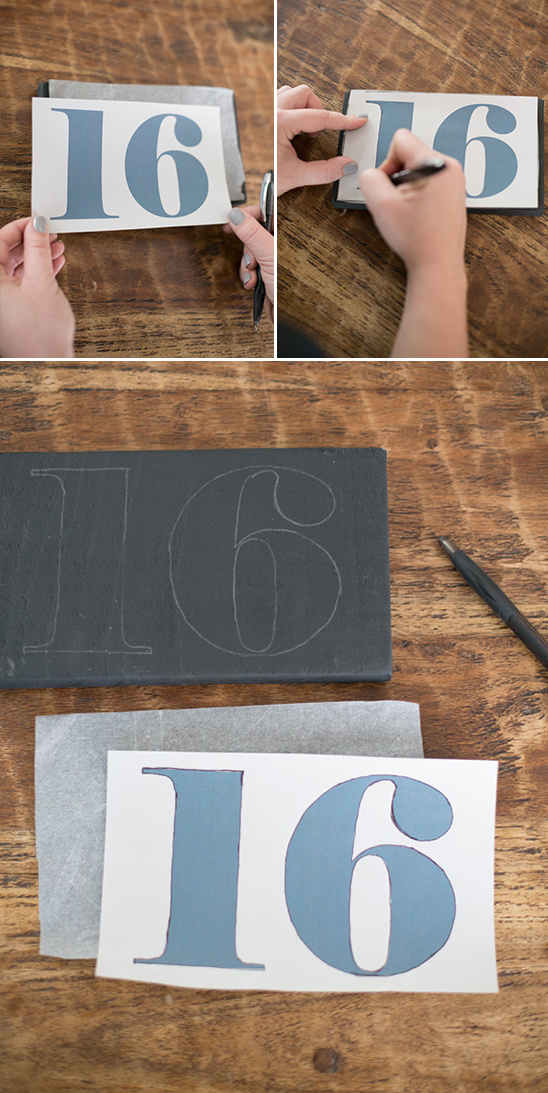
1. Cut wood to desired size
2. Sand wood edges and all surfaces so paint will roll on evenly
3. Paint wood with chalkboard paint using a paint roller and let dry for 2-3 hours
Transfer Number Materials:
ball point pen transfer paper printed text (any font)
cream and white acrylic paint fine tip paint brush Transfer Number Steps:
1. Once dry, transfer the number onto the wood by laying transfer paper on top of wood surface and tracing desired number on top of paper
2. Outline the number with the ball point pen and is ready to be painted
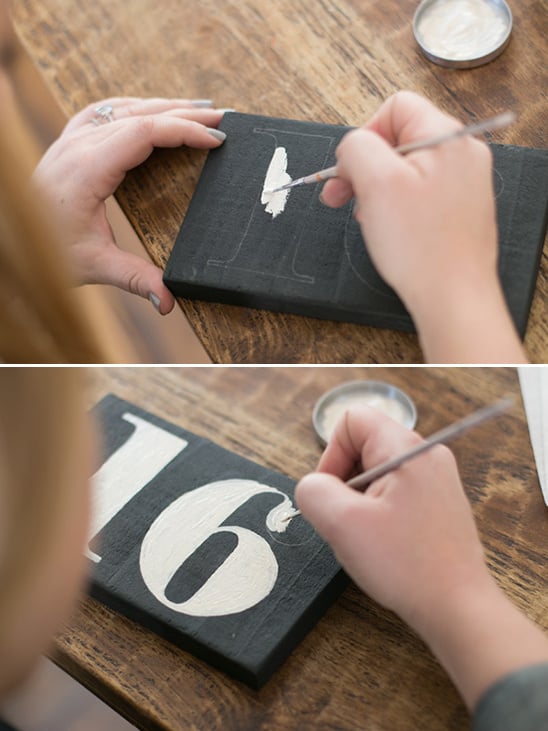
3. Use the fine tip paint brush to apply the acrylic paint
4. Let dry for 1 hour
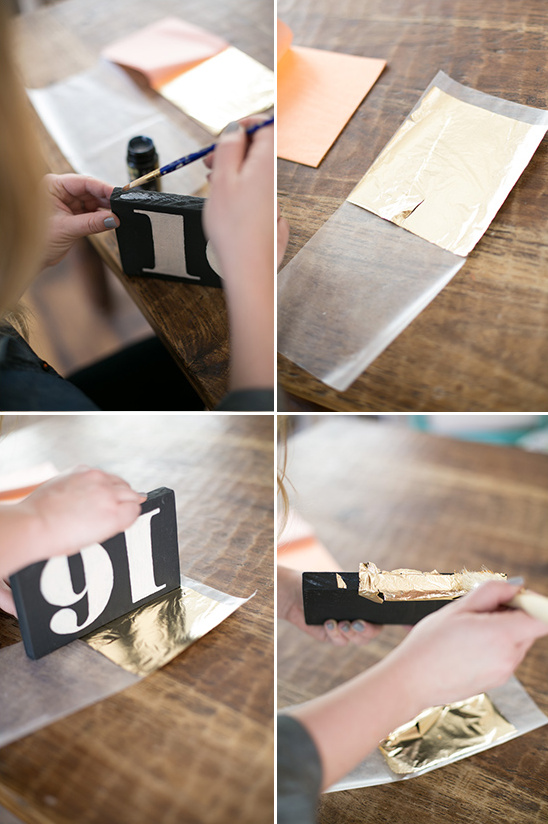
Gold Leaf Materials:
gold leaf sheets gold leaf clear adhesive and brush wax paper rough paint brush Gold Leaf Steps:
1. Apply the clear gold leaf adhesive to the desired edge and let dry for 20 – 30 minutes
2. While the adhesive is still tacky apply the gold leaf
3. Fill in gold leaf where needed with the small paint brush and extra adhesive
4. Use the rough paint brush to remove the excess gold leaf by tapping gently (allow 1 hour for adhesive to dry)
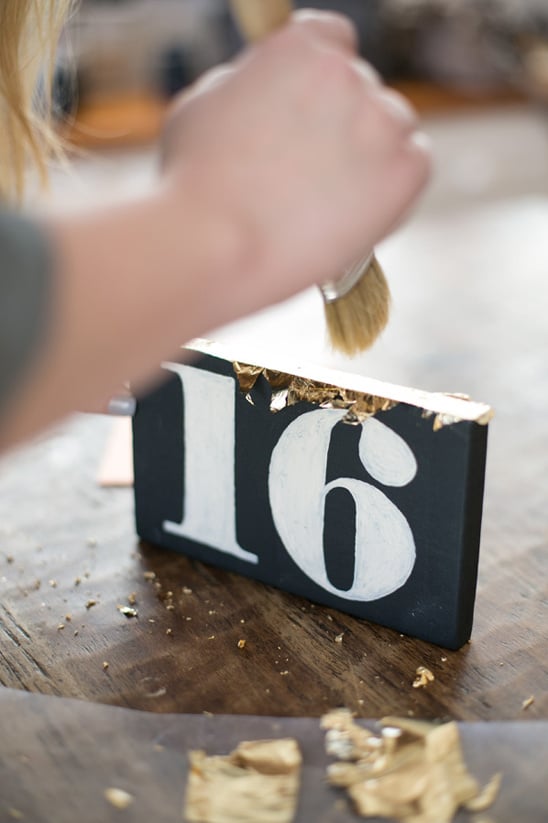
The final step is to set your fabulous table numbers out and watch as your guests go wild! Oh and don't forget to have a blast!
Photographer: Katrina Louise Photography