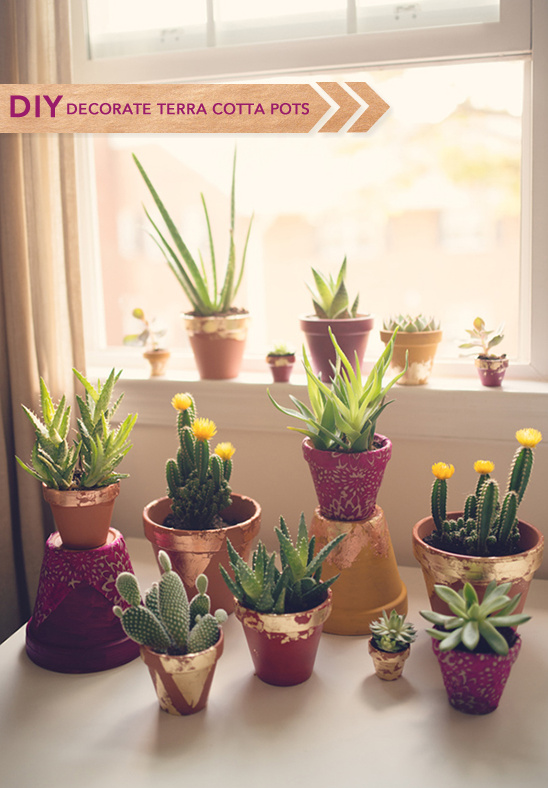

Didn’t you just love the decorative pots in the last post? You’re in luck! Audra Wrisley Photography & Design was kind enough to share with us the various techniques she used to create the pots for the photo shoot. These DIY techniques include gold and copper leafing, beautiful decorative papers and bold acrylic paints that will easily transform your pots from drab to fab.
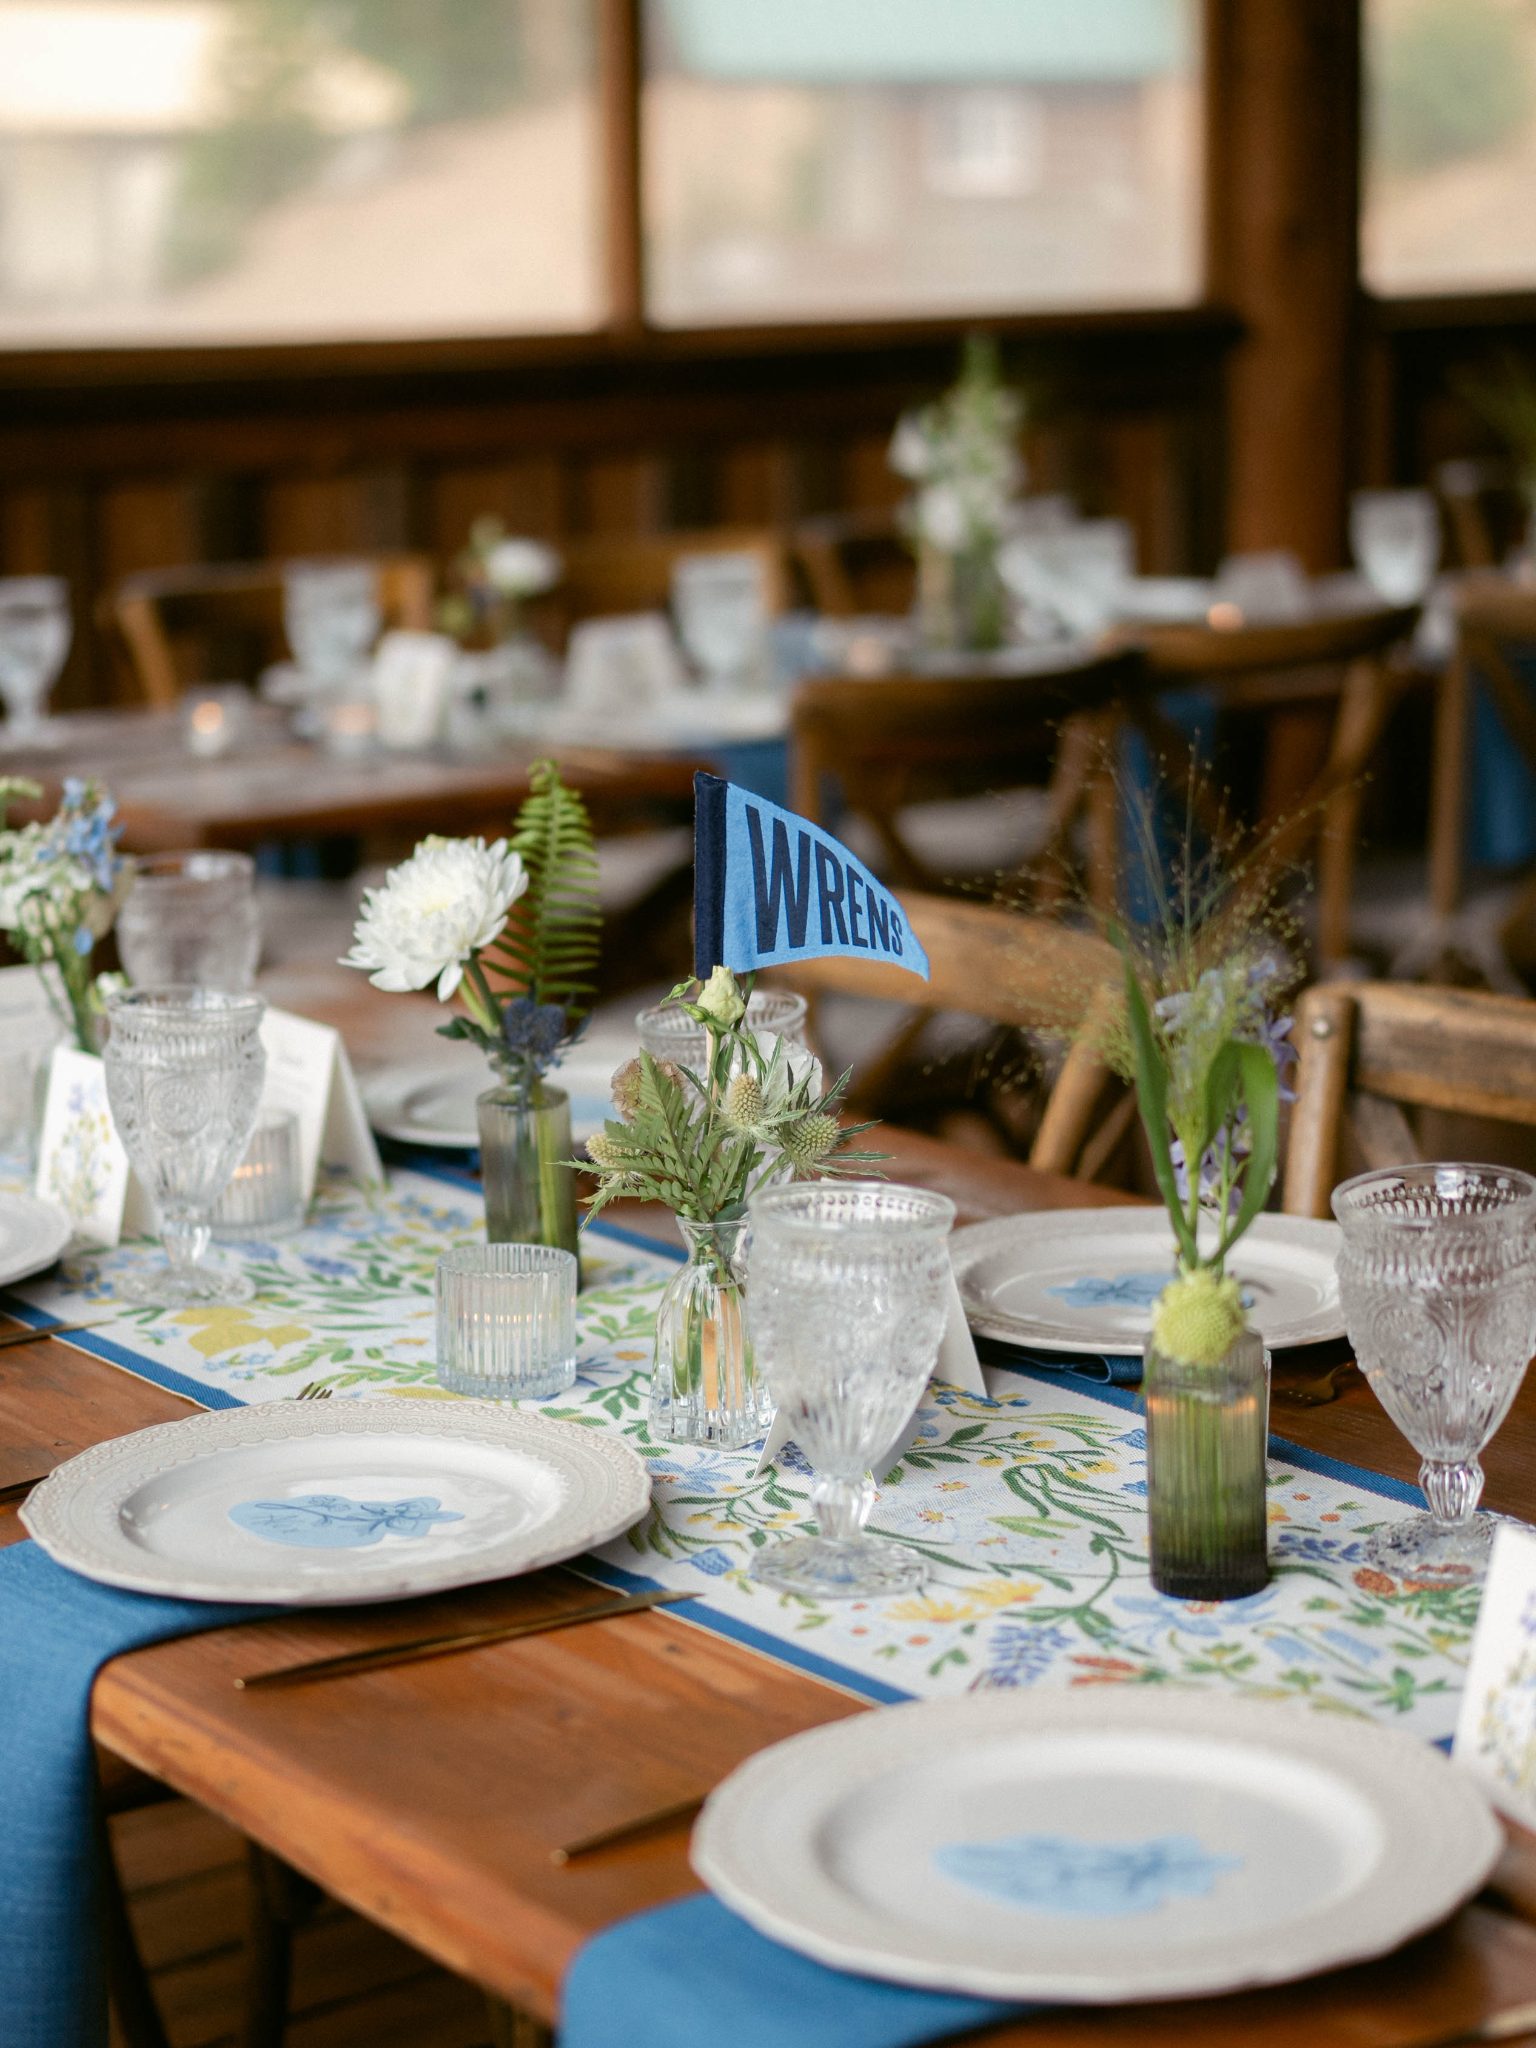
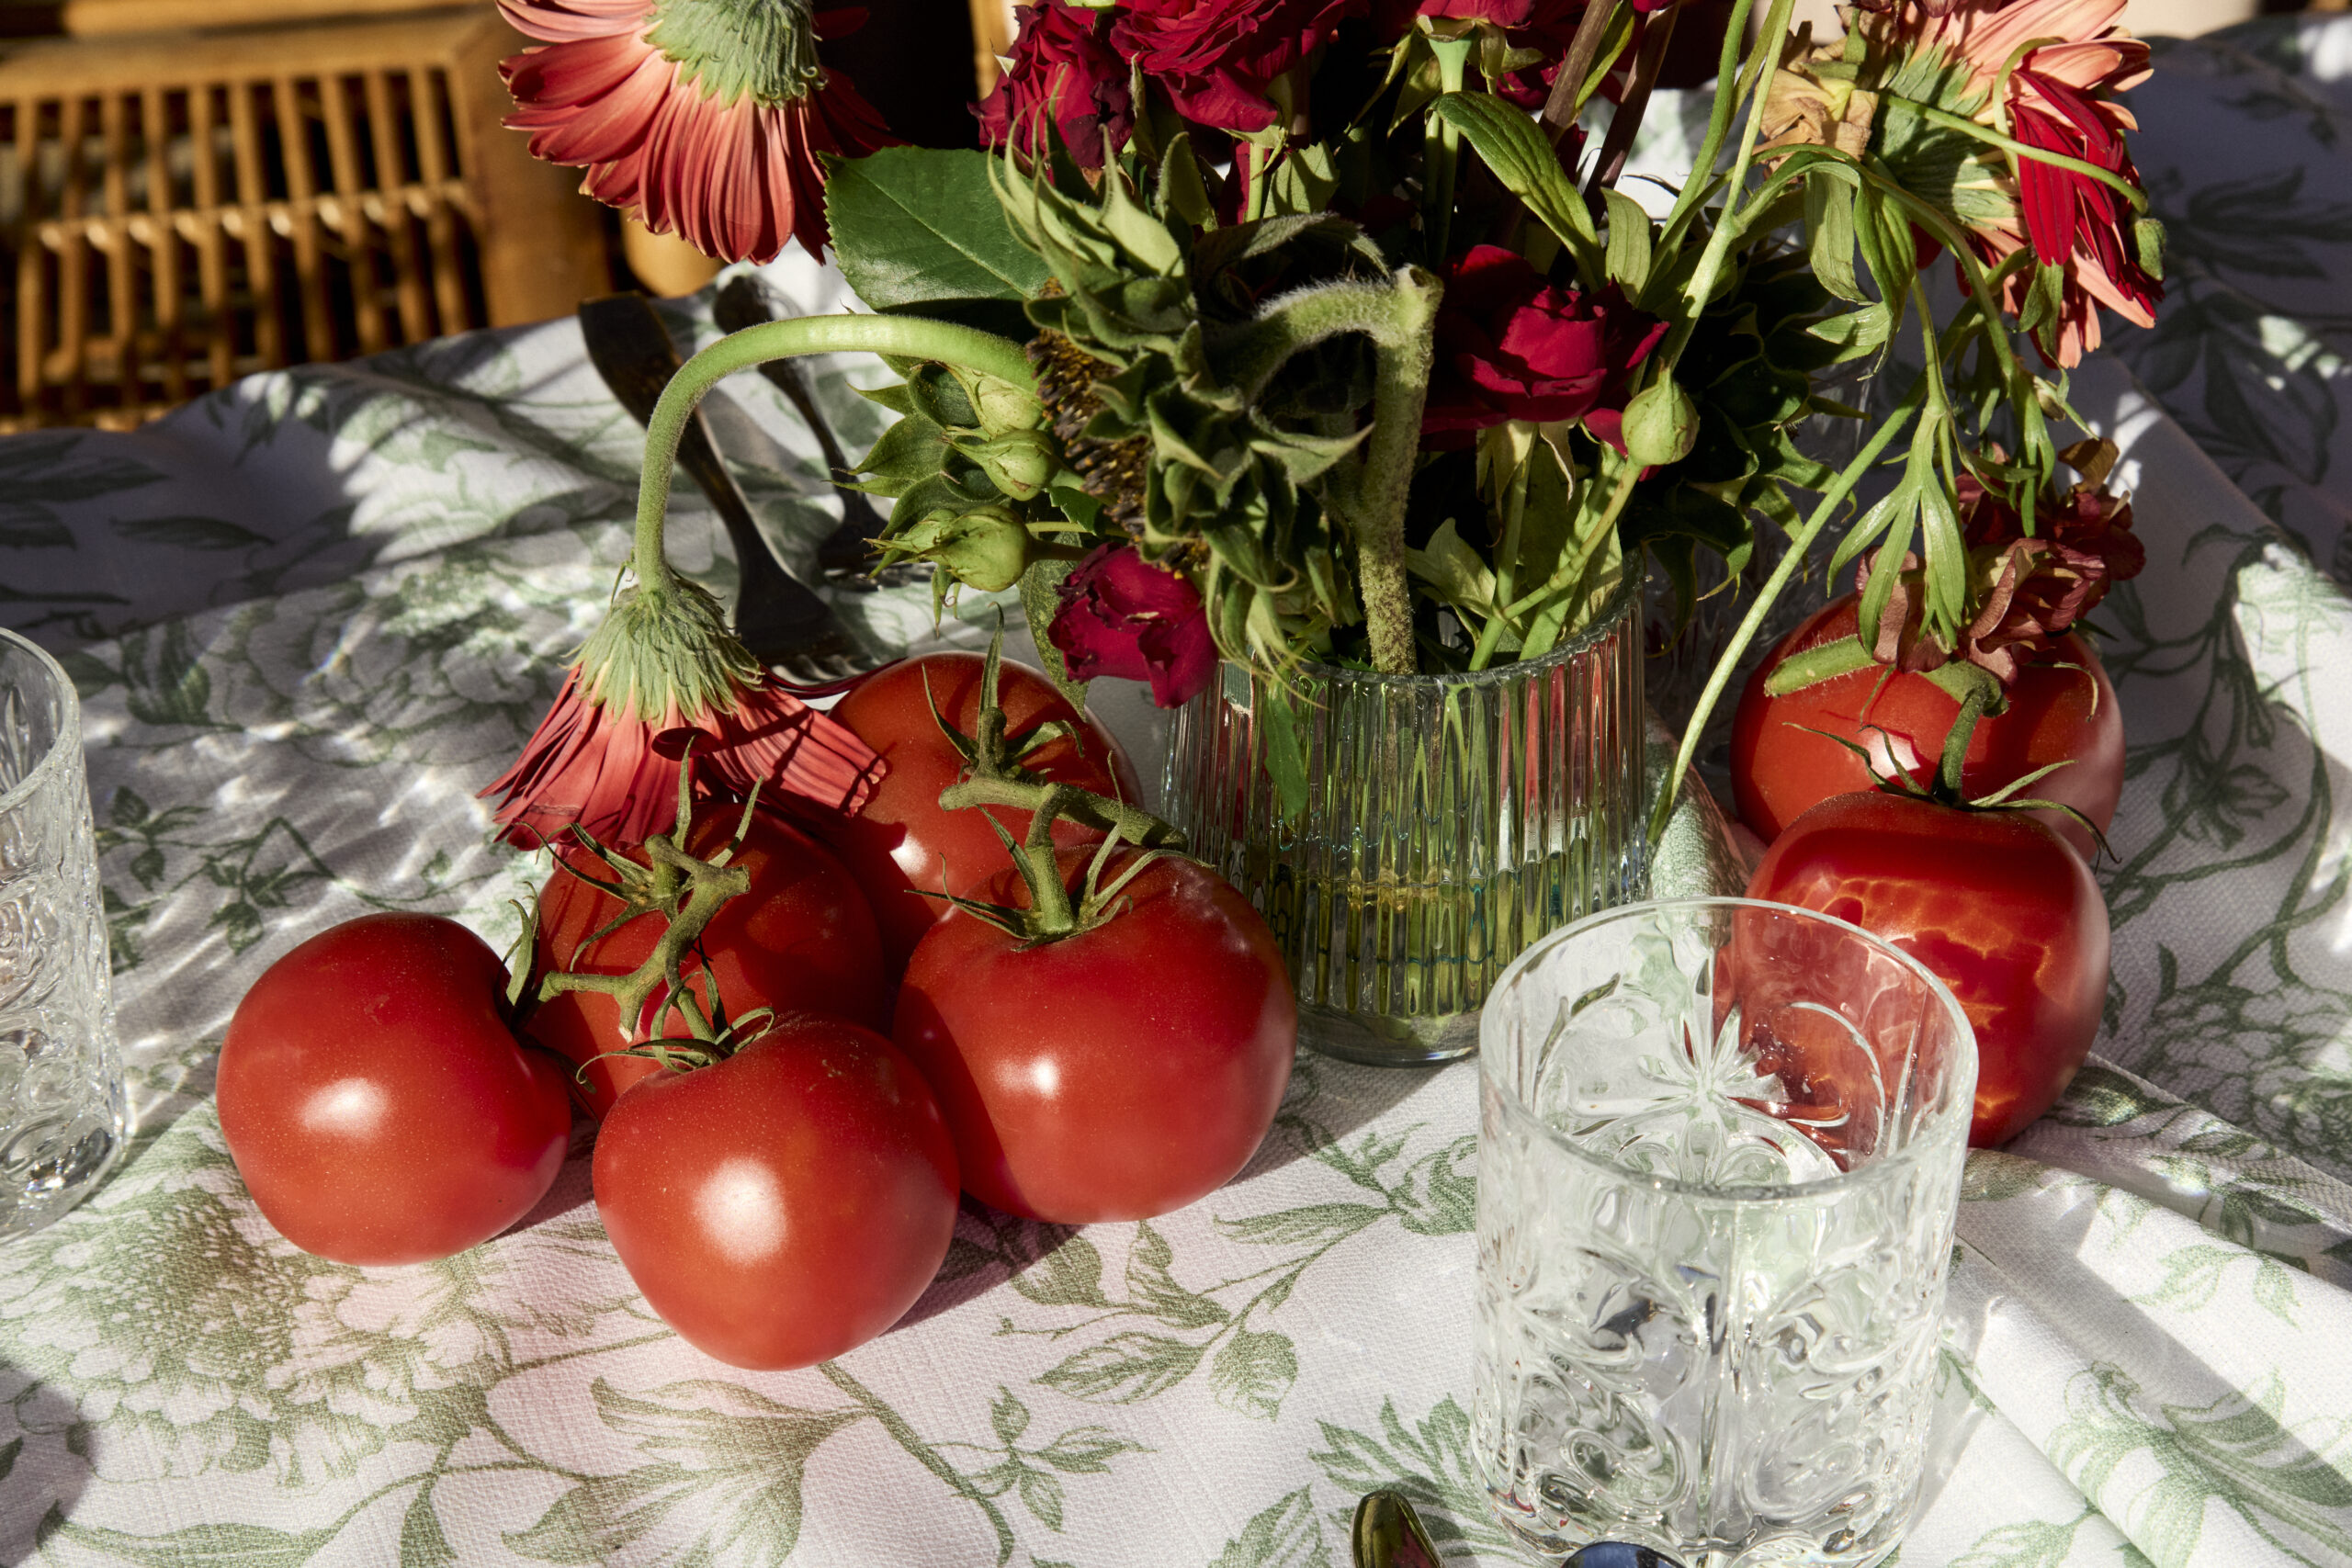
Whether you’re planning your wedding or a luncheon with the girls, these pots make a fabulous centerpiece that you can continue to enjoy long after the event! Continue reading to learn some great terra cotta pot decorating techniques, including some tips and tricks from Audra.
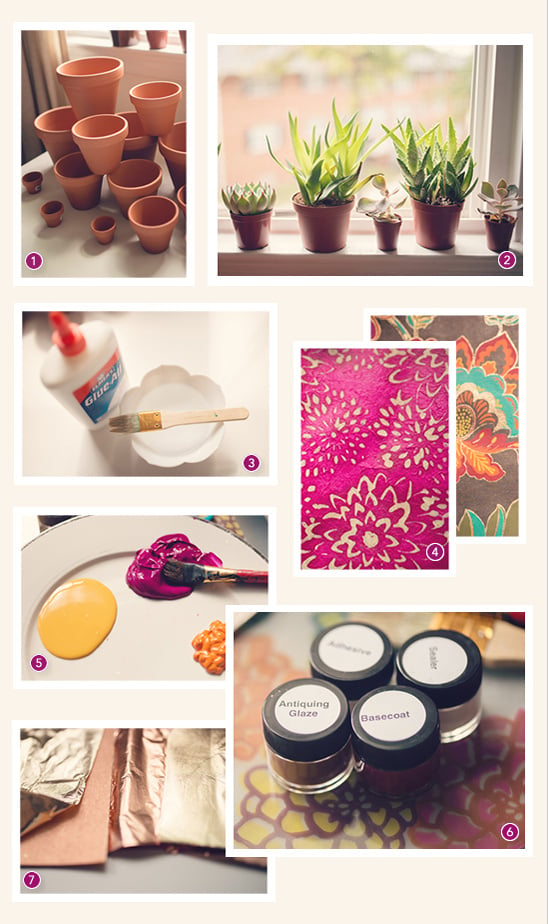
For this project you will need
1. terra cotta pots
2. succulents
3.Elmer’s Glue
4. decorative paper
5. acrylic paint
6. gold and copper
7. glazes for leafing not shown (paint brush and scissors and washi tape)
You can purchase the pots, paint, glue, gold/copper leaf kit and a few extra packs of just the gold/copper leaf at Michael’s, the succulents at Home Depot and the gorgeous fabric-paper at World Market.
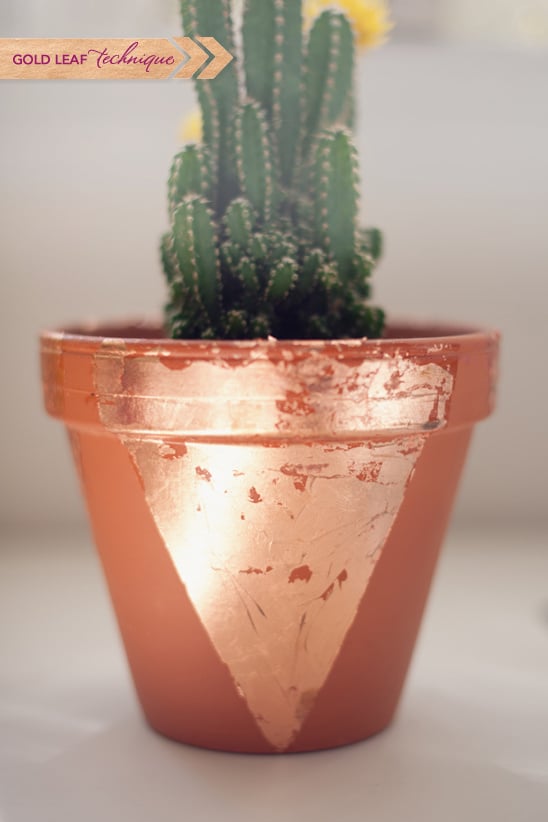
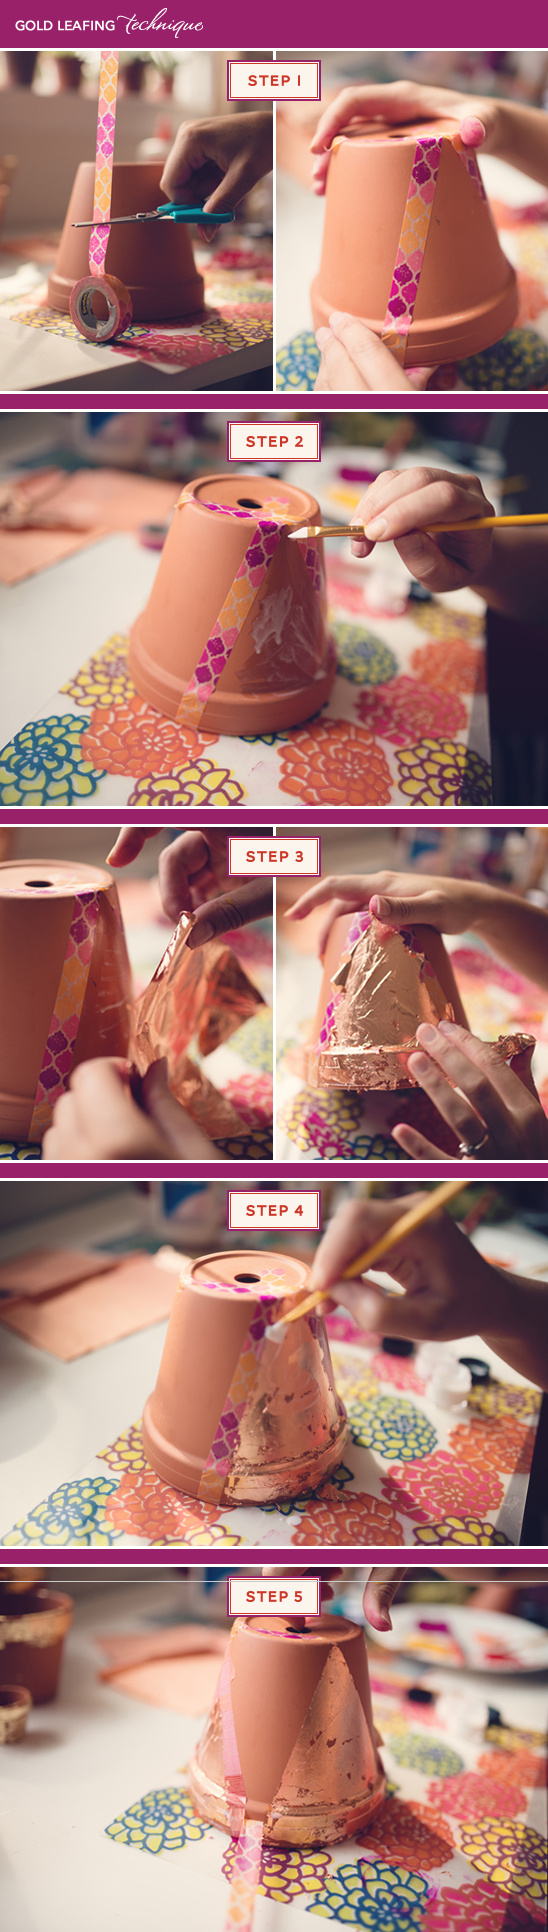
Gold Leafing Technique:
Step 1: Audra began by creating a simple design on her pot using the washi tape.
Step 2: Then she prepped the area of the pot she wanted to apply the gold leaf with adhesive from her gold/copper leaf kit. She chose to give her pot a textured, vintage look by not being too specific about painting the area in entirety.
Step 3: Audra then began applying the gold leaf. Once the main areas of the sheet of gold leaf are adhered to the pot brush off any extra crumbles of gold leaf. Tip From Audra: These sheets are extremely delicate and will break, tear or stick to your hands if you’re not careful! I chose to apply these sheets imperfectly for this look, instead of going with a opaque gold effect.Step 4: Next, cover the gold leafed area of the pot with the sealant from the gold/copper leaf kit, then let it dry.
Step 5: The final step is to remove the tape. Tip From Audra: For a more uniform sheen, I would recommend sealing the whole pot after removing the tape.
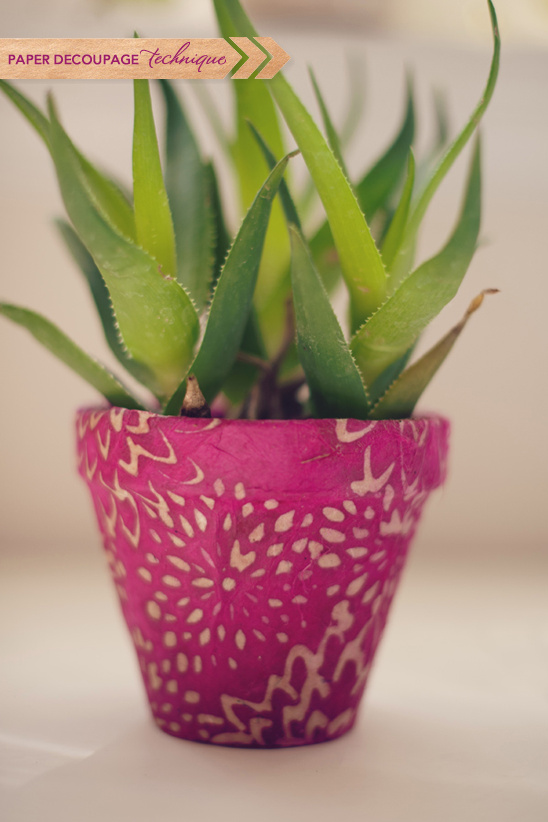
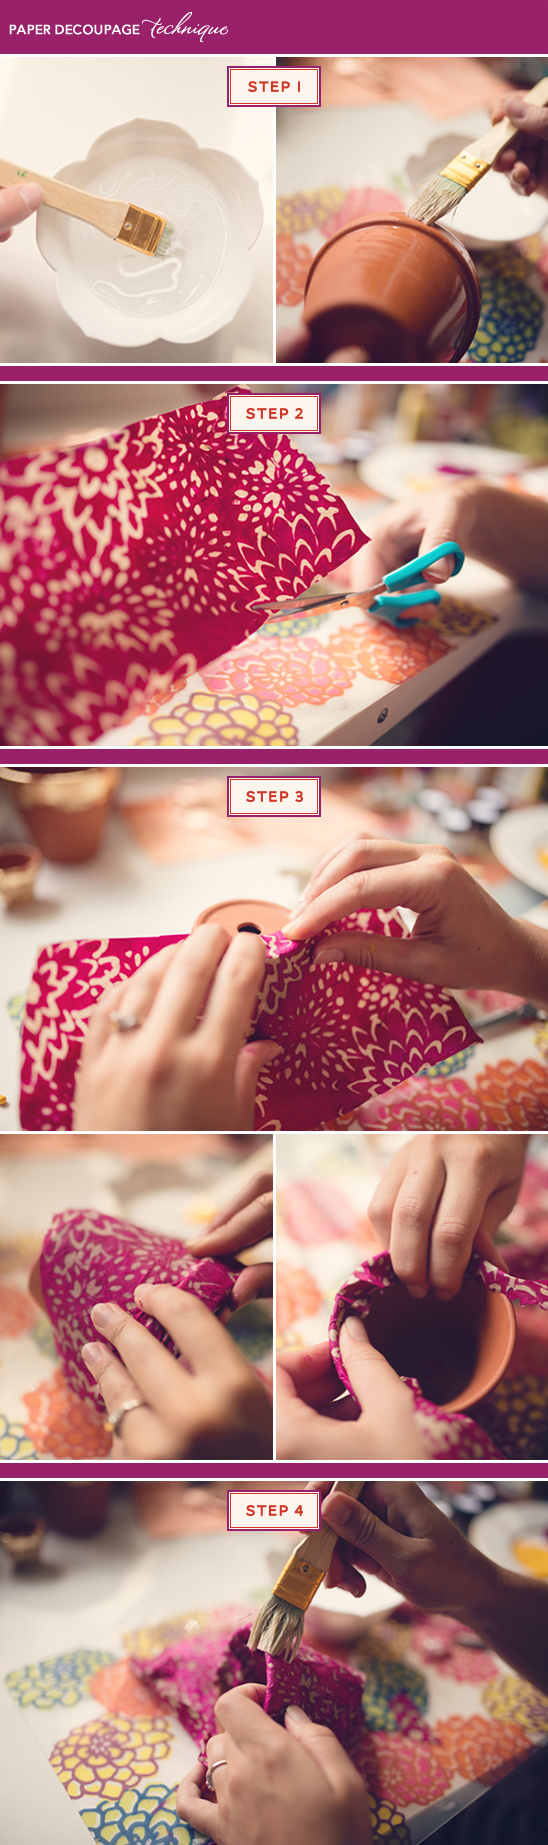
Paper Decoupage Technique:
Step 1: Audra began by mixing 2 parts Elmer’s Glue with 1 part water to create an adhesive that spreads easier with your paint brush. When you have enough of your glue mixture, liberally brush it onto the pot making sure the pot is fully saturated with the adhesive.
Step 2: Next, trim your decorative paper to fit the around the pot with an inch or so extra on each end. For these pots Audra used decorative fabric paper from World Market, which can be found at Paper Source.
Step 3: Using your hands begin molding the paper onto the pot, folding any extra paper over the top rim and under the bottom of the pot.
Step 4: Finally, brush the paper with the glue mixture as you mold it around the pot, smoothing each section with your finger to remove any bubbles. Make sure the paper is saturated with the glue and shaped to the pot on all sides, then let it dry. Tip From Audra: I would recommend these pots for indoor use. If you choose to use them outdoors, use a sealant (a spray acrylic sealer would do the trick) only once the paper has adhered to the pot and it’s completely dry.
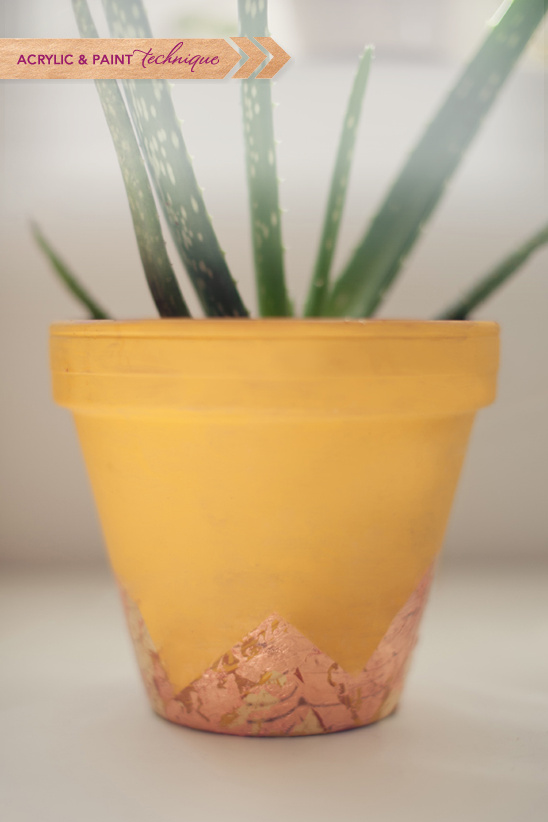
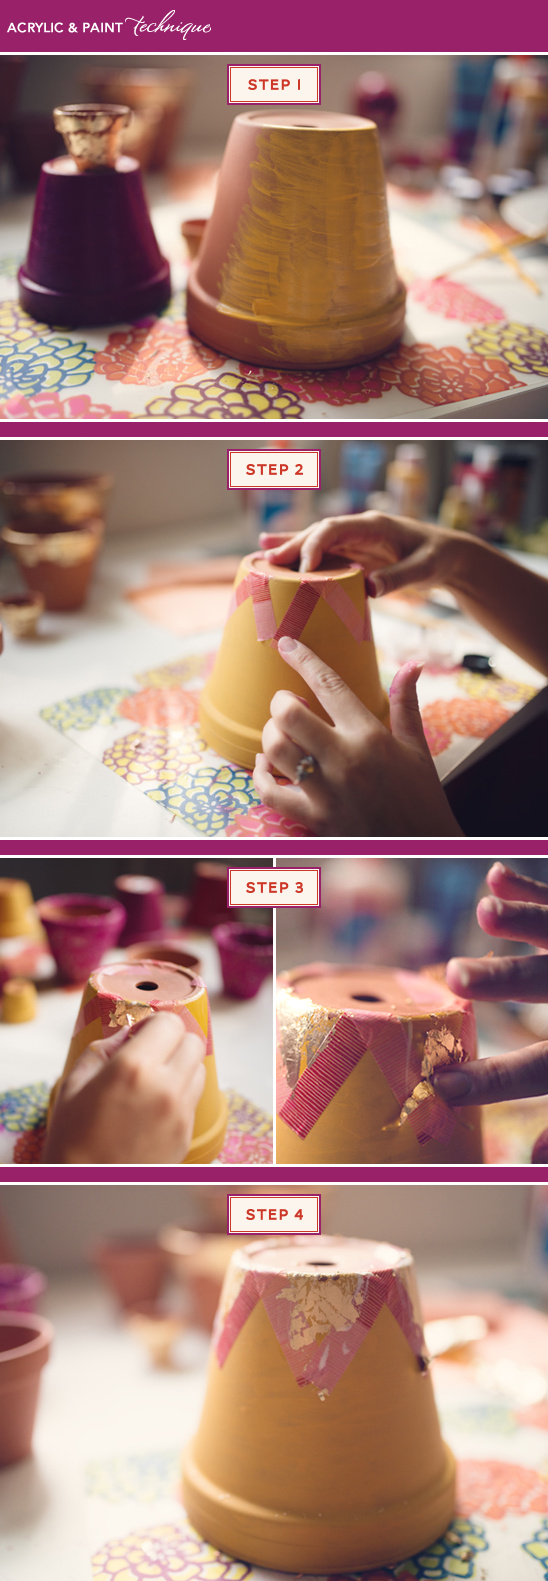
Acrylic Paint & Gold Leaf Combo Technique:
Step 1: The first step in this technique is to paint the entire pot with acrylic paint. Tip From Audra: I would recommend painting 2-3 coats of acrylic if you’re looking for a bold color, as the paint tends to soak into the pot. Make sure that the acrylic paint is completely dry before you begin the gold/copper leafing process.Steps 2-4: After the paint has dried completely you can begin the gold leafing using the same steps from the Gold Leafing Technique above.
Now that you’ve learned these basic terra cotta pot decorating techniques, you can experiment with different designs and combinations of the techniques. Happy creating!