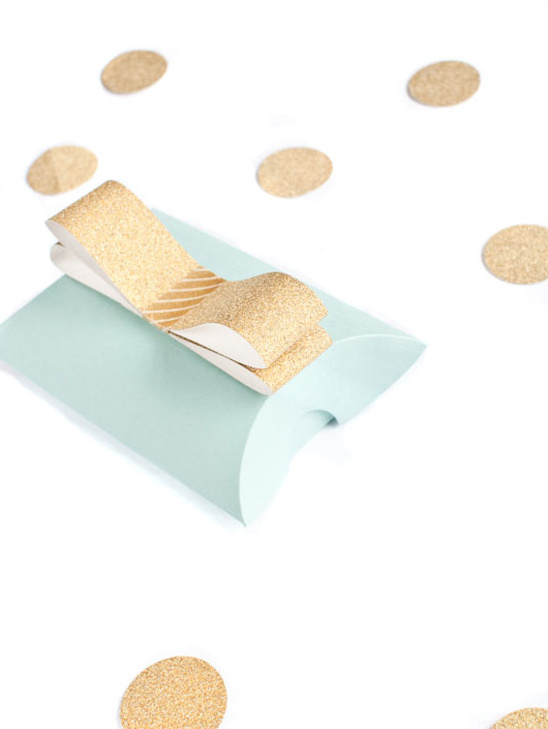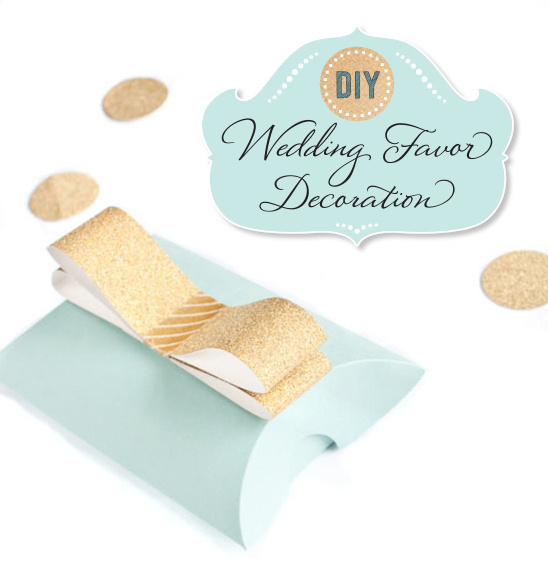

It’s DIY time again! Today we have a project from Maxine Chan of Tulle Box Designs for you to try out: the DIY Wedding Favor Decoration. Whether you’re giving your guests a jar of homemade jam, a customized mug or a box full of goodies, this simple decoration is the perfect embellishment to give your wedding favor a finished look! Inspired by a gorgeous pair of Kate Spade heels, Maxine used glitter, gold and washi tape to create a giant bow — making this DIY perfect for the stylish bride!
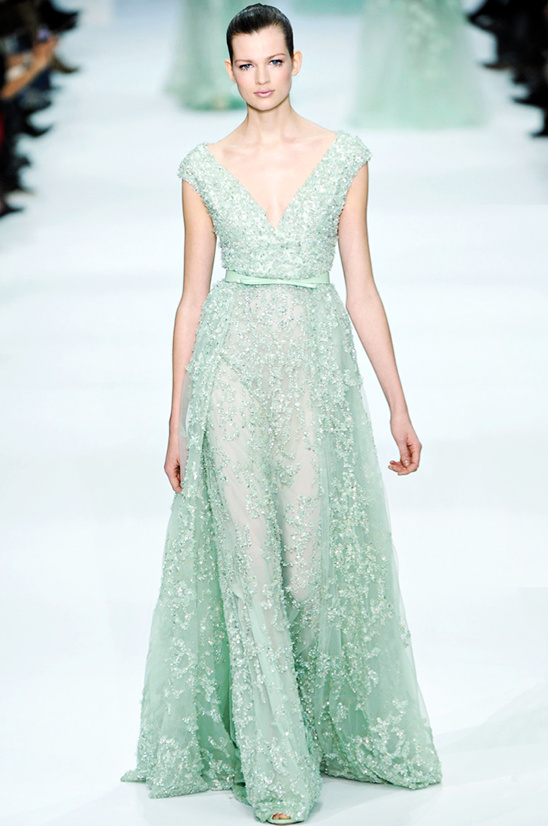
Before we dive into it we did want to share a few of our favorite mint and gold wedding ideas that would go perfectly with this project. Starting with the dreamy Elie Saab mint gown that could totally double as a wedding gown.
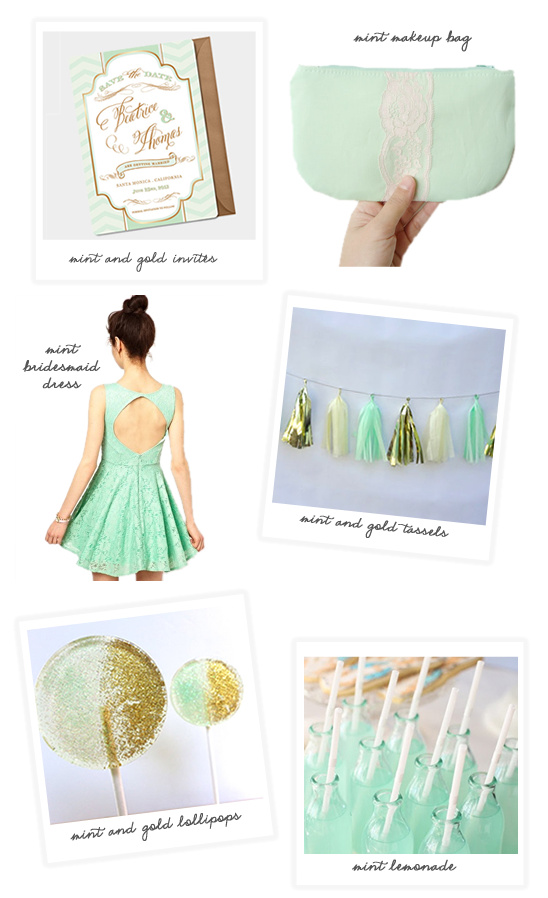
mint and gold wedding invites from Serendipity Soiree, mint and lace makeup bag from Juneberry Stitches, mint bridesmaid dress from Asos, mint lollipops from Sweet Caroline Confect, mint and gold tassels from One Stylish Party and finally Mint Lemonade in old fashion bottles from House and Home
Now onto this fabulous DIY from Tulle Box Designs that will totally look awesome at your mint and gold wedding.

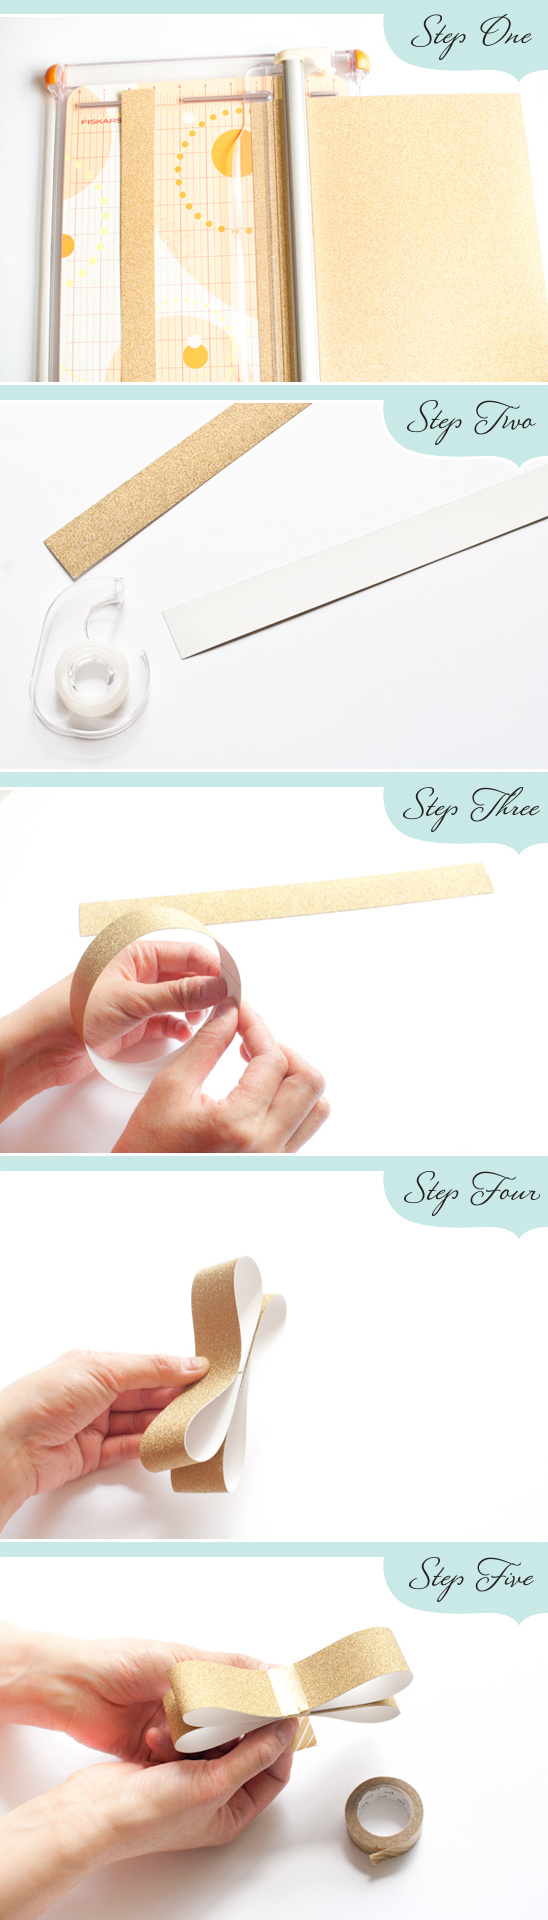
Step One: The first thing Maxine did was cut the sheet of gold glitter cardstock into 1.25″ strips. Each decoration uses 2 strips, so you will be able to make 4 1/2 decorations out of each sheet of cardstock.
Step Two: The next step is to place a piece of double-sided tape at the end of a strip of paper.
Step Three: Next Maxine created a loop out of the strip of paper by pressing the ends together, then repeated steps two and three with another strip of paper so that she had two loops. Maxine made sure that the two loops were the same size, but feel free to experiment with different sized loops to create a different look.
Step Four: After you have two loops made it’s time to stack the loops together and cinch in the middle.
Step Five: The final step to creating your wedding favor decoration is to wrap washi tape around the middle of your loops where you have them cinched. Then just attach to your wedding favor using tape or glue on the back of your decoration. If you used two different sizes of loops make sure that the smaller loop is the front so that your bow will sit properly on your favor.