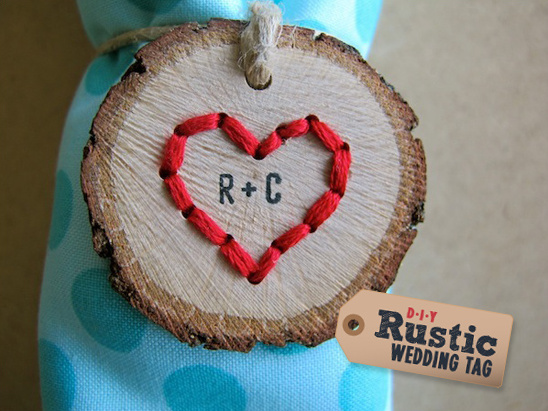
This cute DIY project was given to us by the amazingly talented Cicely Siller of Mighty Graphite. She got the idea for this DIY from the pile of branches lying in her parents driveway — the remnants of a tree they lost in a thunderstorm. A bandsaw, drill press, a lot of sweat and a few mosquito bites later and she had created a rustic wedding tag, then added a little bit of embroidery for a touch of color. Continue reading for all of the steps from Cicely … including her heart template that is available to download!
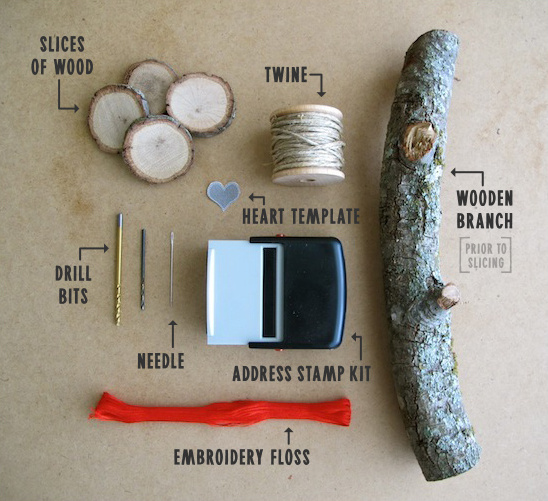
Supplies:
To make this DIY Rustic Wedding Tag you will need a drill or drill press [not pictured], 2 drill bits — one large and one small, a skein of embroidery thread (36 inches), a needle, an address stamp kit (Cicely found hers at Walmart), twine, a wooden branch and a saw [not pictured].
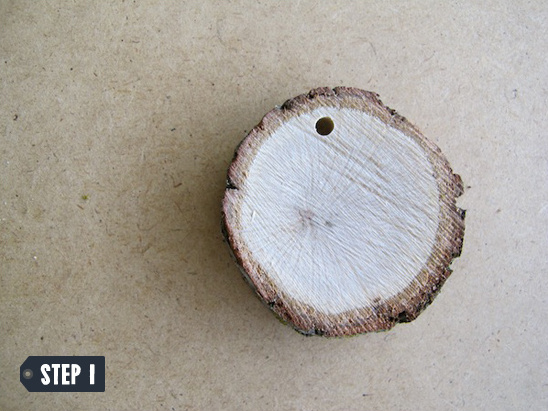
Step 1:
The first step in this DIY is to cut your branch into slices using a saw — Cicely prefers use a bandsaw, but any saw will work. After you have your slices cut, attach the larger of the two drill bits to your drill or drill press. Drill a hole towards the top of each piece of wood to create the hole that will be used to hang your tag.
Step 2:
The next step is to tape the heart template to the tag. Cicely was kind enough to give us a copy of her template to share with you. Click here to download the document.
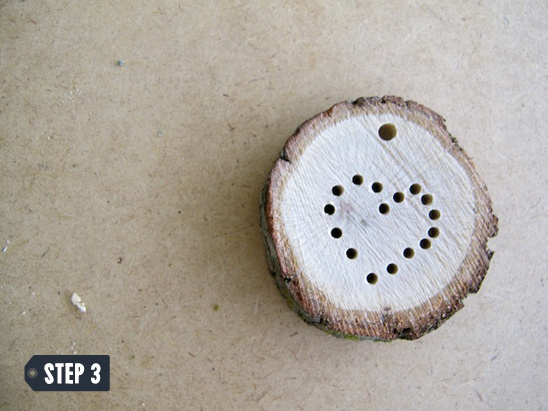
Step 3:
For the next step you will need to attach the smaller drill bit to your drill or drill press. Using the heart template as a guide, drill holes into your slices of wood to create the outline of a heart.

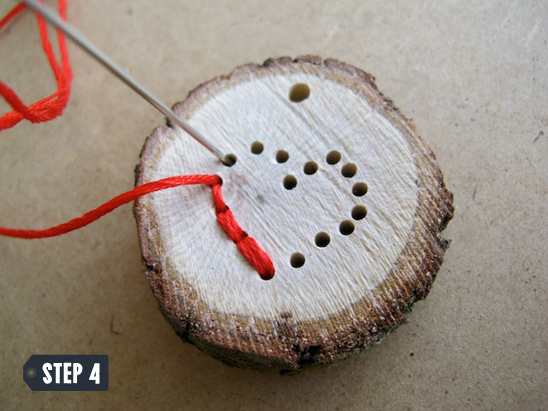
Step 4:
Next you are going to thread your needle with the embroidery floss and — starting from the back — begin stitching. Cicely found the easiest way to do this was to simply go up and down — just like those lace-up cards from Kindergarten!
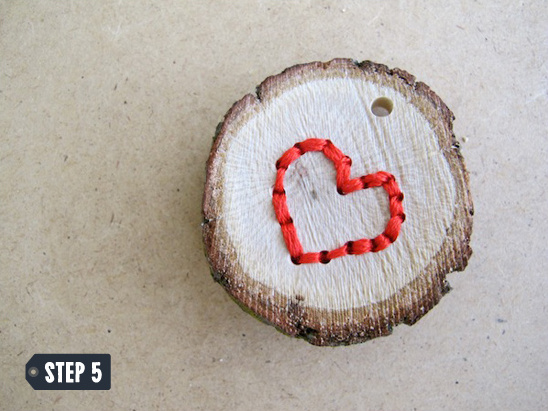
Step 5:
When your heart outline has been completed simply knot the two ends together three times and snip.
A Tip From Cicely:I prefer something just a little more difficult, but not much. Just begin from the back and go up then down and repeat by going through both holes again, then move on the next hole by going up and back to the last hole and down and repeat. This gives your “embroidered” heart a fuller, nicer finish.
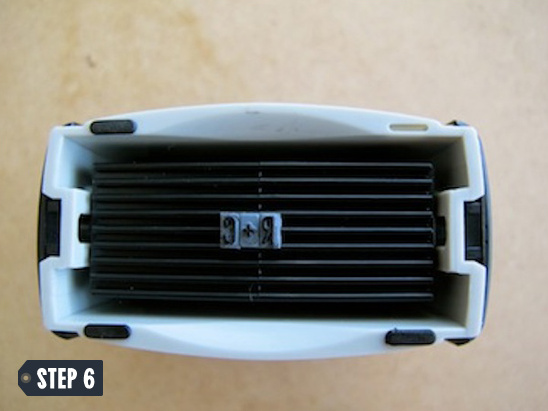
Step 6:
The final step in this DIY is to customize your rustic wedding tags using the address stamp kit. You can use just about any stamp, but Cicely prefers a self-inking address stamp kit because it has so many options — you can turn your wedding tag into a tag for any occasion just by changing the words, such as thank you, for you, save the date, etc. Now all that’s left is tying the twine through the larger hole and your tag is complete.
YAY!!! You learned how to make a DIY Rustic Wedding Tag! Now you can use your knowledge to create guest name tags, escort cards, table numbers, embellishments for your wedding favors or even napkin holders — get creative and experiment to your hearts content!